Showing posts with label leaves. Show all posts

November 3, 2013

Happy Birthday Tracey!


Hello, friends!  I have an extra special post today to celebrate the birthday of a talented designer and all-around fabulous lady, Tracey McNeely!

Lots of people want to wish Tracey a happy birthday, so our friend and fellow 12 Kits of Occasions designer, Joyce, is hosting a Linky party over on her blog.  Feel free to join in with your birthday wishes for Tracey by linking up there!

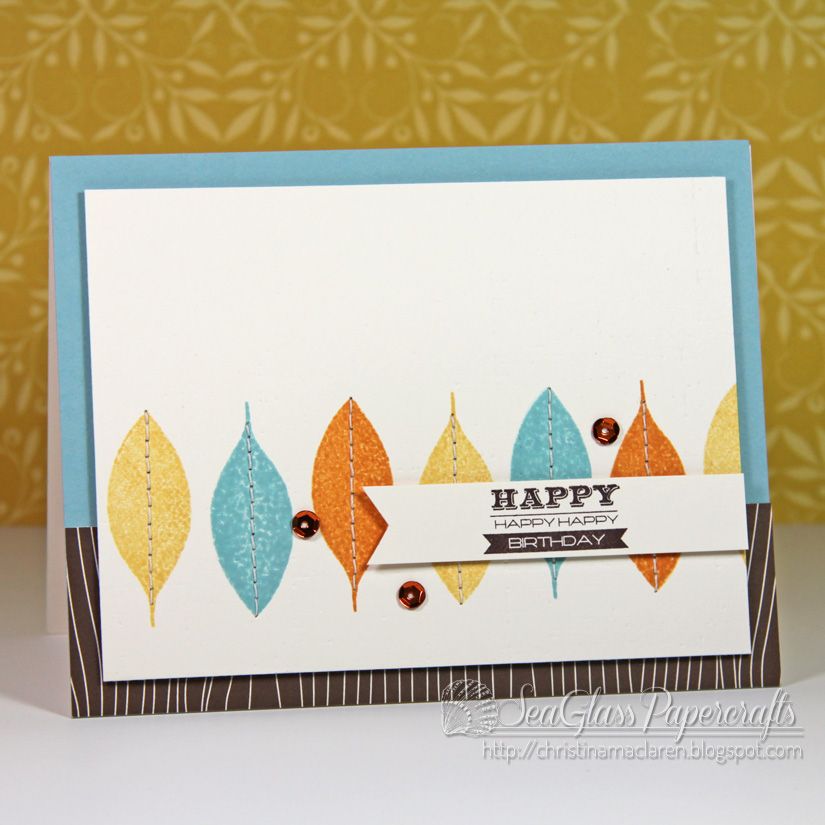
I hope Tracey doesn't think my card for her is too masculine.  :)  I wanted to incorporate an autumn theme and keep the design very clean and graphic, as Tracey's own designs tend to have lots of white space and perfect stamping.

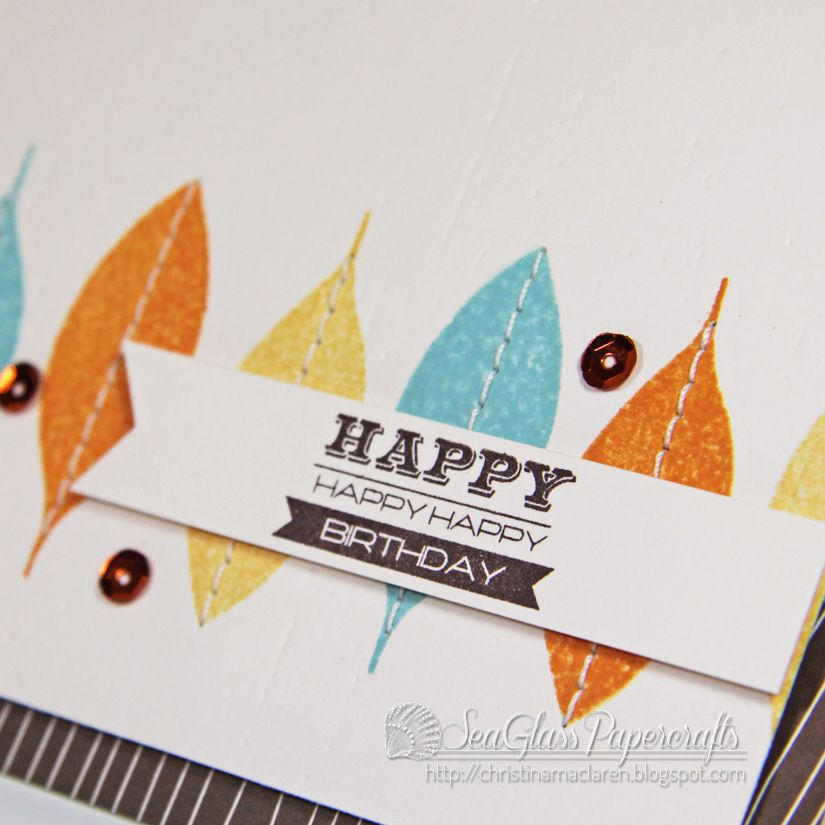
My favorite part of this card is the stitching for the leaf veins, which adds just the right amount of texture to otherwise flat images.
Cardstock:  Stampin' Up! (Baja Breeze), Papertrey Ink (Vintage Cream),  A Muse Studio (woodgrain)
Stamps:  Paper Smooches (Leafy Greens), Clearly Besotted (Tag Along)
Ink:  Stampin' Up! (Baja Breeze, So Saffron, Peach Parfait, Chocolate Chip)
Other:  sequins, thread

I hope you have a wonderful birthday full of all of your favorite things, Tracey!  Enjoy your virtual party!

October 30, 2013

The 12 Kits of Occasions--October 2013

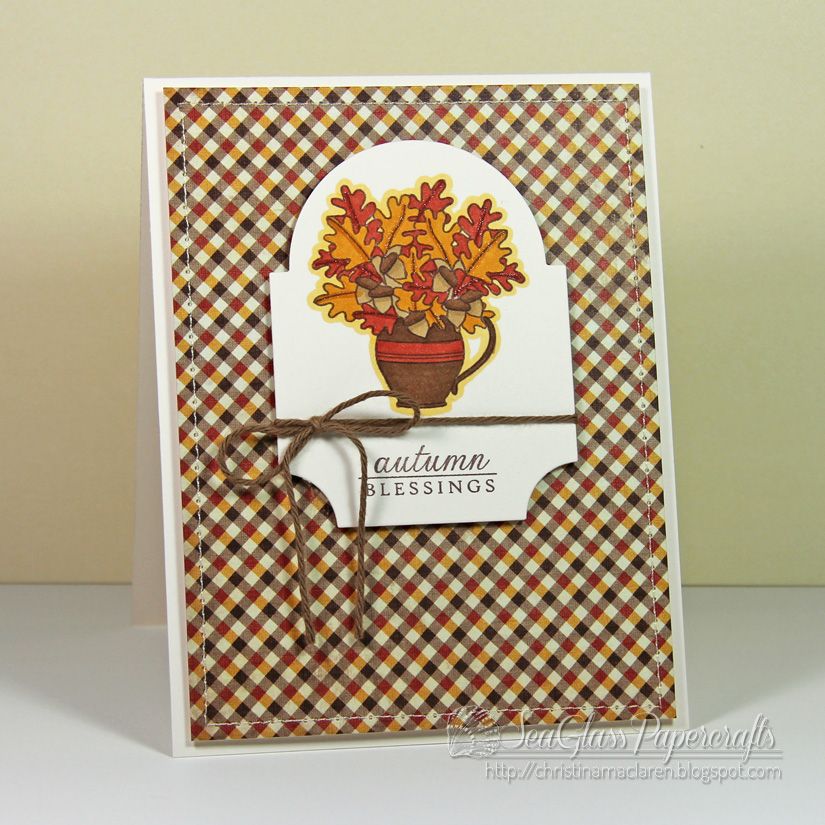
Autumn Blessings card

Hello!  It's time another edition of The 12 Kits of Occasions.  You can read all about the 12 Kits on the group blog if you haven't already.

Our hostess this month is Kara, and she sent us a fantastic kit full of Autumn and Thanksgiving themed supplies.  Here's a peek at the goodies:


As always, you can check out the full supply list at The 12 Kits of Occasions blog.

It's been a rough month at my house, but I managed to sneak in some time to make two cards and a set of 4 place cards.  There are plenty of supplies to play with later, and I will look forward to CASEing the rest of the girls with what's left.

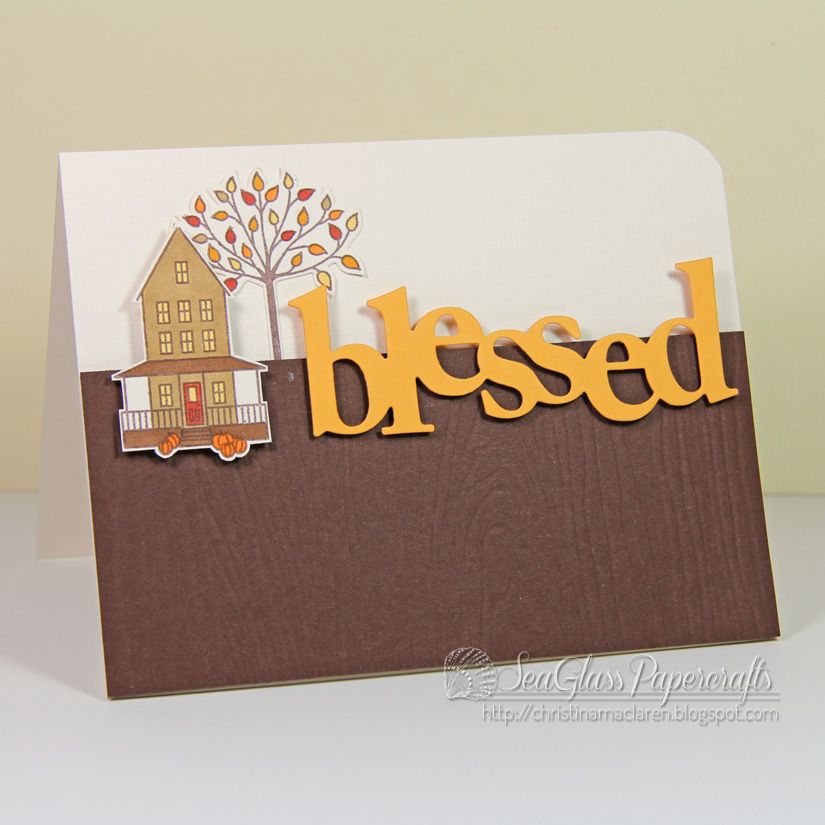
Blessed card

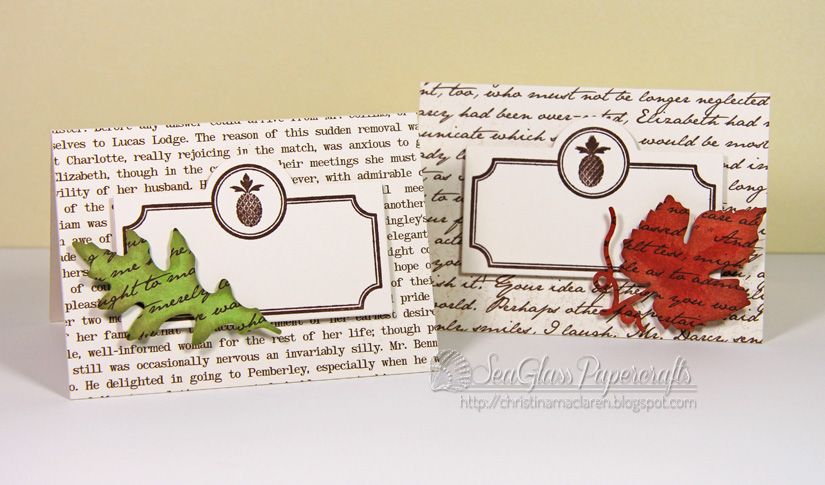
Autumn leaf place cards


Sorry to post and run, friends, but I still need to prep for my class tomorrow and get through a pile of grading!

I hope you're having a great week.  Thanks so much for stopping by!

March 1, 2013

CAS-ual Fridays #92--Wallpaper


Helloooo March!  Does anyone else think February is the longest month?  Just me?  Well, I'm always glad when it's over, because once you hit March you can finally start talking about spring with some real hope that it's just around the corner.  So hooray for March!

Not only is there a new challenge at CAS-ual Fridays today, but we have a fantastic sponsor and the debut of our newest Girl Fridays.  Go on over and give them a warm welcome!

The theme this week is wallpaper:  stamp a background on your clean and simple design.  Who doesn't love doing that?


To add to the fun, our wonderful sponsor, Ellen Hutson, is offering up a $25 gift certificate to this week's winner.  And who wouldn't love to add some more papercrafting goodies to their stash?


I've been dying to try out WPlus9's white ink on a kraft background using the woodgrain border from Woodgrain Silhouettes, so I did just that for today's card.  I stamped the border three times to cover the card base.  

Next, I stamped the large leafy flourish from Woodgrain Silhouettes Additions in navy over the top.  Hello, gorgeous!  And what a nice coincidence that Jennifer McGuire posted a video about this technique (apparently it's called "ghost stamping") just a few days ago.

I stamped the sentiment onto a wide strip of white cardstock, layered a strip of navy on top and another strip below the white border.  Some foam dots behind the sentiment panel add dimension while keeping the design flat for mailing.

Cardstock:  Papertrey Ink (Kraft), Stampin' Up! (Midnight Muse), WPlus9 Design Studio (White)
Stamps:  WPlus9 Design Studio (Woodgrain Silhouettes & Additions), Papertrey Ink (Through the Trees)
Ink:  Stampin' Up! (Midnight Muse), WPlus9 Design Studio (White)

Hoping I don't need a sympathy card anytime soon, but it's essential to have one or two on hand.

Have I mentioned how thrilled I am to be serving as a Girl Friday for another term?  And how honored I am to have such incredible teammates?  You won't want to miss any of their designs, so be sure to pay a visit to the CAS-ual Fridays blog to see the entire line-up of inspiration.

TGIF, friends!  Have a great weekend!

February 28, 2012

ColourQ #126


Good morning, ColourQ fans!  It's time for a new color challenge, and this one was inspired by this whimsical set of dishes:


I admit I wouldn't have chosen this palette on my own, but I'm amazed by the DT samples this week and really enjoyed the challenge of working with these colors.  I hope you'll give the combo a try, too.

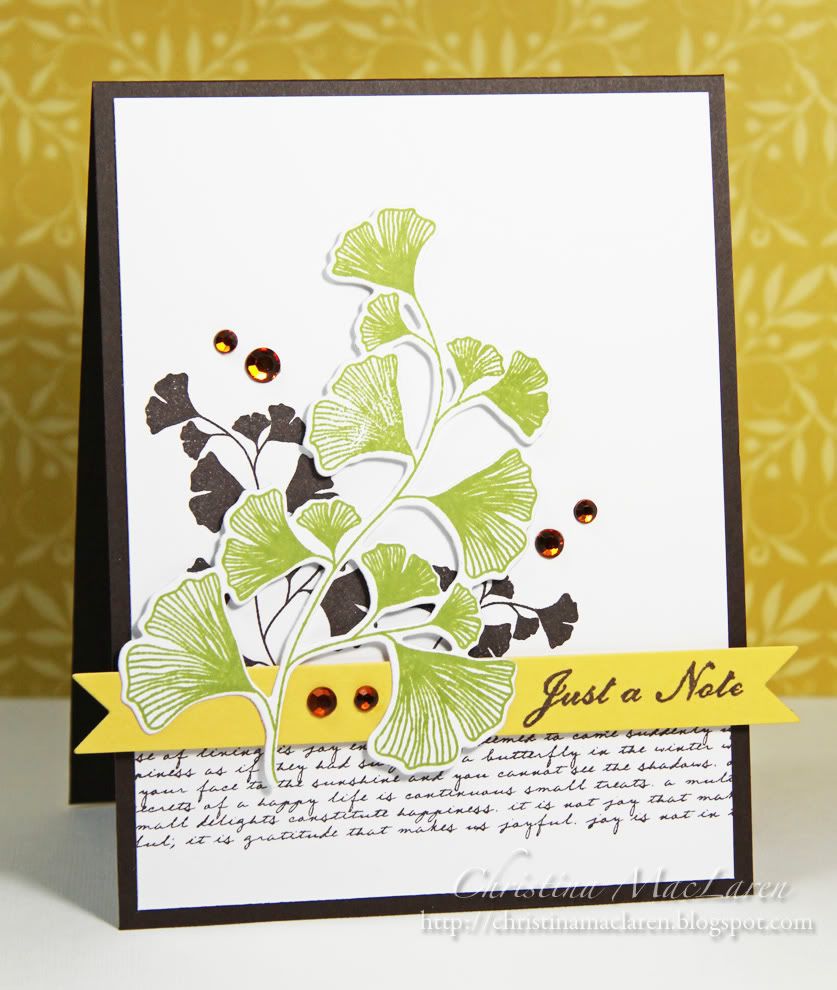
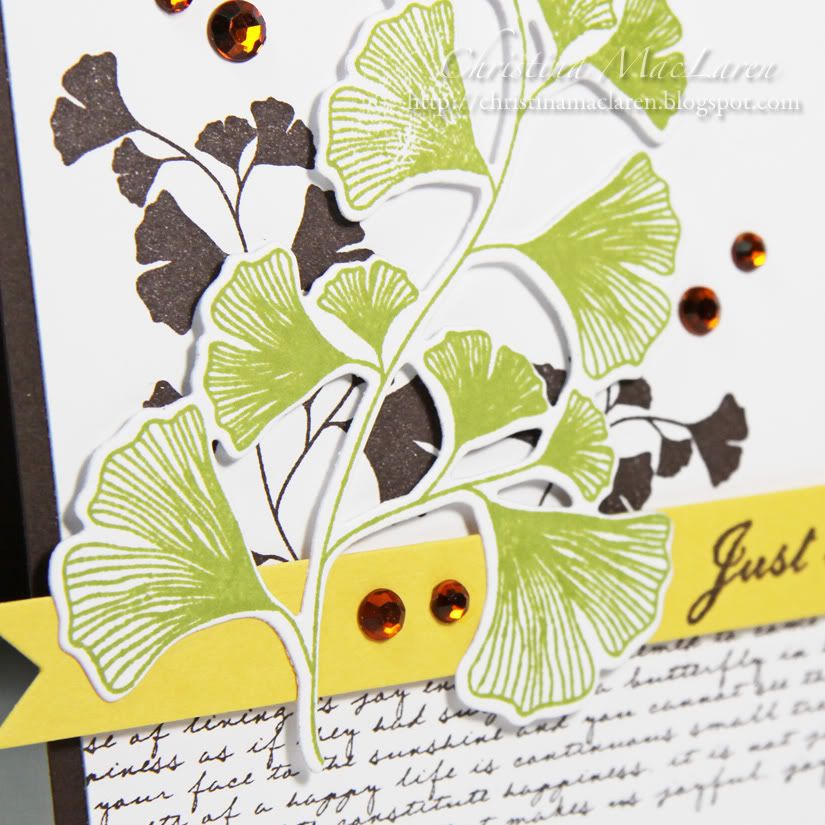
Since these colors have a bit of a fall vibe, I reached for PTI's lovely Harvest Berries set.  I die cut and stamped the largest branch with Lucky Limeade and popped it up on foam dots.  Behind it I stamped the smaller silhouette images in Early Espresso and added a strip of stamped text to ground the design.

I die cut a double ended banner from Daffodil Delight cardstock and stamped it with a sentiment from PTI's Postmarks.  A sprinkling of orange gems and I call it done!

Cardstock:  Stampin' Up! (Early Espresso, Daffodil Delight), Papertrey Ink (White)
Stamps:  Papertrey Ink (Harvest Berries, Background Basics:  Text Style, Postmarks)
Ink:  Stampin' Up! (Early Espresso, Lucky Limeade)
Tools:  Papertrey Ink (Harvest Berries die, Double Ended Banner die)
Accessories:  Me & My Big Ideas (rhinestones)

Thanks for joining me today, friends!  I'll be back tonight at midnight EST with a new 12 Kits of Christmas post, so if you're in the mood for some cute holiday cards, I hope you'll stop by.

Have a great day!

December 10, 2011

A Note of Thanks


Hello!  I'm thrilled to say that I received a happy email from Paper Crafts magazine yesterday, as one of my cards was accepted for publication in Card Creations.  Thank you, PC!

I thought I'd share one of the cards that wasn't picked up, which I happen to love nonetheless.  *smile*

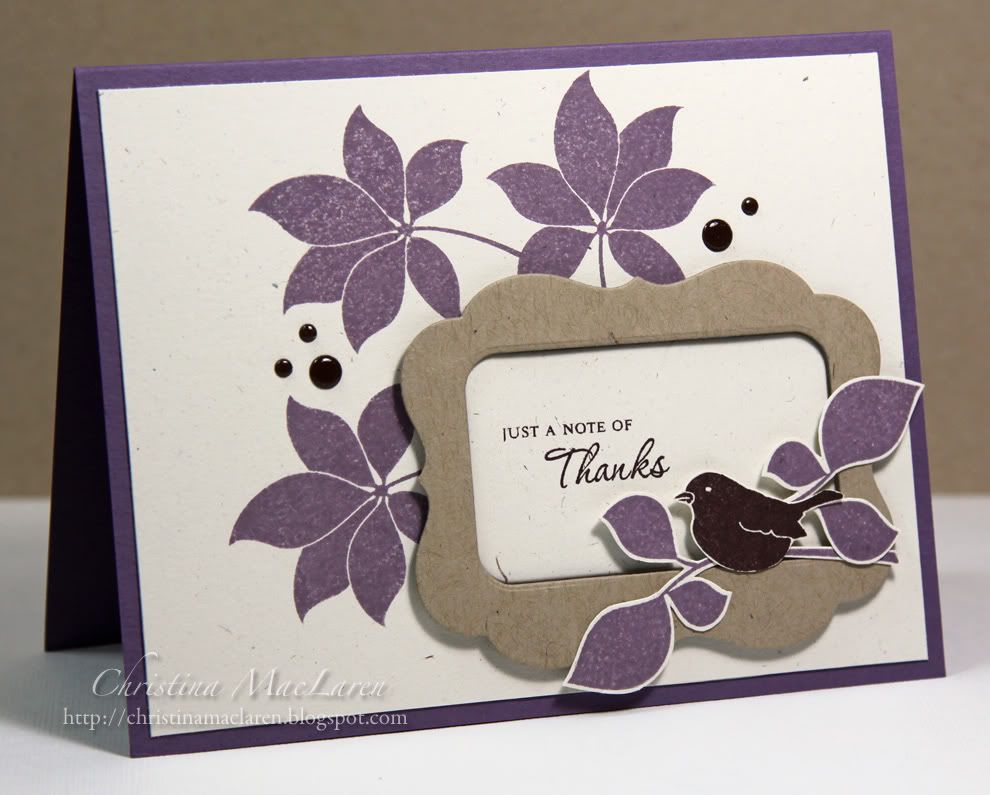
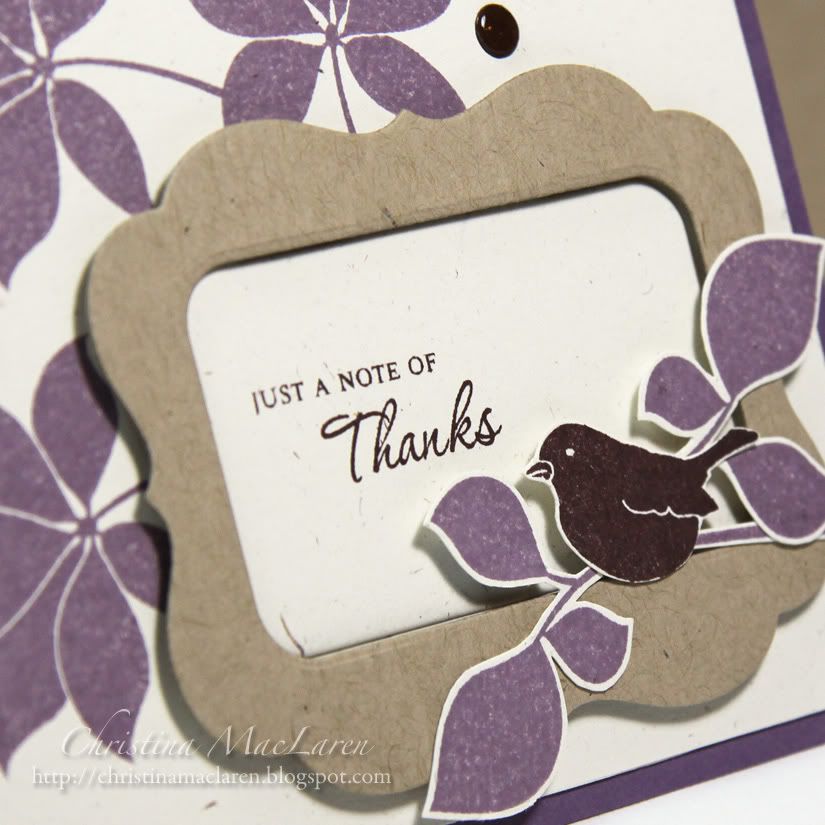
This purple number features stamps from WPlus9's Woodgrain Silhouettes Additions.  After stamping the leaves on a Rustic Cream panel, I added a Kraft die cut frame that is debossed with woodgrain.  I die cut a piece of Rustic Cream cardstock to go in the "window" and stamped it with a sentiment from PTI's Gracious Vases.

The little birdie and leaves were stamped and cut out by hand, then perched on the corner of the frame.  

The design seemed a little unbalanced, so I added some brown "pearls" to create a visual triangle with the bird.  I just used some die cut circles and gave them a coat of Glossy Accents for shine.

Cardstock:  Papertrey Ink (Plum Pudding, Rustic Cream, Kraft, Dark Chocolate)
Stamps:  WPlus9 Design Studio (Woodgrain Silhouettes Additions), Papertrey Ink (Gracious Vases)
Ink:  Stampin' Up! (Perfect Plum, Chocolate Chip)
Tools:  Papertrey Ink (Mat Stack 4, Fillable Frames #7 dies, Woodgrain impression plate)
Accessories:  Ranger (Glossy Accents)

I've been working feverishly on my Christmas cards today, so I'll have some of those to share with you in the coming days.

Thanks for your visit!  Enjoy the rest of your weekend!

November 19, 2011

Embellish Leaves Color Challenge


Good morning!  I finally have a card to share!  It's been a long time since I played along with an Embellish Color Challenge, but I couldn't resist this one.  


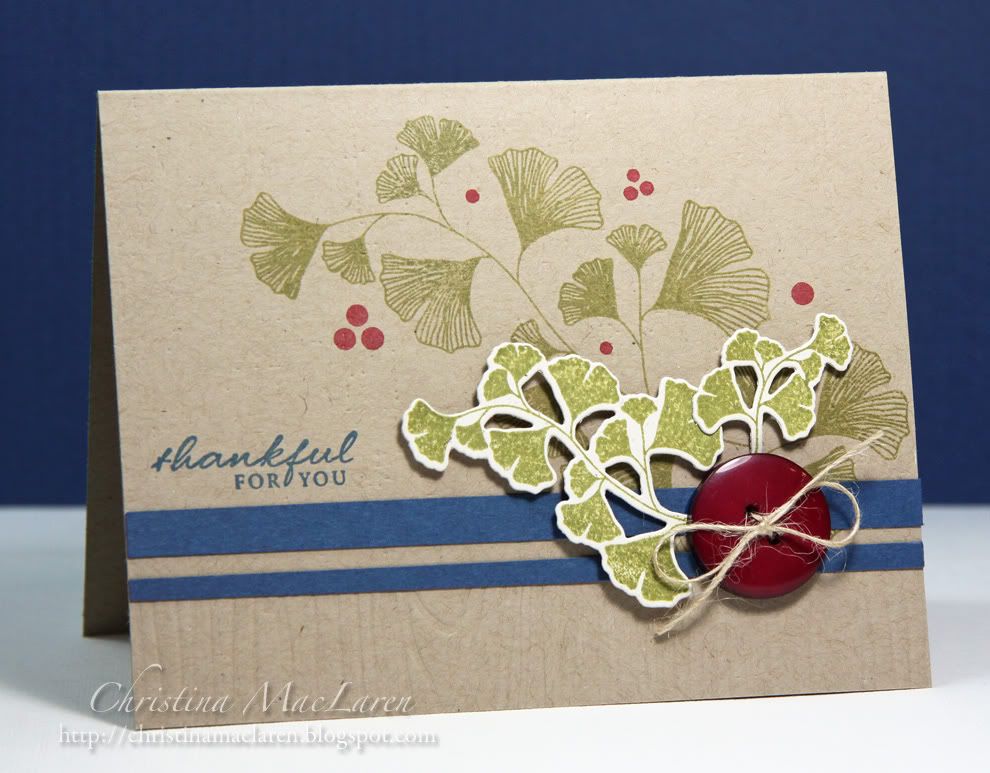
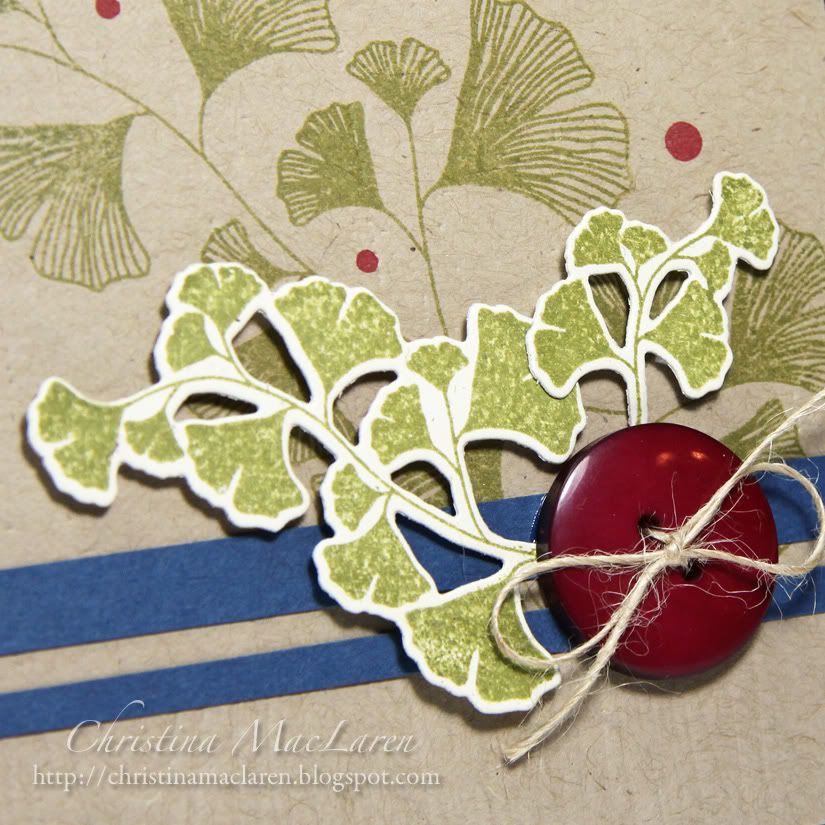
These rich fall colors are so fantastic together.  I pulled out PTI's Harvest Berries to use the beautiful ginkgo leaves.  I stamped the larger images in Ripe Avocado onto a kraft card base.  Then I added some texture with the Linen & Canvas impression plate to the entire card front and selectively debossed a strip at the bottom with the Woodgrain plate.

Two strips of Enchanted Evening cardstock ground the design and a sentiment from PTI's 2009 Autumn Tags.

I die cut the small ginkgo leaves from Rustic Cream cardstock and stamped them with Ripe Avocado, then popped them up with foam tape and tucked them behind a Scarlet Jewel button.  A few randomly stamped red berries are the finishing touch.

All supplies from Papertrey Ink unless noted
Cardstock:  Kraft, Enchanted Evening, Rustic Cream
Stamps:  Harvest Berries, 2009 Autumn Tags
Ink:  Ripe Avocado, Enchanted Evening, Chianti (Clearsnap)
Tools:  leaf dies, Linen & Canvas, Woodgrain impression plates
Accessories:  Scarlet Jewel button, rustic jute twine

Thanks so much for stopping by today!  I'm hoping to get around to your blogs this weekend to see what I've been missing.  Have a great one!

November 10, 2011

Make it Monday #40


Hey, friends!  Just a quick post to share a card for this week's Make it Monday with Papertrey Ink.  The challenge is to use reverse applique, and I couldn't resist giving it a try.

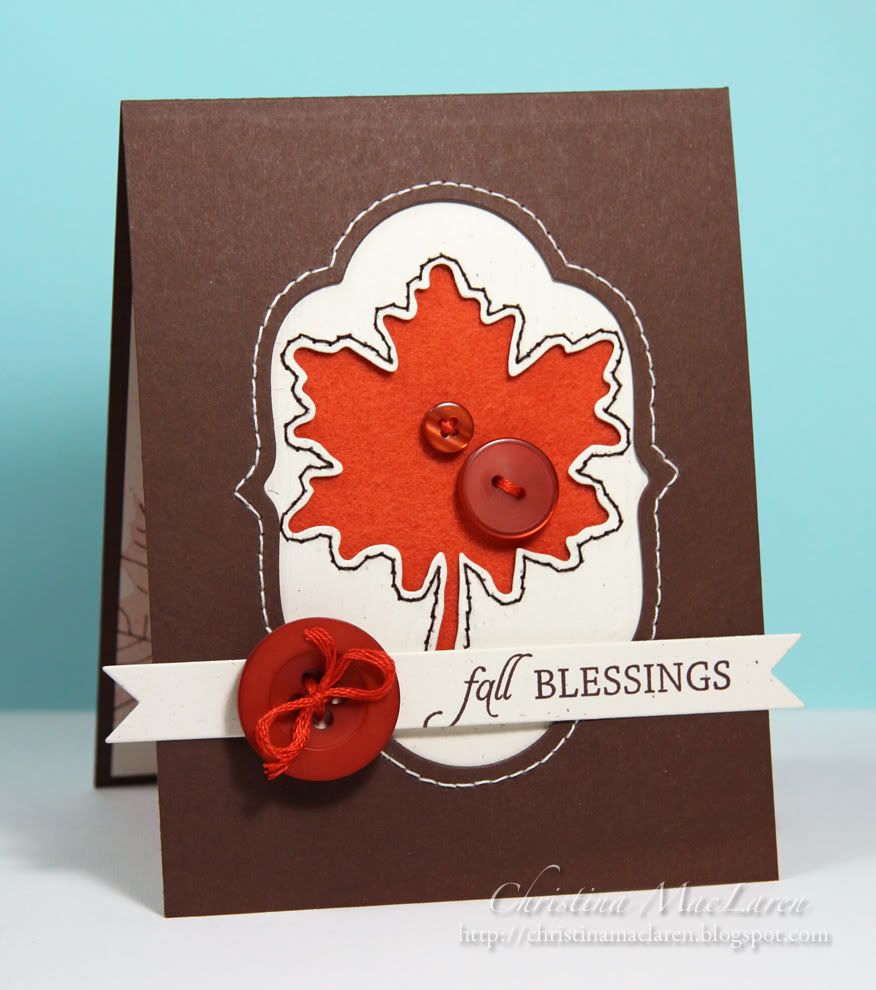
This card started with a Dark Chocolate card base, in which I die cut a window with Mat Stack 5.  Behind that is a piece of Rustic Cream cardstock debossed with woodgrain and die cut with a maple leaf to create another "window".  I added a piece of Terracotta Tile felt as the bottom layer to give the leaf a soft texture.

For the reverse applique, I stitched around the leaf with brown thread and around the Mat Stack with cream thread.

To finish the design, I stamped a sentiment from WPlus9's Season of Thanks onto a double ended banner and added some Terracotta button accents.

Cardstock:  Papertrey Ink:  Dark Chocolate, Rustic Cream
Stamps:  WPlus9 Design Studio (Season of Thanks)
Ink:  Stampin' Up! (Chocolate Chip)
Tools:  Papertrey Ink (Mat Stack 5, Double Ended Banner die, Leaf die, Woodgrain impression plate)
Accessories:  Papertrey Ink (felt, buttons), DMC floss, thread

Thanks for stopping by tonight!  Have a great one!
Related Posts Plugin for WordPress, Blogger...