Showing posts with label Make it Monday. Show all posts

November 10, 2011

Make it Monday #40


Hey, friends!  Just a quick post to share a card for this week's Make it Monday with Papertrey Ink.  The challenge is to use reverse applique, and I couldn't resist giving it a try.

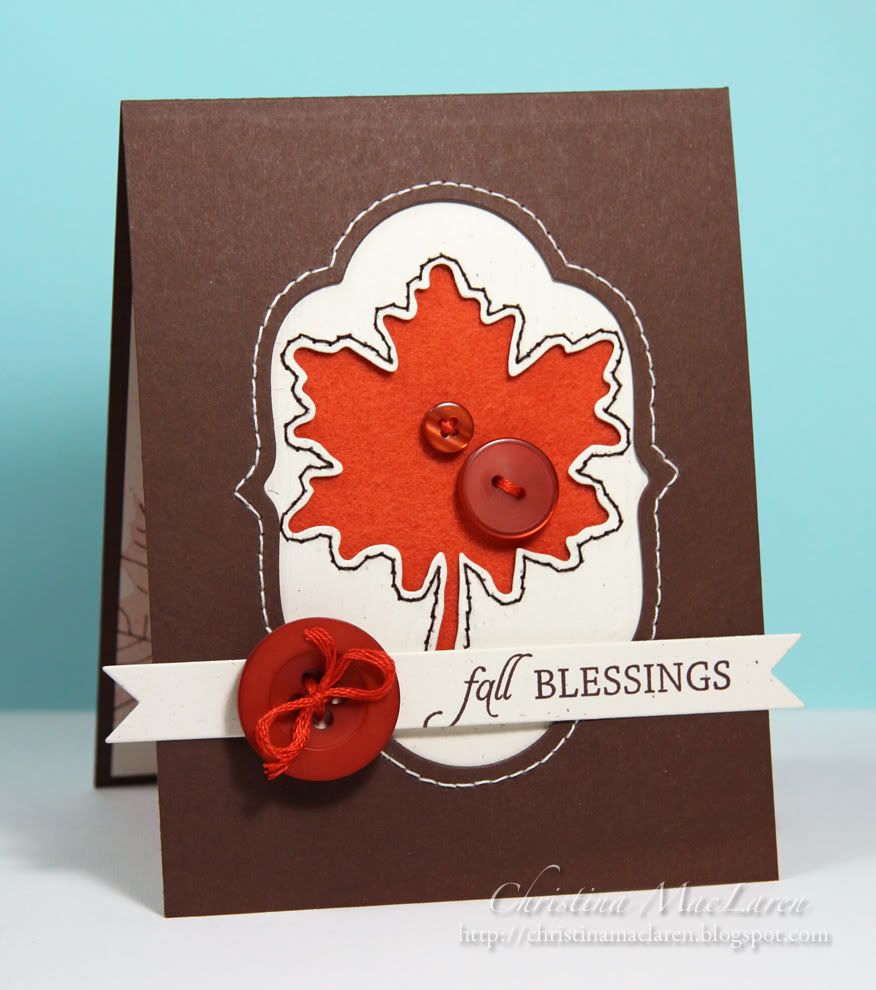
This card started with a Dark Chocolate card base, in which I die cut a window with Mat Stack 5.  Behind that is a piece of Rustic Cream cardstock debossed with woodgrain and die cut with a maple leaf to create another "window".  I added a piece of Terracotta Tile felt as the bottom layer to give the leaf a soft texture.

For the reverse applique, I stitched around the leaf with brown thread and around the Mat Stack with cream thread.

To finish the design, I stamped a sentiment from WPlus9's Season of Thanks onto a double ended banner and added some Terracotta button accents.

Cardstock:  Papertrey Ink:  Dark Chocolate, Rustic Cream
Stamps:  WPlus9 Design Studio (Season of Thanks)
Ink:  Stampin' Up! (Chocolate Chip)
Tools:  Papertrey Ink (Mat Stack 5, Double Ended Banner die, Leaf die, Woodgrain impression plate)
Accessories:  Papertrey Ink (felt, buttons), DMC floss, thread

Thanks for stopping by tonight!  Have a great one!

October 22, 2011

Make it Monday #37 & PDCC#104


Hi friends!  I've participated in very few challenges of late, so I jumped at the opportunity to make something for The Play Date Cafe's second anniversary.  Congratulations on two wonderful years, ladies!

This week I'm also joining the Make it Monday challenge to use layered mats and frames.  Easy peasy!


For my color palette, I used PTI's Ripe Avocado and Lemon Tart and Stampin' Up!'s Rose Red.  I would have used PTI's new Autumn Rose, but I am still (very anxiously) waiting for my September Release winnings.  They said it would be 4-6 weeks, but I had no idea what torture it would be waiting for it to arrive!  My heart skips a beat every time I hear the mail or UPS truck rumble down our street.  

Okay, on to the card!  I started with a Rose Red base and die cut a window with Mat Stack 1.  I layered a piece of white cardstock behind the window and stamped it with one of the frames from the Mat Stack 1 Collection.

I die cut Fillable Frames #11 from Lemon Tart cardstock and clear embossed the frame from the set.  The sentiment is from the Mat Stack 1 Collection.  I centered the label over the Mat Stack window and popped it up on foam dots.

The leaves are die cut and stamped with Harvest Berries and embellished with Ripe Avocado buttons and a bit of SU's Old Olive striped ribbon.

To add some interest to the bottom of the card, I used a faux embossing technique.  I die cut three strips of Rose Red cardstock with the Victorian Lace border die and adhered them directly to the card base.  I think it adds a fun textural detail.

Cardstock:  Papertrey Ink (Ripe Avocado, Lemon Tart, white), Stampin' Up! (Rose Red)
Stamps:  Papertrey Ink (Mat Stack 1 Collection, Fillable Frames #11)
Ink:  Stampin' Up! (Rose Red), Papertrey Ink (Ripe Avocado), Versamark
Tools:  Papertrey Ink (Mat Stack 1, Fillable Frames #11, Victorian Lace, Harvest Berries dies)
Accessories:  Papertrey Ink (buttons), Stampin' Up! (ribbon), Stampendous (embossing powder), DMC floss

Be sure to come back tomorrow to see my Halloween goodie bags!  They turned out SO cute this year, if I do say so myself.  *smile*

Thanks for visiting!

September 7, 2011

Make it Monday #31


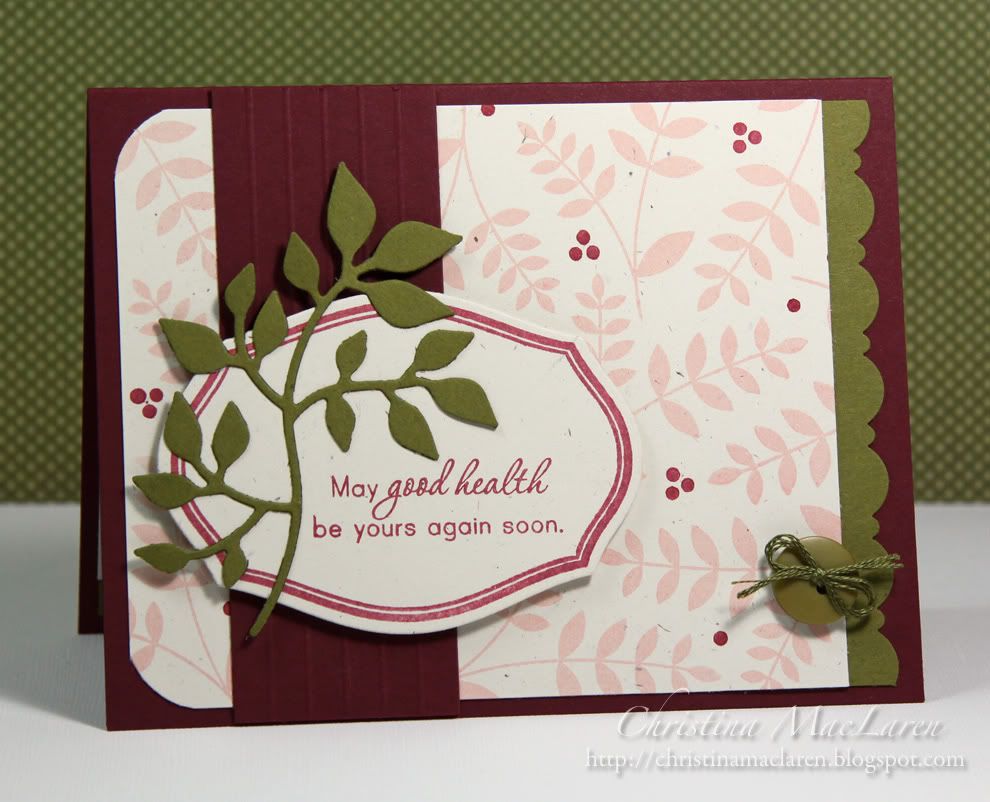
Hello friends!  It's been a while since I played along with PTI's Make it Monday challenge, so I made a little time for it after work yesterday.

This week's challenge is to make a background using a non-background stamp.  I chose a branch image from Turning a New Leaf.

The branch was stamped repeatedly onto Rustic White cardstock using ink that is a close match to Melon Berry.  I added some scattered berries (from Harvest Berries) in burgundy.

The panel was adhered to a Scarlet Jewel base, and a punched Ripe Avocado border was added along the right edge.

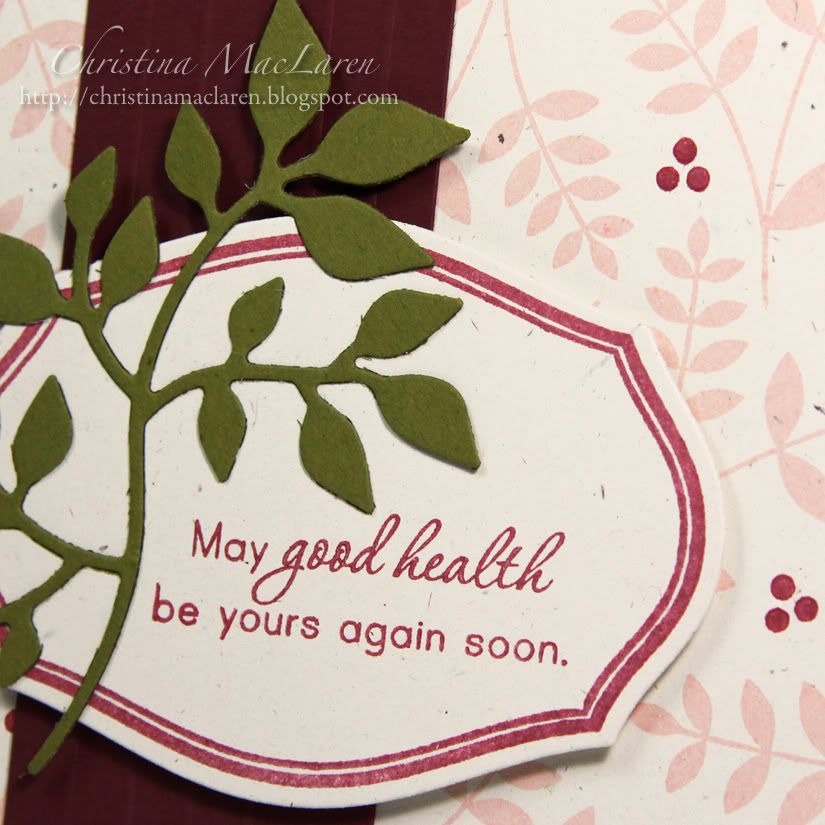
I chose a sentiment from Healing Touch Sentiments and a frame from Mat Stack 1 Collection and stamped them onto the coordinating mat stack.  A die cut branch frames the sentiment, and a strip of scored Scarlet Jewel cardstock helps to ground the sentiment panel.

The design seemed a little heavy on the left side, so the Ripe Avocado button was added for balance.

All supplies from Papertrey Ink unless noted
Cardstock:  Scarlet Jewel, Ripe Avocado, Rustic White
Stamps:  Turning a New Leaf, Healing Touch Sentiments, Mat Stack 1 Collection, Harvest Berries
Ink:  Papaya Cream, Chianti (Clearsnap)
Tools:  Mat Stack 1 die, branch die (Sizzix), border punch (EK Success), Scoring board (Martha Stewart), corner rounder (We R Memory Keepers)
Accessories:  Ripe Avocado button, DMC floss

I hope you're having a great week so far!  Thanks for stopping by today!

August 6, 2011

Make it Monday #26


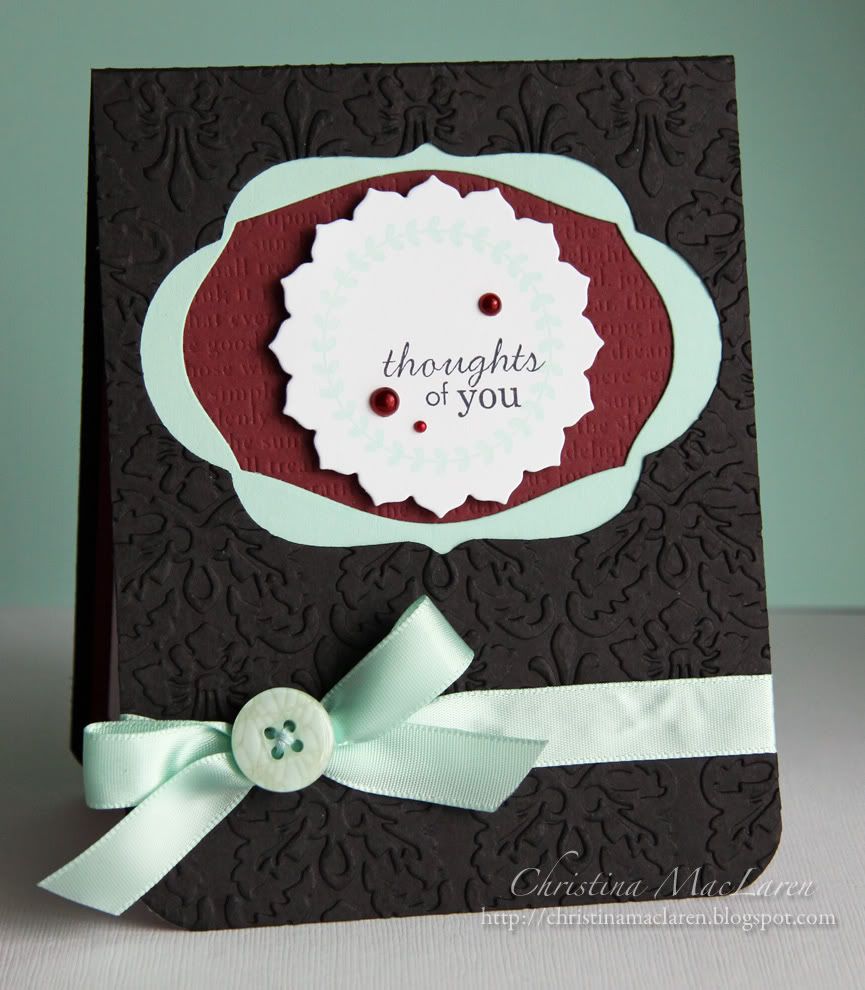
Hello, strangers!  I'm finally back from vacation and getting settled into my old routines.  I've been anxious to get back to my crafty space to create something for Papertrey's Make It Monday challenge, which is to make a project with "Decreasing Apertures".  I love layering mats and labels, so this is a perfect extension of that using the negative "windows" created by the dies.

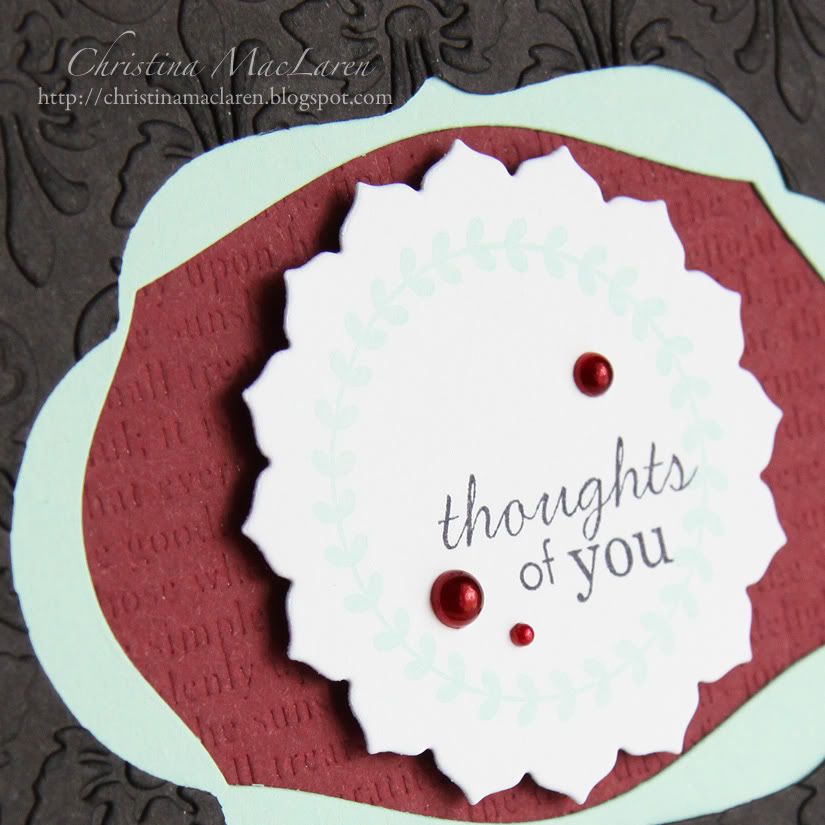
I also drew inspiration from a photo I found on Pinterest recently.  I love the black and white damask paired with aqua and burgundy, so I worked those elements into my card.

I started by cutting out a window from a True Black card base using PTI's Mat Stack 5.  I then used a damask embossing folder from Provo Craft on the card base.

An Aqua Mist layer is die cut with Mat Stack 1 and layered on top of a panel of Scarlet Jewel cardstock debossed with the Book Print impression plate.

One of the 1 3/4" Limitless Layer die cuts is stamped with the vine frame and a sentiment from Tag-its #3.  A few burgundy pearls and some Aqua Mist satin ribbon are the final touches.

All supplies from Papertrey Ink unless noted
Cardstock:  True Black, Aqua Mist, Scarlet Jewel, white
Stamps:  Tag-its #3
Ink:  Seaglass (Clearsnap), Black (Inkadinkadoo)
Tools:  Mat Stack 1, Mat Stack 5, Limitless Layers 1 3/4" Circle dies, Book Print impression plate, Kassie's Brocade embossing folder (Provo Craft), corner rounder
Accessories:  Aqua Mist ribbon, button, pearls (Queen & Co.), DMC floss

Thanks so much for stopping by today!  I have lots of catching up to do, both at home and online!  I hope you have a great weekend!

June 29, 2011

Make it Monday #21 & Stamp It Cards week challenge


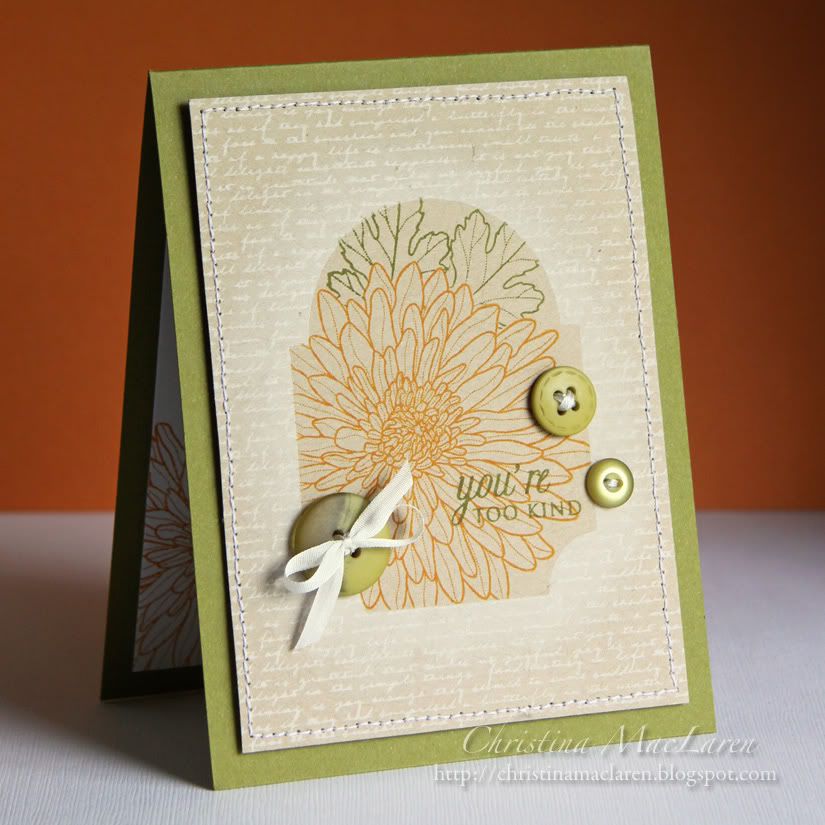
Hello again!  This week is just flying by, and I can't believe July is only 2 days away!  But from the looks of my card, you'd think it was fall!  I decided to play along with the 2 step masking technique showcased by Nichole for this week's Make it Monday challenge.  I'm also entering this card in the Stamp It! Cards week challenge in the Moxie Fab World.


I tried about 5 different ideas for this card before finally settling on this design.  I really wanted to use the Mat Stack 3 shape as my "window", but I didn't have a lot of large images to fill the space, hence the mum in the middle of summer!

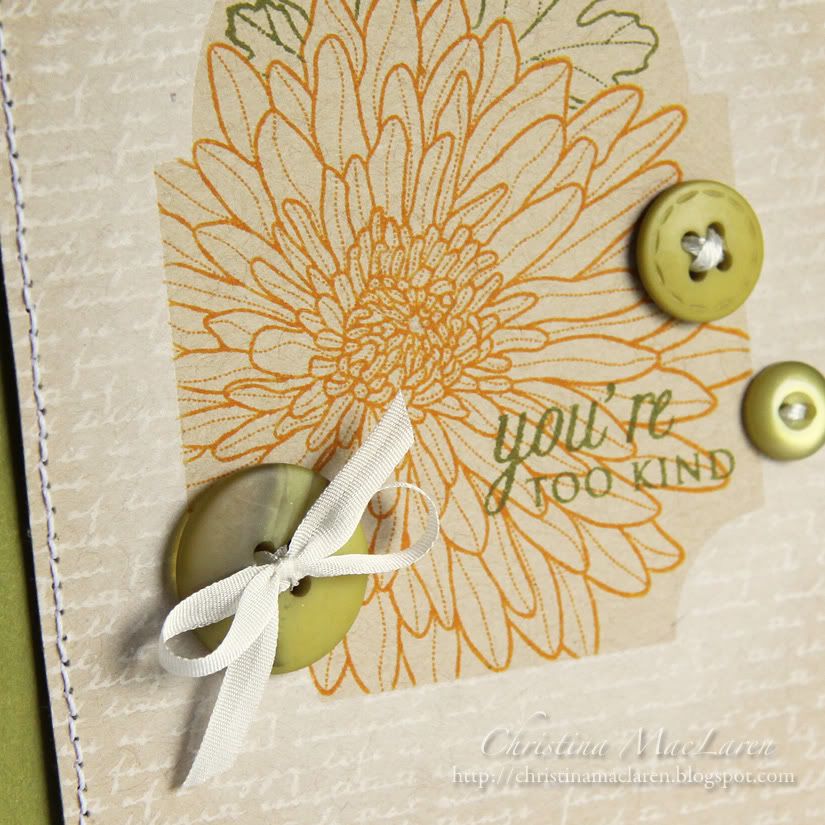
After sponging white ink around the edge of mask, I stamped text in white.  To stamp the flower and leaves, I had to do some additional masking to tuck the leaves behind the mum.  The sentiment is from PTI's Mega Mixed Messages.  A few Ripe Avocado buttons frame the sentiment, and some white silk ribbon and white stitching compliment the sponging and background stamping.

All supplies from Papertrey Ink unless noted
Cardstock:  Ripe Avocado, Kraft
Stamps:  Year of Flowers:  Mums, Mega Mixed Messages, Background Basics:  Text Style
Ink:  Spiced Marmalade, Peeled Paint (Ranger), Frost White (Clearsnap)
Tools:  Mat Stack 3 die
Accessories:  Ripe Avocado buttons, white silk ribbon, thread (Coats & Clark)

I wasted a lot of cardstock in the process, but I love the end result.  Definitely a fun technique to add to the stamping bag of tricks!

Have a great day, friends, and thanks for stopping by!

June 19, 2011

Make it Monday #19 & PDCC #86


Hello!  I'm back with a quick and simple card to share before we head out on a Father's Day adventure.  I hope all the Dads in your life have a great day, too!

This card was inspired by this week's Make it Monday challenge from Papertrey Ink to use the rock and roll stamping technique.  I was also itching to use these fun, summery colors from the Play Date Cafe challenge.


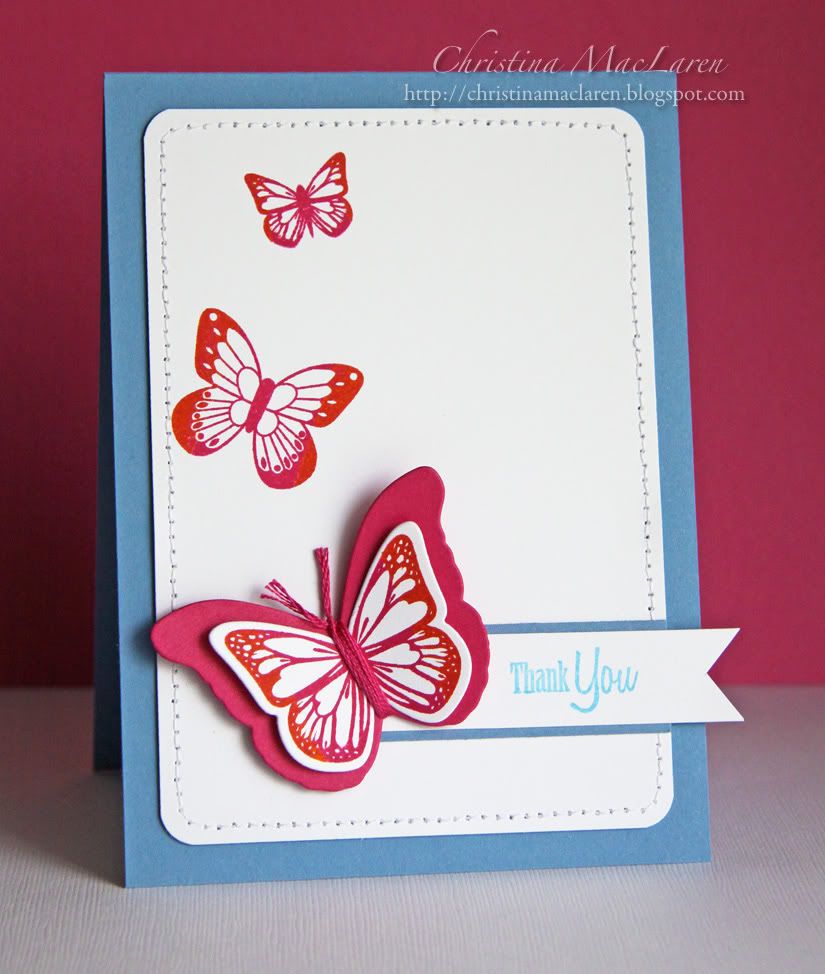
I started with a Blueberry sky card base that I cut to 4 in X 5.5 in, to make room for the banner to stick off the side and still fit in an A2 envelope.

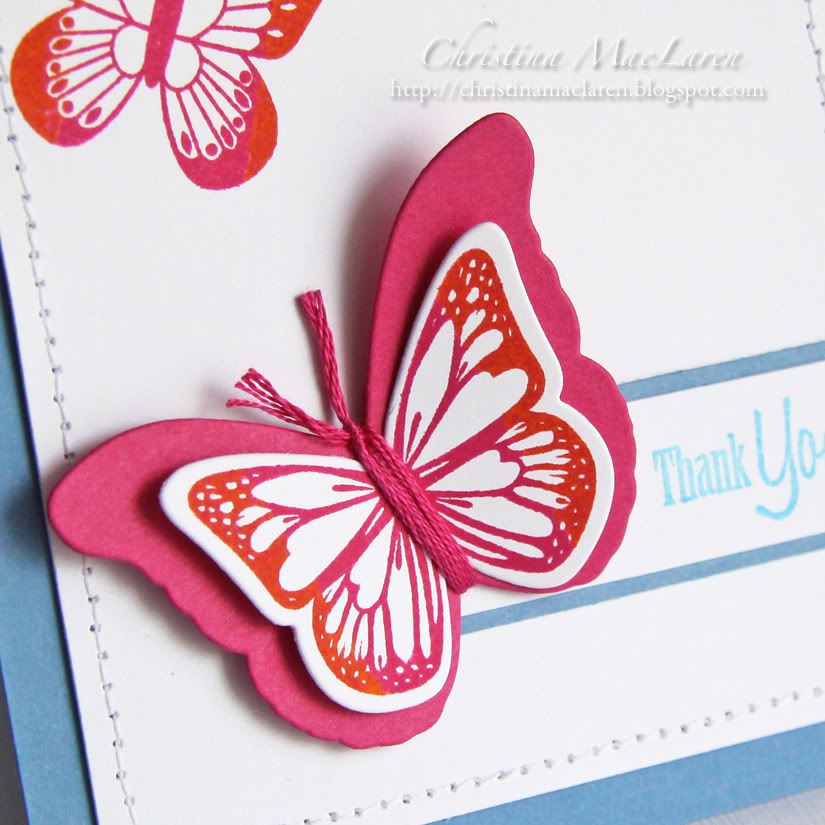
I stamped several butterflies from PTI's Butterfly Dreams by inking them first in hot pink and then inking just the outsides of the wings orange.

Once I had the butterflies placed, I wanted a dimensional element so I die cut the larger butterfly from Raspberry Fizz cardstock to layer under a smaller stamped one, wrapped them with floss, and adhered just the body so that the wings can be curled up a bit.


Cardstock:  Papertrey Ink (Blueberry Sky, Raspberry Fizz, white)
Stamps:  Papertrey Ink (Butterfly Dreams)
Ink:  Stampin' Up! (Melon Mambo), Ranger (Spiced Marmalade), Clearsnap (Cyan)
Tools:  Papertrey Ink (butterfly dies), We R Memory Keepers (Corner Chomper)
Accessories:  embroidery floss, thread

Okay, time to get my family moving if we're going to enjoy this beautiful day!  Thanks so much for your visit!
Related Posts Plugin for WordPress, Blogger...