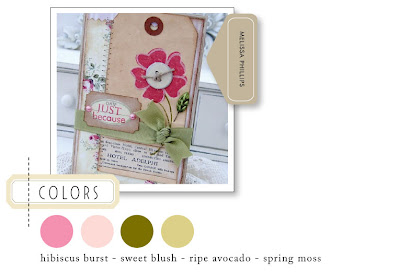
Good morning, friends! I hope your day is off to a great start! Today is Tuesday, which means a brand new color challenge at the
ColourQ. Our inspiration photo for this week features a cozy looking sweater that would be perfect for today's blustery weather!
I thought these colors would work perfectly for a little Valentine's Day project I had in mind. My kids love to write in notebooks, so I bought some $1 notepads at the craft store and made holders for them. This one was for my 3 year old son, who loves all things that go! I realized that I have a serious lack of little boy stamps, so I'll have to be on the hunt for more. Let me know if you can suggest any!
I started by cutting and scoring a piece of kraft cardstock to wrap around the notepad, leaving a 1 inch flap to fold over the top. I used an adhesive-backed circle of Velcro under the flap so that it will stay closed.
The striped cardstock at the bottom is stamped with PTI's Distressed Stripes using Not Quite Navy, Baja Breeze, and Tangerine Tango ink. I cut a border with a spiral notebook punch. The truck was stamped onto Tangerine Tango cardstock, cut out and attached with foam adhesive. I punched some confetti hearts to put in the back of the truck! Finally, I stamped a sentiment using Martha Stewart letters.
Cardstock: Stampin' Up! (Tangerine Tango, Cherry Cobbler, Not Quite Navy), Papertrey Ink (white), Bazzill (kraft)
Stamps: Sandylion (Boy Clear Stamps), Papertrey Ink (Distressed Stripes), Martha Stewart (Serif Font), Inkadinkadoo (Chelsea Alphabet)
Ink: Stampin' Up! (Not Quite Navy, Baja Breeze, Tangerine Tango), Inkadinkadoo (Black), Inkssentials (white gel pen)
Tools: EK Success (border punch), Martha Stewart (heart confetti punch, Scoring board), Marvy Uchida (medium heart punch) We R Memory Keepers (Corner Chomper)
Accessories: Michaels (notepad, Velcro spots)
Here's what the notebook looks like when it is open. I should mention that I removed the magnet strip from the back of the notepad, then attached it to the cardstock using super sticky tape.
The only thing I'm not happy with is that the flap doesn't lay flat on the front. I thought my 3 year old would need to have the flap this way in order to open it easily, but when I made one for my 5 year old daughter I folded the flap under the front cover so that it looks nice and flat. Here's a peek at how it turned out:
Cardstock: Papertrey Ink (Dark Chocolate, Hibiscus Burst, Spring Moss, white)
Patterned paper: Papertrey Ink (2008 Bitty Dot Basics)
Stamps: Papertrey Ink (Baby Button Bits), Martha Stewart (Serif font), Inkadinkadoo (Chelsea alphabet)
Ink: Papertrey Ink (Dark Chocolate)
Tools: Papertrey Ink (medium scallop border die), Marvy Uchida (medium heart punch), We R Memory Keepers (Corner Chomper)
Accessories: Diamond Dust, button, DMC floss
Make sure you click over to the
ColourQ to see what the rest of the DT has created this week, and be sure to link up your project to be in the running for the Colour Queen!
Thanks for checking in with me today! I hope your day is a great one!


