February 28, 2013

The 12 Kits of Holidays--February 2013


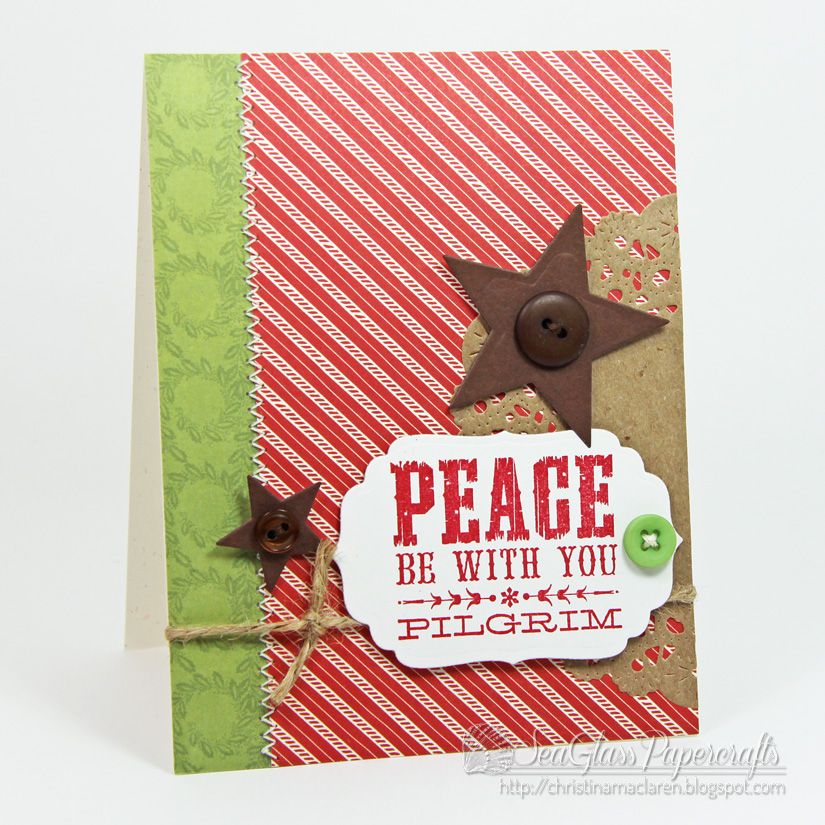
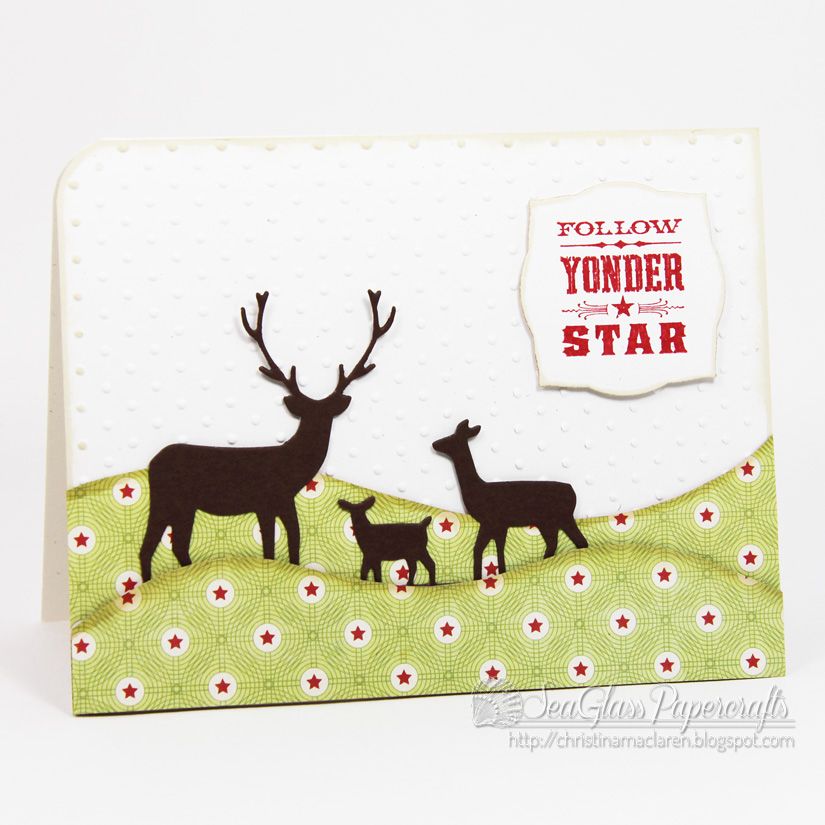
Oh my heavens, what happened to February?!  This month has just flown by, and I can hardly believe it's time for another round of The 12 Kits of Holidays!  Check out the country-inspired Christmas kit that Renee sent us this month:


I actually struggled with this kit for a while because there was so much stuff to work with!  But I managed to get 4 cards done, and luckily have lots of supplies left to use later.  :)
Cardstock:  Papertrey Ink (Rustic White)
Patterned paper:  Echo Park (This and That Christmas)
Stamp:  Waltzingmouse (Yonder Star)
Ink:  Stampin' Up! (Real Red)
Tools:  Papertrey Ink (Parisian Doily die), WPlus9 (star dies)
Accessories:  My Favorite Things (buttons), Michaels (twine)

Cardstock:  Papertrey Ink (Rustic White, Pure Poppy, Dark Chocolate)
Patterned paper:  Echo Park (This and That Christmas)
Stamp:  Waltzingmouse (Woodenheart Alphabet, Yonder Star Background)
Ink:  Stampin' Up! (Real Red, Chocolate Chip)
Tools:  Papertrey Ink (Alpha Blocks die), pinking shears, corner rounder
Accessories:  My Favorite Things (button), Michaels (ribbon)

Cardstock:  Papertrey Ink (Rustic White, Dark Chocolate)
Patterned paper:  Echo Park (This and That Christmas)
Stamp:  Waltzingmouse (Yonder Star)
Ink:  Stampin' Up! (Real Red), Papertrey Ink (Chamomile tea dye)
Tools:  Memory Box (Deer Trio die), Sizzix (embossing folder), Spellbinders (label die), corner rounder
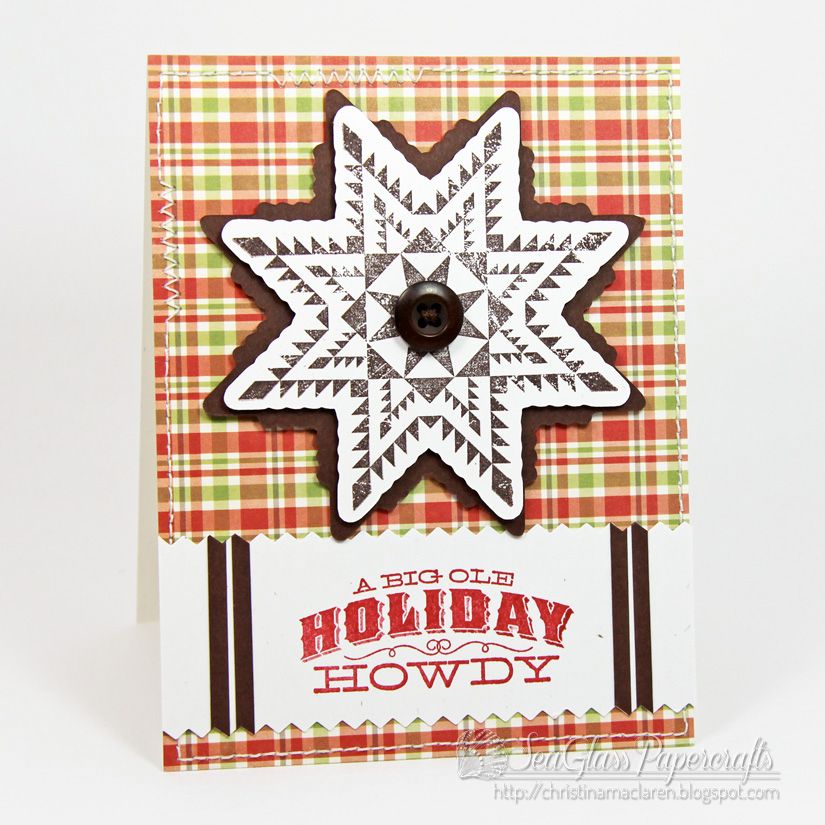


Cardstock:  Papertrey Ink (Rustic White, Dark Chocolate)
Patterned paper:  Echo Park (This and That Christmas)
Stamp:  Waltzingmouse (Yonder Star)
Ink:  Stampin' Up! (Real Red, Chocolate Chip)
Tools:  Waltzingmouse (Yonder Star cut files), pinking shears
Accessories:  My Favorite Things (button)


Keeping it short and sweet so you can visit the rest of the 12 Kits crew!

Joyce: Cards-by-the-Sea
Renee: ItsAPatchworkLife
Tracey: InMyCreativeOpinion
Sharron: OnPapillionWings
Jeanne: AKeptLife
Amy: Stamp-n-Paradise
Kim: CupcakesCardsandKim
Kara: KandRDesigns
Kelly: GinghamGirl
Jessica: The Paper Parade

Thanks for stopping by!

February 22, 2013

CFC91--Hi Ho Silver


Happy Friday!  Who's ready for the weekend?  I hope you'll find time for something fun, perhaps even a challenge or two.  :)

This week's CAS-ual Fridays challenge:  use silver on your clean and simple creation.  I rarely reach for metallics, so I really enjoyed the push to do something different.


Despite the fun challenge, it's also a sad week at CAS-ual Fridays, as we're saying farewell to several Girl Fridays.  They all have exciting things in their future, so we're sure to keep seeing their incredible creations in the blogosphere, but they will be greatly missed at CAS-ual Fridays.  :(  I hope you'll take some time to visit each of them to wish them well!

As for my card this week, I couldn't resist using some silver glitter paper on my card base.  The white panel was stamped repeatedly with a border from Mama Elephant's Trifecta in aqua.  I added a sentiment from WPlus9's Heartfelt Mix, some silver cord, and a few silver sequins.

Cardstock:  WPlus9 Design Studio (White)
Glitter paper: Michaels
Stamps:  Mama Elephant (Trifecta), WPlus9 Design Studio (Heartfelt Mix)
Ink:  Stampin' Up! (Pool Party), Memento (Tuxedo Black)
Tool:  Fiskars (hole punch)
Accessories:  silver cord, sequins

I can't wait to see your entry in the gallery!

Thanks for visiting today, friends!  Have a great start to your weekend.

February 17, 2013

Kids' Craft--Magnetic Bookmarks

Cardstock:  Stampin' Up! (Pretty in Pink, Lucky Limeade), WPlus9 Design Studio (White)
Stamps:  Papertrey Ink (Tiny Treats: Valentine, Boxes, Bags, & Tags), Lawn Fawn (Chevron Backdrops)
Ink:  WPlus9 Design Studio (White), Memento (Tuxedo Black), Stampin' Up! (Real Red, Lucky Limeade, Pretty in Pink)
Tools:  Spellbinders (circle die), corner rounder

Hi friends!  How about a just-for-fun post tonight?  I've been looking forward to sharing the Valentines my daughter and I made for her class.  We're not big on giving out candy as party favors, so I'm always trying to think of alternatives.

This past Christmas, my daughter got some magnetic bookmark clips in her stocking, and that was the inspiration for these little magnetic clips.  Aren't they cute?  

We made simple cards out of cardstock, Lucky Limeade for the boys and Pretty in Pink for the girls, and clipped the bookmarks to the top.  For reference, the cards are 2 1/2 X 3 1/4 inches and the clips are 1 3/8 X 4 1/2 inches.

Here's a view of the clips once they're taken off of the cards:


This design could be adapted to whatever stamps and dies you have in your stash.  I used a Spellbinders circle die to round the ends of a strip of white cardstock, then my daughter did some basic stamping with images from PTI's Tiny Treats: Valentine and Boxes, Bags, & Tags.  She colored the images with pencils.

I stamped the fronts and backs of the bookmarks using Lawn Fawn's Chevron Backdrops, masking the image and sentiment on the front.


After scoring and folding the strips in the middle, I cut self-adhesive magnetic squares from a large roll, stacked the magnets together, and removed the backing from one square to attach it to the inside of the strip.

One tip if you make these yourself:  Make sure you orient the magnetic squares so that they are strongly attracted to each other.  In some orientations they have a weaker attraction, and once you adhere the magnets you won't be able to move them.

I removed the paper backing from the other magnet, folded the top of the strip down and pressed it onto the adhesive.


These were so much fun for my daughter and I to make together, and hopefully her classmates will enjoy using them.

If you decide to make any of these, I'd love to hear how they turn out!  I already have plans of making some Halloween themed clips for our annual party's goodie bags.

Hope you've had a great weekend!  Thanks for visiting today!

February 15, 2013

CFC90--Black and White plus 1


Have you been following all of the excitement at CAS-ual Fridays?  Tonight's the night when the new team of Girl Fridays is being introduced, and I'm thrilled to say that I will be staying on for another term!  You can see the rest of the DT announcement on the CAS-ual Fridays Challenge blog.  Let me just say--I feel incredibly humbled to part of such a talented group!

As if that weren't exciting enough, tonight is also Release Night for the latest batch of CAS-ual Fridays Stamps!  To celebrate, CAS-ual Fridays Stamps is sponsoring this week's challenge, which is to use black and white plus one other color on your clean and simple design.


I used an image and sentiment from one of the newest sets, Only You.  I love the clever mix and match sentiments in this set, centered on the word "you".

I chose Lucky Limeade as my accent color, stamping the flourish with it and coloring some rhinestones with my Copics to match.

The black cardstock panels are debossed with a diamond pattern for subtle texture, but the sentiment panel is really the star of the show in this design.

Cardstock:  WPlus9 Design Studio (Black, White)
Stamps:  CAS-ual Fridays Stamps (Only You)
Ink:  Stampin' Up! (Lucky Limeade), Memento (Tuxedo Black), Copic markers
Tool:  Papertrey Ink (diamond impression plate)
Accessories:  rhinestones

I hope you'll join in the fun this week!  I always love seeing the splashes of color in the gallery.

I promised you photos of my daughter's Valentines, and I hope to be back with those over the weekend.  There just aren't enough hours in the day since I took on teaching a class this semester, and I've missed spending time with all of you here in blog land.

Have a great Friday!

February 9, 2013

Cloud9 February Blog Hop


It's time for another Cloud9 Blog Hop!


This month's inspiration photo comes from the Black Eiffel blog, featuring an assortment of kids' Valentine treat bags:

via Black Eiffel
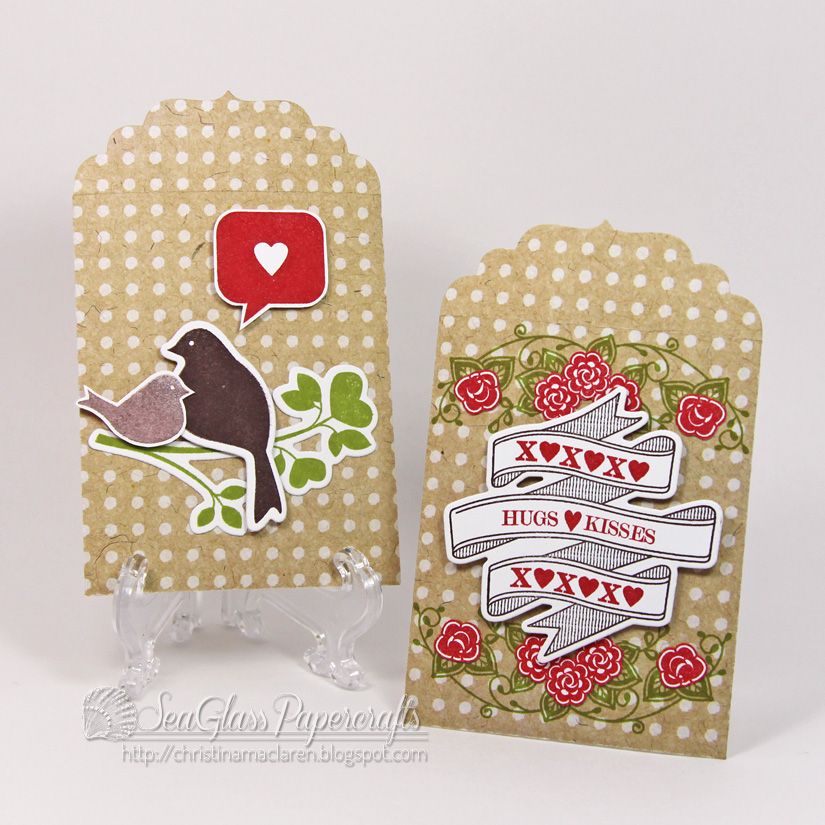
I took the inspiration pretty literally and whipped up some little envelopes to put in my kids' lunch boxes on Valentine's Day.

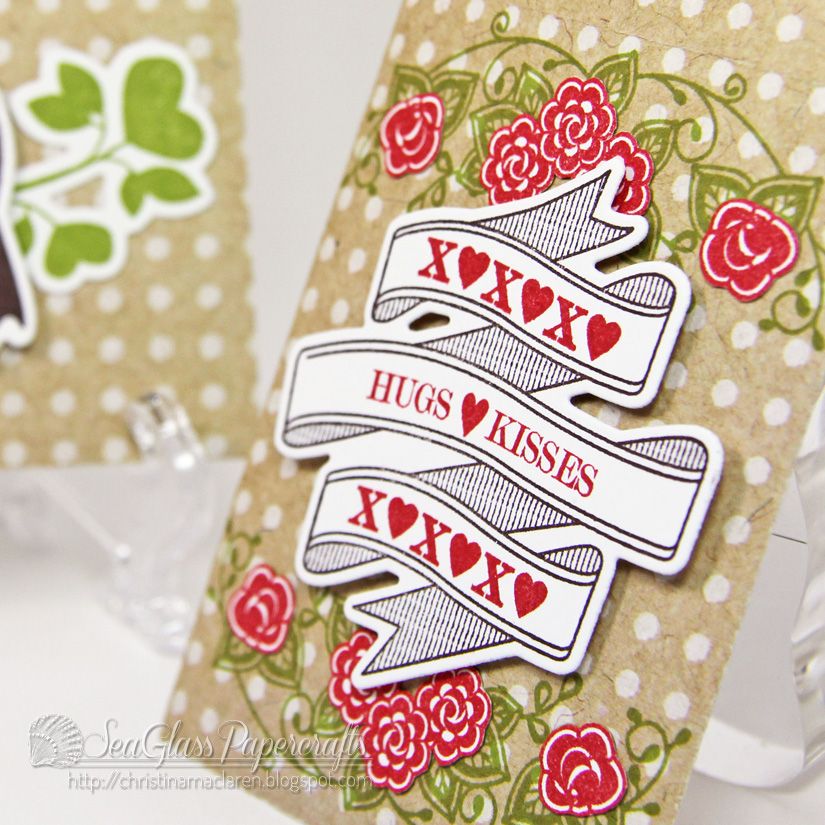
Using WPlus9's seed packet die, I cut the envelopes from this kraft, polka-dotted paper from a collection that I must have bought three or four years ago.  I just keep whittling away at it year by year.  :)

For my daughter's envelope, I used the just-released sets Chantilly Trim (for the floral image) and Written on Ribbon (for the banner), as well as the companion die.  The sentiments are from Love You More.

My son's envelope is decorated using images from Love Birds, along with the coordinating dies.  Since my little guy doesn't do much reading yet, I opted for the heart speech bubble from Love You More in lieu of a sentiment.

Cardstock:  WPlus9 Design Studio (White)
Patterned paper:  (K & Company)
Stamps:  WPlus9 Design Studio (Chantilly Trim, Written on Ribbon, Love Birds, Love You More)
Ink:  Stampin' Up! (Lucky Limeade, Real Red, Chocolate Chip)
Tools:  WPlus9 Design Studio (Written on Ribbon die, Love Birds dies)

I'll probably fill these with stickers and a love note, which should put a smile on their faces, especially since this mom is rarely organized enough ahead of time to put notes in lunch boxes.  :)

Please join us for this month's hop!  We'd love to see what you come up with using your WPlus9 goodies.

I'm off to tackle the shoveling!  Thanks for spending a bit of your day with me.

February 8, 2013

CFC89--Love Song


Hello again!  Is everyone on the East Coast ready for the blizzard?  They're calling for 2 feet of snow here, and as excited as my kids are to finally do some sledding, I'm hoping the forecast is wrong.  Snow days are great until you have to shovel.  :)

It's CAS-ual Fridays challenge time, so let's get right to it:


Doesn't Michele come up with the best themes every week?  This week, in honor of the Grammy awards coming up on Sunday, we're challenging you to use a song as inspiration for your clean and simple design.

Our sponsor this week is Michele's very own CAS-ual Fridays Stamps, so be sure to play along for a chance to win some of her fabulous stamps!

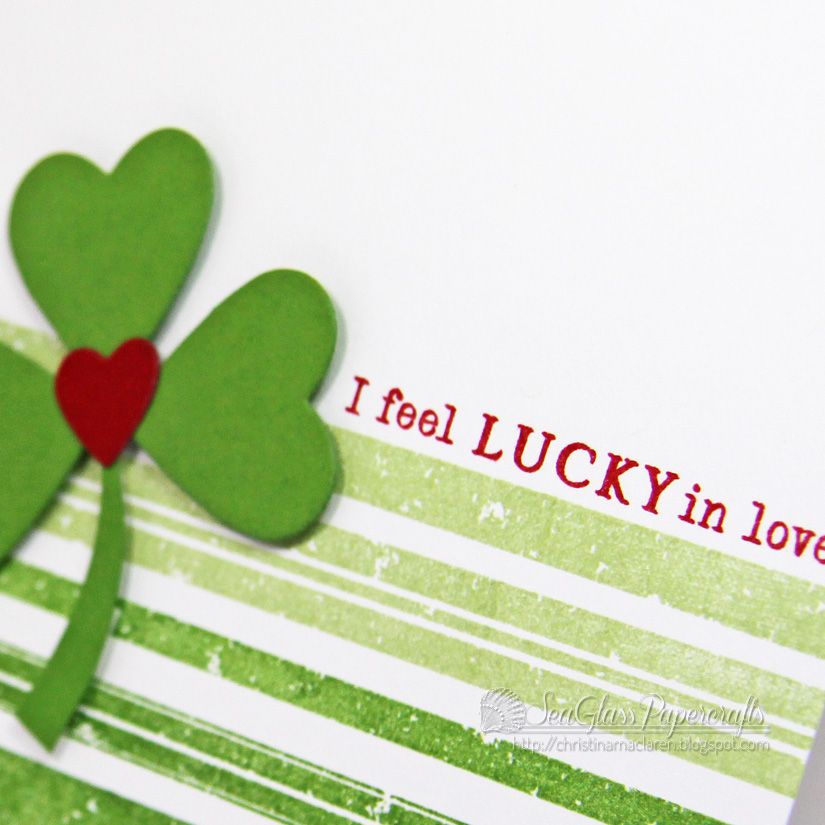
This was a tough one for me, and several of my ideas didn't quite translate to paper.  Then, while scrolling through song titles on the web, I came across the song "Lucky" by Jason Mraz and Colbie Caillat.  It made me think of this sentiment in the PTI mini set, Luck of the Irish.  Since my hubby loves green and the Boston Celtics, I'm thinking he won't mind this unconventional Valentine.  :)

Cardstock:  Stampin' Up! (Gumball Green, Real Red), WPlus9 Design Studio (White)
Stamps:  Papertrey Ink (Distressed Stripes, Luck of the Irish)
Ink:  Stampin' Up! (Gumball Green, Certainly Celery, Real Red)
Tools:  Papertrey Ink (heart dies)

The hearts and "leaves" were cut with PTI's Heart Prints dies, and I hand trimmed the stem.

Please join us this week with your song-inspired creation!  It should be fun!

Thanks for stopping by!
February 6, 2013

An Awesome Birthday Card with CAS-ual Fridays Stamps


Hey there!  I have a card featured over on the store blog for CAS-ual Fridays Stamps today, so I'm popping in quickly to share it here, too.

Our good friends have a son who will be turning 8 this year, so I thought it would be fun to use stamps from Rad to get a head start on his birthday card.  His dad is the only person I've ever heard use the phrase "like a boss", so it seemed appropriate.  :)

This is super easy to put together, once I'd settled on my design and colors.  I placed the uninked stamps on the top red panel to line them up, picked them up all at once with my acrylic block, then stamped them with Real Red ink.

The nice thing about the white strip?  If you mess up the stamping on the white card base, you can always stamp it again on a separate strip and slip it into place.  Not that I would actually know that from experience or anything.  ;)

Cardstock:  Stampin' Up! (Real Red, Tangerine Tango), WPlus9 Design Studio (White)
Stamps:  CAS-ual Fridays Stamps (Rad)
Ink:  Stampin' Up! (Real Red, Tangerine Tango), Versamark
Tools:  Fiskars (star punch)
Accessories:  Filigree (white embossing powder)

Like the punched holes I've done before, I like the simple look of the punched out stars for a masculine card, and it's a bonus that it stays flat for mailing.

Thanks for stopping by today!  Come back tonight for a new CASE Study challenge!
Related Posts Plugin for WordPress, Blogger...