Showing posts with label chevron. Show all posts

February 17, 2013

Kids' Craft--Magnetic Bookmarks

Cardstock:  Stampin' Up! (Pretty in Pink, Lucky Limeade), WPlus9 Design Studio (White)
Stamps:  Papertrey Ink (Tiny Treats: Valentine, Boxes, Bags, & Tags), Lawn Fawn (Chevron Backdrops)
Ink:  WPlus9 Design Studio (White), Memento (Tuxedo Black), Stampin' Up! (Real Red, Lucky Limeade, Pretty in Pink)
Tools:  Spellbinders (circle die), corner rounder

Hi friends!  How about a just-for-fun post tonight?  I've been looking forward to sharing the Valentines my daughter and I made for her class.  We're not big on giving out candy as party favors, so I'm always trying to think of alternatives.

This past Christmas, my daughter got some magnetic bookmark clips in her stocking, and that was the inspiration for these little magnetic clips.  Aren't they cute?  

We made simple cards out of cardstock, Lucky Limeade for the boys and Pretty in Pink for the girls, and clipped the bookmarks to the top.  For reference, the cards are 2 1/2 X 3 1/4 inches and the clips are 1 3/8 X 4 1/2 inches.

Here's a view of the clips once they're taken off of the cards:


This design could be adapted to whatever stamps and dies you have in your stash.  I used a Spellbinders circle die to round the ends of a strip of white cardstock, then my daughter did some basic stamping with images from PTI's Tiny Treats: Valentine and Boxes, Bags, & Tags.  She colored the images with pencils.

I stamped the fronts and backs of the bookmarks using Lawn Fawn's Chevron Backdrops, masking the image and sentiment on the front.


After scoring and folding the strips in the middle, I cut self-adhesive magnetic squares from a large roll, stacked the magnets together, and removed the backing from one square to attach it to the inside of the strip.

One tip if you make these yourself:  Make sure you orient the magnetic squares so that they are strongly attracted to each other.  In some orientations they have a weaker attraction, and once you adhere the magnets you won't be able to move them.

I removed the paper backing from the other magnet, folded the top of the strip down and pressed it onto the adhesive.


These were so much fun for my daughter and I to make together, and hopefully her classmates will enjoy using them.

If you decide to make any of these, I'd love to hear how they turn out!  I already have plans of making some Halloween themed clips for our annual party's goodie bags.

Hope you've had a great weekend!  Thanks for visiting today!

July 27, 2012

CAS-ual Fridays #63


It's time for a new CAS-ual Fridays challenge!  This week we have a fun color combo for you to try:


Our sponsor this week is Stop and Scrap, where you can find great deals on patterned paper and more.    Thank you, Stop and Scrap!

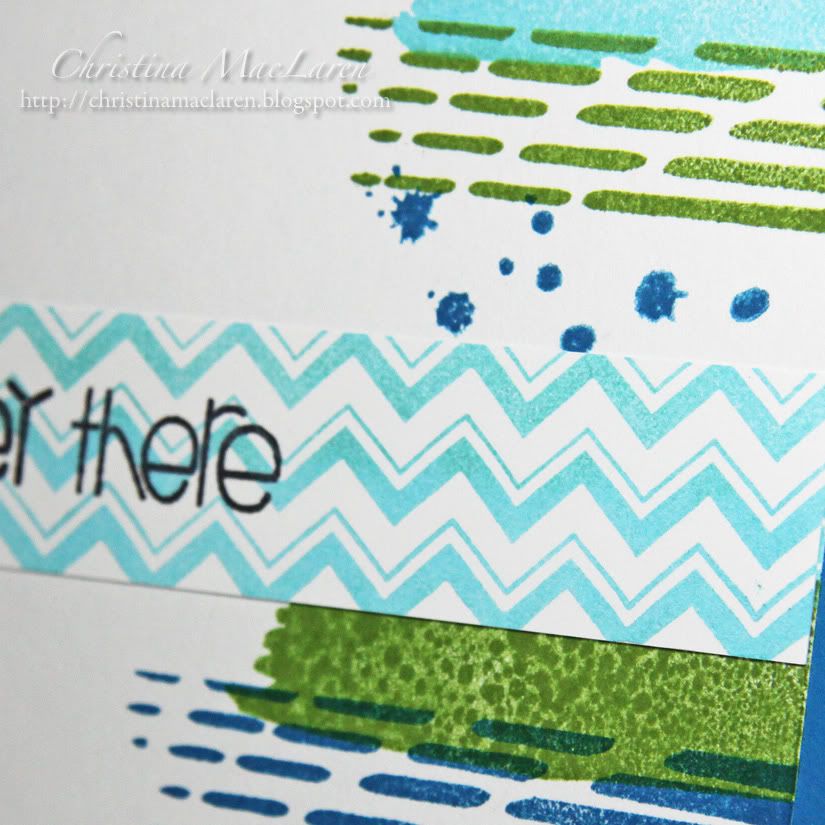
I didn't have much time for stamping this week, but I thought these colors would be great for a grungy but upbeat card for my brother.  I used stamps from The Craft's Meow's Typically Teen, layering them along the side of the card.

Originally I tried stamping the sentiment directly on the white panel, but I smudged it.  :(  To try to salvage it, I stamped a strip of cardstock with chevrons, added the sentiment, then layered it over the boo-boo.  

Cardstock:  Stampin' Up! (Pacific Point), WPlus9 Design Studio (White)
Stamps:  The Craft's Meow (Typically Teen), Lawn Fawn (Chevron Backdrops), Paper Smooches (Sentiment Sampler)
Ink:  Stampin' Up! (Pacific Point, Gumball Green), Papertrey Ink (Hawaiian Shores), Memento (Tuxedo Black)

What will you do with the challenge colors?  I can't wait to see your clean and simple creation!

I hope you have a fantastic weekend, friends!  Thanks for stopping by today.

May 26, 2012

Card Patterns sketch #167


Hello, friends!  I hope you're enjoying your weekend so far!  I'm just popping in to share my card for this week's Card Patterns sketch, which is another "keeper".


Our sponsor this week is a wonderful shop I recently discovered called Freckled Fawn, and they carry a fabulous assortment of washi tapes and accessories.  They've generously offered up a gift certificate to a random participant this week, so be sure to enter your creation for a chance to win!

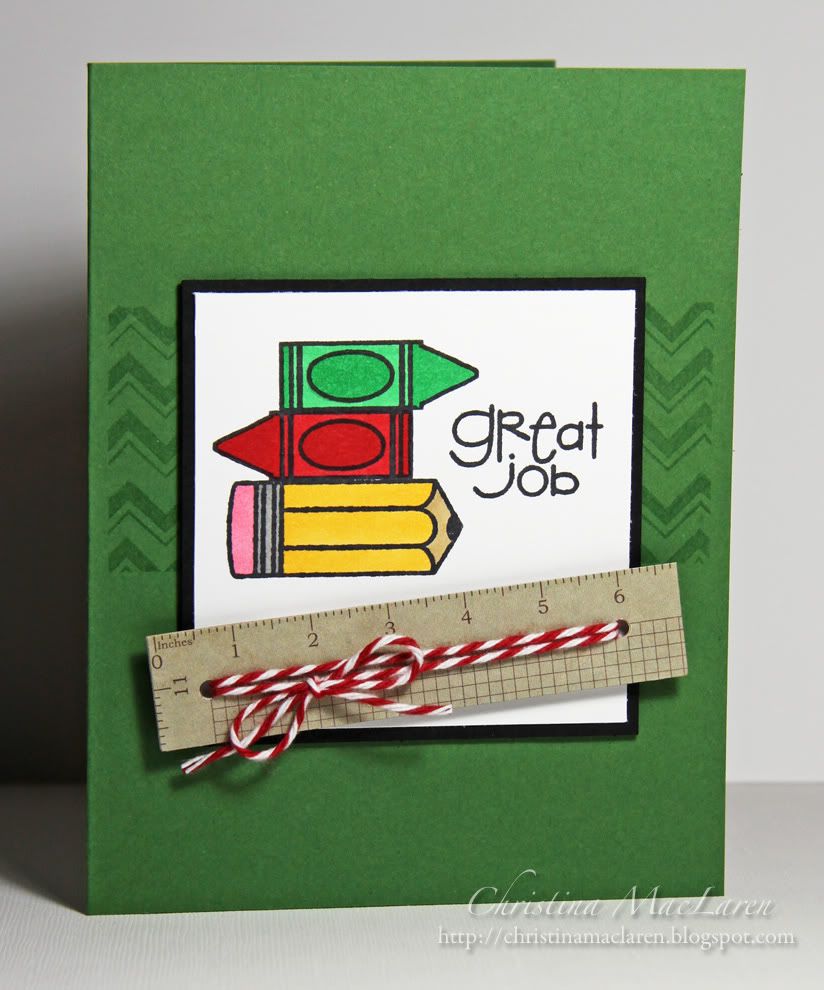
For the Design Team, this was a "stash" week, meaning we were free to use any supplies we wanted on our design.  I decided to make a card for my little guy, who had his last day of preschool on Friday (sniff, sniff).  His favorite color is green, so I used SU's Garden Green as my card base, masking and stamping a panel of chevrons in Versamark.

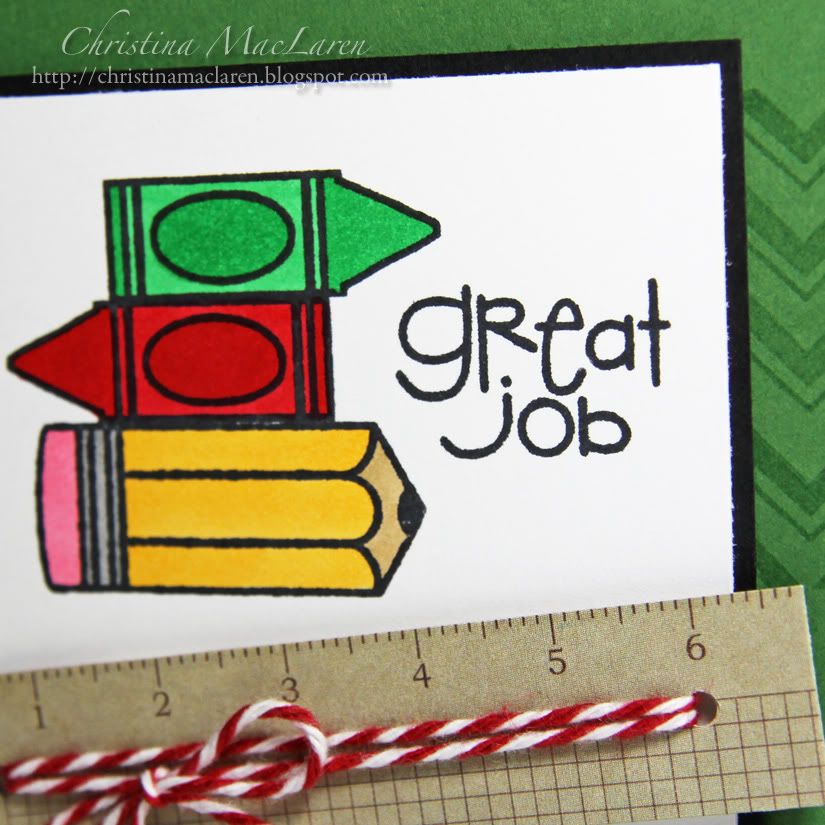
The focal image is an assortment of stamps from Paper Smooches' Smarty Pants set, which I stamped and colored with Copics.  

I was stumped for a while about what to use for the banner element of the sketch, and I would have loved to use a ruler, but I settled for a strip of grid patterned paper from Fancy Pants' Off to School collection.  I punched a hole in each end and wrapped it with baker's twine.

Cardstock:  Papertrey Ink (True Black, White), Stampin' Up! (Garden Green)
Patterned paper:  Fancy Pants Design (Off to School)
Stamps:  Paper Smooches (Smarty Pants), Lawn Fawn (Chevron Backdrops)
Ink:  Memento (Tuxedo Black), Versamark, Copic markers
Tools:  Fiskars (hole punch)
Accessories:  The Twinery (Maraschino baker's twine)

Stop by the Card Patterns blog for more inspiration, then be sure to link up your design for a chance to win this week's prize!

Thanks for stopping by!  I'll be back soon to share the card sets I made for my son's teachers.

Have a good one!
Related Posts Plugin for WordPress, Blogger...