Showing posts with label Spring Post. Show all posts

February 2, 2013

WPlus9 February/March Release Day 2


Welcome back to Day 2 of previews of the February/March release from WPlus9 Design Studio!  Today we're featuring two more gorgeous stamp sets and a collection of dies:

Lacey Layers
Lacey Layers Companion Dies
Embroidered Bouquet

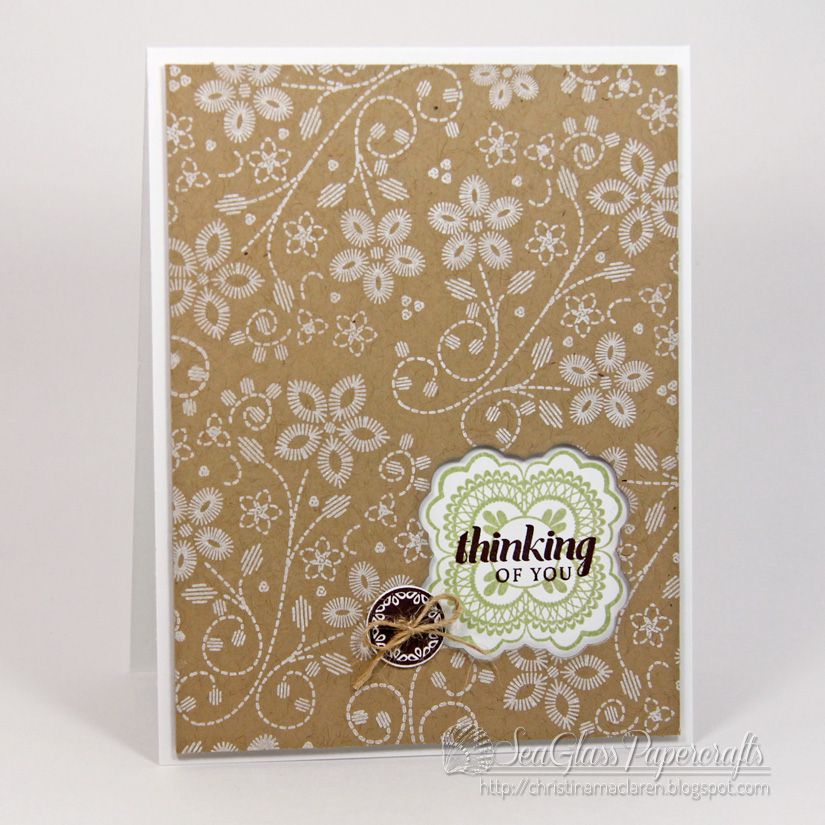
And as if new stamps and dies weren't enough, this month there is a new product being introduced that is a must-have:  white pigment ink!  Oh my goodness, I thought I had my go-to white ink all figured out, but this new ink from WPlus9 is amazing!  Just look at the coverage and crisp detail I got using it to stamp a background with Embroidered Bouquet onto kraft cardstock.

I used one of the new Lacey Layers dies to cut a window in the kraft panel, stamped the coordinating image from Lacey Layers in green, then added a sentiment from a set previewed yesterday, Very Vintage Florals.  That cute little button stamp is part of the Lacey Layers set, too.
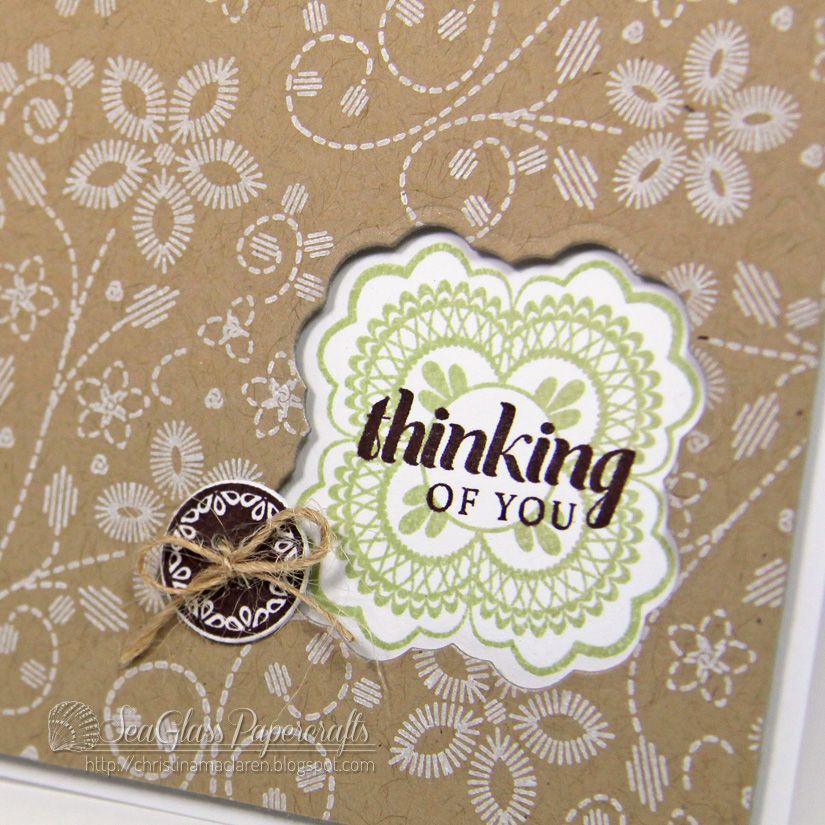
Cardstock:  WPlus9 Design Studio (White), Papertrey Ink (Kraft)
Stamps:  WPlus9 Design Studio (Embroidered Bouquet, Lacey Layers, Very Vintage Florals)
Ink:  WPlus9 Design Studio (White), Stampin' Up! (Pear Pizzazz, Chocolate Chip)
Tools:  WPlus9 Design Studio (Lacey Layers dies)
Accessories:  jute twine

My next card was difficult to photograph, so I apologize for the glare.  I used multiple images from Lacey Layers, stamped in Versamark and heat embossed with clear powder on WPlus9's black cardstock.  I added a sentiment from Spring Post on a strip of cream cardstock, using one of the circle dies included in the Lacey Layers Companion die set to round the end of the strip.
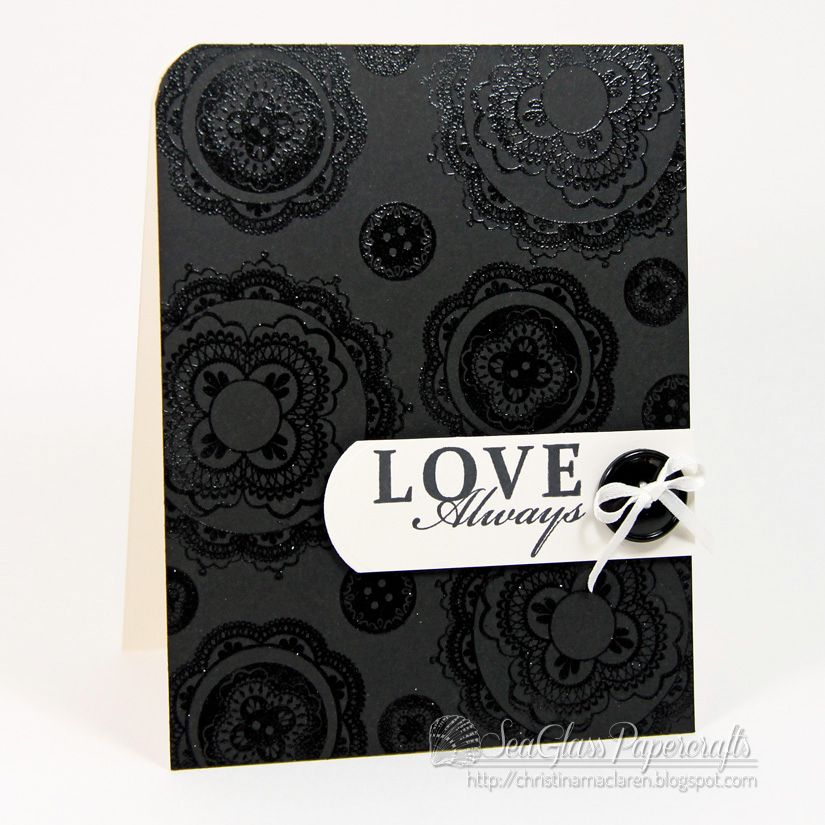

Don't let the reflection fool you--these images are incredibly detailed and stamp beautifully!  And this card looks pretty amazing in real life, I must say.  :)
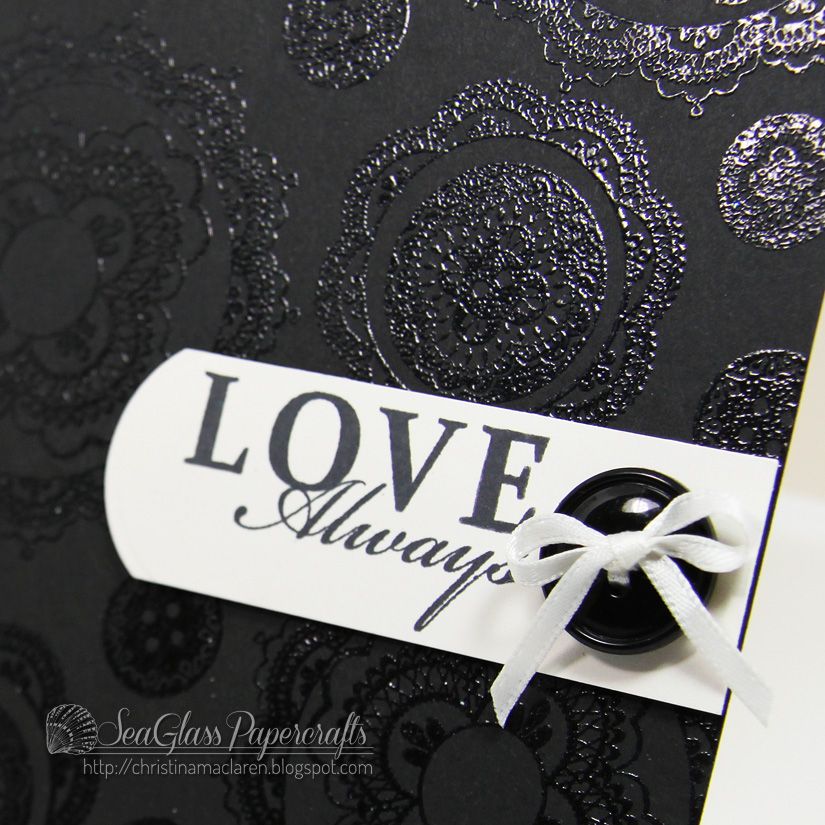
Cardstock:  WPlus9 Design Studio (Black), Papertrey Ink (Vintage Cream)
Stamps:  WPlus9 Design Studio (Lacey Layers, Spring Post)
Ink:  Versamark, Memento (Tuxedo Black)
Tools:  WPlus9 Design Studio (Lacey Layers dies), We R Memory Keepers (Corner Chomper)
Accessories:  Stampendous (clear embossing powder), button, ribbon

You know the Design Team will have some amazing samples to share.  They always do.  :)


Thanks so much for joining me again today!  Stop by again tomorrow for Day 3 of previews!

October 18, 2011

Happy Birthday Karen!


Welcome, friends!  You've come on a very special day.  Today some blogging buddies and I are throwing a virtual birthday party for our sweet and talented friend, Karen Baker!  Each of us is bringing something to the party to share with Karen, so be sure to see the bottom of my post for the full list of participants.
I was delighted to be asked to be a part of this blog hop, as I have long admired Karen's creations as well as the stories, quotes, and memories she shares on her blog, The Bald Dragonfly.  More importantly, Karen has become one of those treasured blog friends who never fails to leave encouraging comments wherever she goes.  Karen, you are a constant source of inspiration and a wonderful friend, and I wish you a birthday full of fun and surprises!

Because of Karen's gift for writing and sharing bits and pieces of her life through her blog, I made an altered notebook that she can use for recording memories, ideas, poems, or whatever comes to mind.  

There are a few details of my design that make me think of Karen, too.  First, I went with a nature theme because Karen always uses earth tones so beautifully, and her cards often have a rustic look or natural elements.  Next, I went with a stamp set that she and I recently used in her Carbon Copied feature, WPlus9's Woodgrain Silhouettes Additions.  Finally, I stamped a quote that goes well with the nature theme but also speaks to Karen's amazing creativity and ability to do things in new and unexpected ways.

Cardstock:  Stampin' Up! (Garden Green), Papertrey Ink (Rustic Cream)
Patterned paper:  Stampin' Up! (Neutrals collection)
Stamps:  WPlus9 (Woodgrain Silhouettes & Additions, Spring Post), Unity (quote), Papertrey Ink (Postmarks, Background Basics:  Text Style)
Ink:  Stampin' Up! (Garden Green, Chocolate Chip), Papertrey Ink (Dark Chocolate)
Tools:  Papertrey Ink (Woodgrain impression plate, postage die), EK Success (border punch), Fiskars (hole punch)
Accessories:  Papertrey Ink (buttons), muslin fabric, DMC floss, Mod Podge

As promised, there are lots of talented ladies attending this virtual party, so hop along and see what they've created for the occasion.  And a very special thanks to Erin Thiem for organizing this event!

Karen, the birthday girl, http://thebalddragonfly.blogspot.com/
 
Thanks for stopping by!

October 5, 2011

WPlus9 WCMD Halloween Challenge


Hello!  I'm popping in with an entry for a challenge over on the talented Lea Lawson's blog.  She has a WPlus9 stamp set up for grabs, so you know I have to play for a chance to win!  The challenge is to make a stamped Halloween project.  Easy peasy!

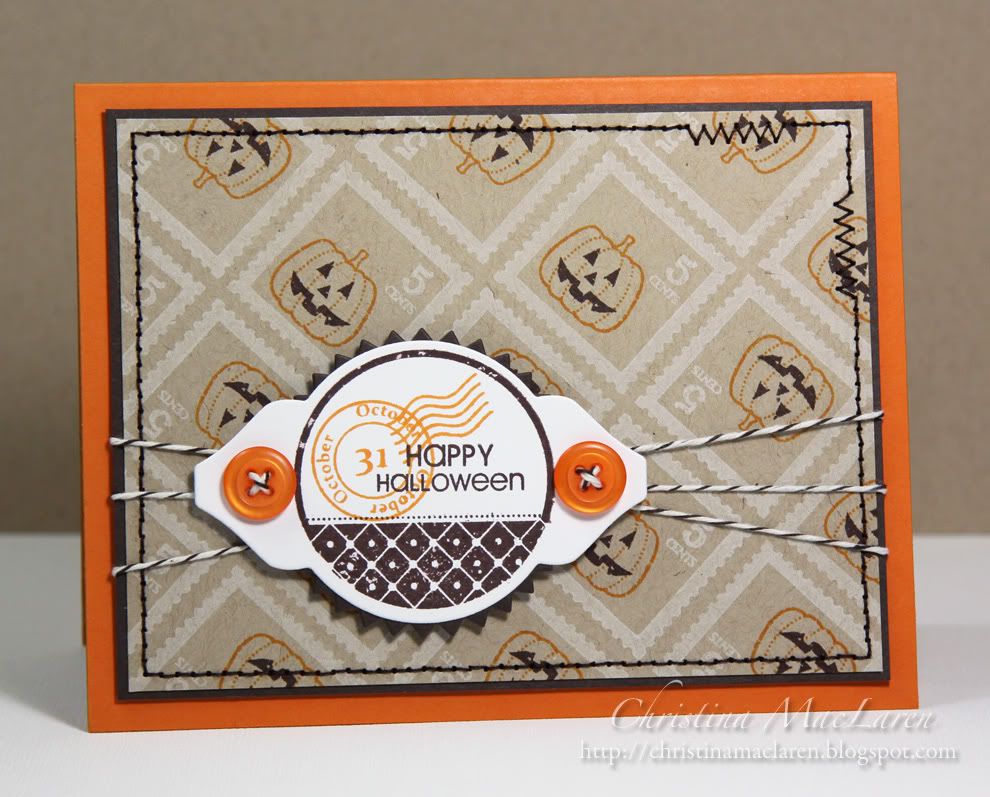
I don't have any fall or Halloween stamps from WPlus9, but I wanted to use some of Dawn's stamps that I do have, so I pulled out two favorites:  Spring Post and Postmarks.  On a kraft panel, I repeatedly stamped the postage in white ink.  I love this image because you can customize it with any small stamps in your collection.  I chose the pumpkin from PTI's Tag-its #7.

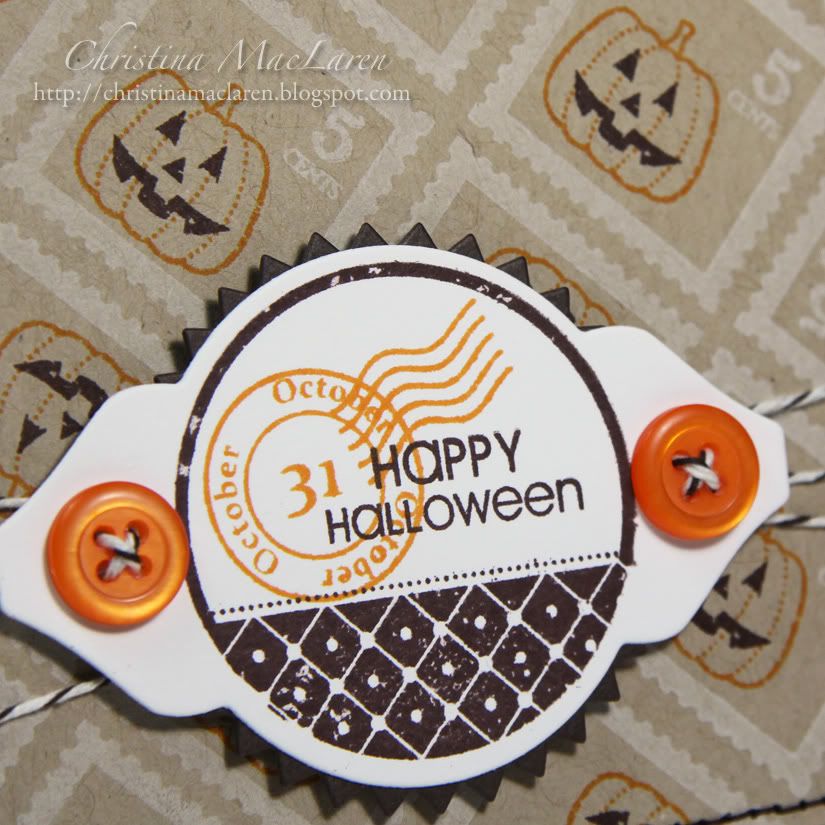
I stamped the tag and sentiment from Tag-its #7 onto a Mat Stack 2 label, then added an orange postmark with "October" and "31", from WPlus9's Postmarks.  Orange buttons and some brown and white twine finish the card front.

Cardstock:  Papertrey Ink (Orange Zest, Kraft, white), Stampin' Up! (Early Espresso)
Stamps:  WPlus9 Design Studio (Spring Post, Postmarks), Papertrey Ink (Tag-its #7)
Ink:  Stampin' Up! (Early Espresso), Clearsnap (Frost White), Ranger (Spiced Marmalade)
Tools:  Papertrey Ink (Mat Stack 2, Limitless Layers dies)
Accessories:  Papertrey Ink (buttons), baker's twine, thread

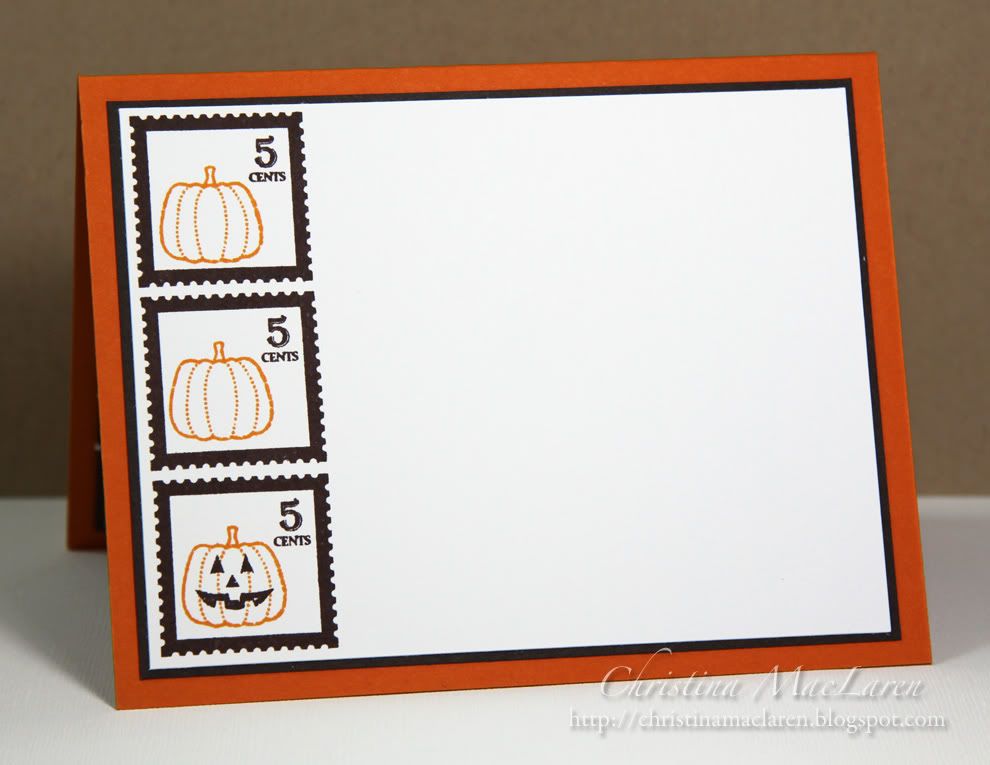
I haven't given you a peek at the inside of a card for a while, so here you go:


Thanks to Lea for hosting this challenge!  And thanks to you for stopping by, friend!

July 9, 2011

JUGS #92 & CR84FN #33


Hello, friends!  I'm so glad to be back for another week as Guest Designer with Just Us Girls!  This week Kristin has challenged us with a fun technique--making cardstock buttons!  There's a great tutorial for this technique HERE.  I chose to use the challenge colors at CR84FN as well, with kraft as my neutral.

ETA:  Check out this wonderful tutorial by JUGS Designer Dana at Want2Scrap!


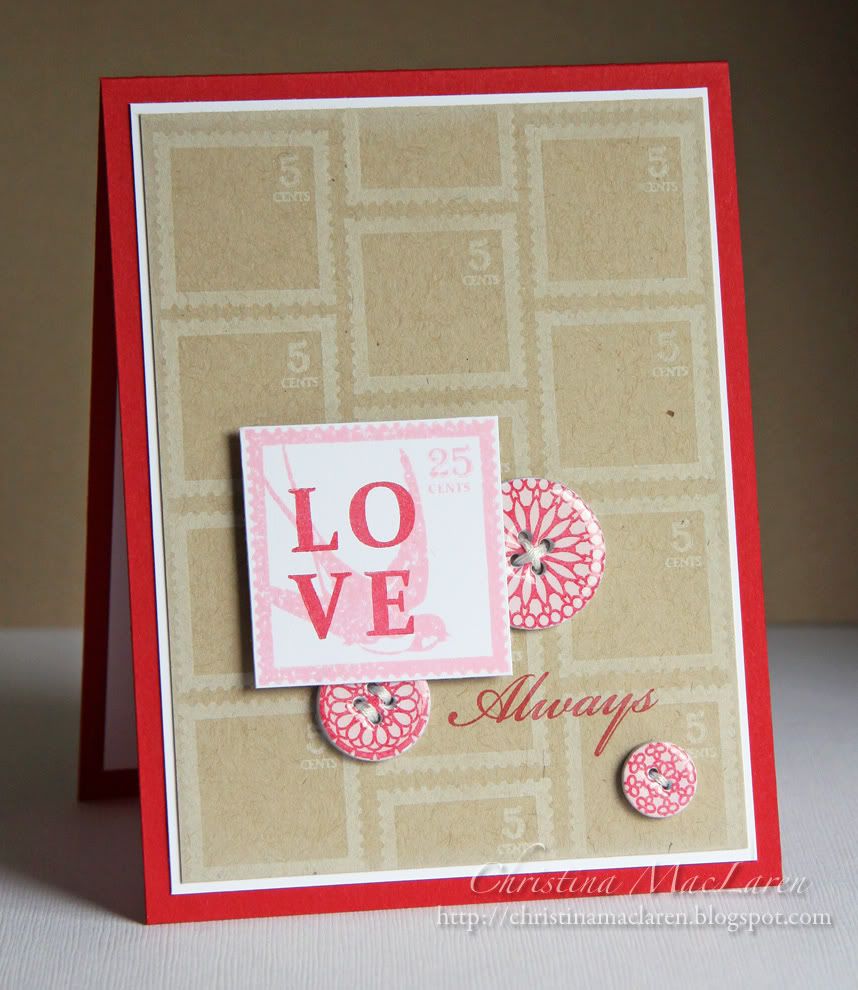
The idea for this card started with the buttons, which I made using Papertrey's button dies, although you can make yours with any shape of die or punch you want.  Each button has 5 layers of cardstock to give it a nice thickness.  On the top layer of white cardstock, I stamped an image from WPlus9's Mehndi Medallions.  I can't tell you how much I love how this turned out!  A coat of Glossy Accents and these babies look almost like the real thing!

For the rest of the card, I stamped images from WPlus9's Spring Post, including the letters L-O-V-E over the bird postage stamp.  

Cardstock:  Papertrey Ink (Kraft, Pure Poppy, white)
Stamps:  WPlus9 Design Studio (Spring Post, Mehndi Medallions)
Ink:  Clearsnap (Frost White, Cranberry), Stampin' Up! (Pretty in Pink)
Tools:  Papertrey Ink (button dies)
Accessories:  DMC floss

Another sweet card for my sweet hubby.  I don't think he'll mind the pink, do you?  *grin*

I hope you'll give this technique a try and share your creation with us at JUGS!

Thanks for stopping by!
Related Posts Plugin for WordPress, Blogger...