February 6, 2013

An Awesome Birthday Card with CAS-ual Fridays Stamps


Hey there!  I have a card featured over on the store blog for CAS-ual Fridays Stamps today, so I'm popping in quickly to share it here, too.

Our good friends have a son who will be turning 8 this year, so I thought it would be fun to use stamps from Rad to get a head start on his birthday card.  His dad is the only person I've ever heard use the phrase "like a boss", so it seemed appropriate.  :)

This is super easy to put together, once I'd settled on my design and colors.  I placed the uninked stamps on the top red panel to line them up, picked them up all at once with my acrylic block, then stamped them with Real Red ink.

The nice thing about the white strip?  If you mess up the stamping on the white card base, you can always stamp it again on a separate strip and slip it into place.  Not that I would actually know that from experience or anything.  ;)

Cardstock:  Stampin' Up! (Real Red, Tangerine Tango), WPlus9 Design Studio (White)
Stamps:  CAS-ual Fridays Stamps (Rad)
Ink:  Stampin' Up! (Real Red, Tangerine Tango), Versamark
Tools:  Fiskars (star punch)
Accessories:  Filigree (white embossing powder)

Like the punched holes I've done before, I like the simple look of the punched out stars for a masculine card, and it's a bonus that it stays flat for mailing.

Thanks for stopping by today!  Come back tonight for a new CASE Study challenge!

February 5, 2013

WPlus9 February/March Release Day!


It's finally here!  It's Release Day at WPlus9, and all of the new stamps, dies, ink, and cardstock that have been previewed over the past few days are now available in the WPlus9 store!  

To celebrate the release, I have one more project to share which uses three of the new stamp sets and two of the companion dies.  This is my last post as a Guest Designer, but I want to say a huge thank you to Dawn, the Design Team, and all of you for your wonderful comments and enthusiasm over the past week!

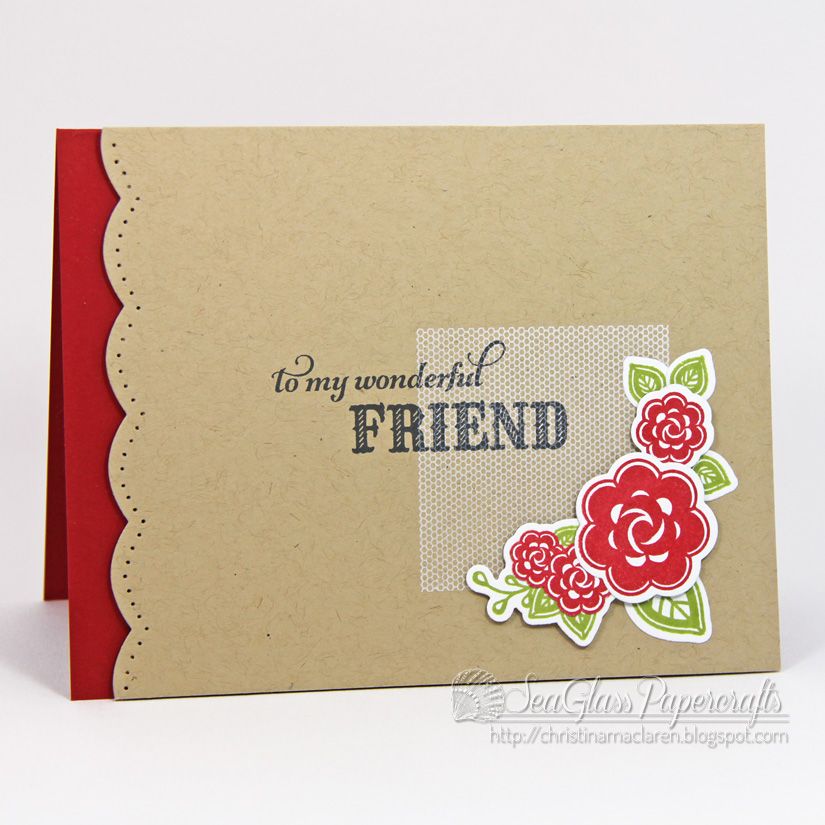
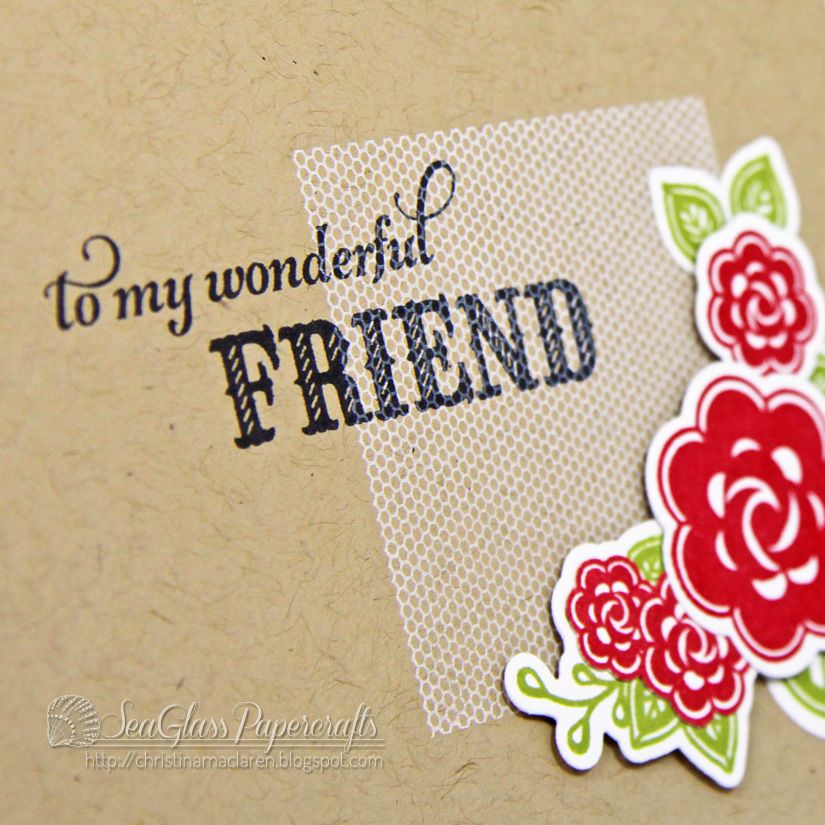
For my card, I stamped the mesh panel from Chantilly Trim onto kraft cardstock using the new white ink.  The sentiment, from Embroidered Bouquet, is stamped on top of it in black, and I die cut and stamped flowers from Very Vintage Florals to embellish the corner.

I die cut the left side of the kraft panel using the Scalloped Border die and pierced along the edge, then mounted the entire panel onto a Cupid's Bow card base.

Cardstock:  WPlus9 Design Studio (Cupid's Bow, White), Papertrey Ink (Kraft)
Stamps:  WPlus9 Design Studio (Very Vintage Florals, Chantilly Trim, Embroidered Bouquet)
Ink:  WPlus9 Design Studio (White), Stampin' Up! (Real REd, Lucky Limeade), Memento (Tuxedo Black)
Tools:  WPlus9 Design Studio (Very Vintage Florals companion dies, Scalloped Border die)

Now that I look at it on the screen, I'm thinking I'll add some bling around the sentiment, but as is this would be great for mailing.

Stop by each of the Design Team blogs to leave some love for those incredibly talented ladies!  They really are the best in the business.  :)


Thanks again for stopping by and sharing your thoughts with me!  Happy shopping!  :)

February 4, 2013

WPlus9 February/March Release Day 4--Full Reveal

It's time to reveal all of the new stamps and dies being released this month at WPlus9!  I know you probably can't wait to see them, so I'll get right to it:

Chantilly Trim

Scalloped Border die


Very Vintage Florals

Very Vintage Florals companion dies

Lacey Layers

Lacey Layers companion dies

Embroidered Bouquet

Written on Ribbon

Written on Ribbon companion die
In addition to these beautiful sets, WPlus9 is releasing three new cardstock colors AND a fabulous white pigment ink!  Everything will be available tomorrow in the WPlus9 shop.

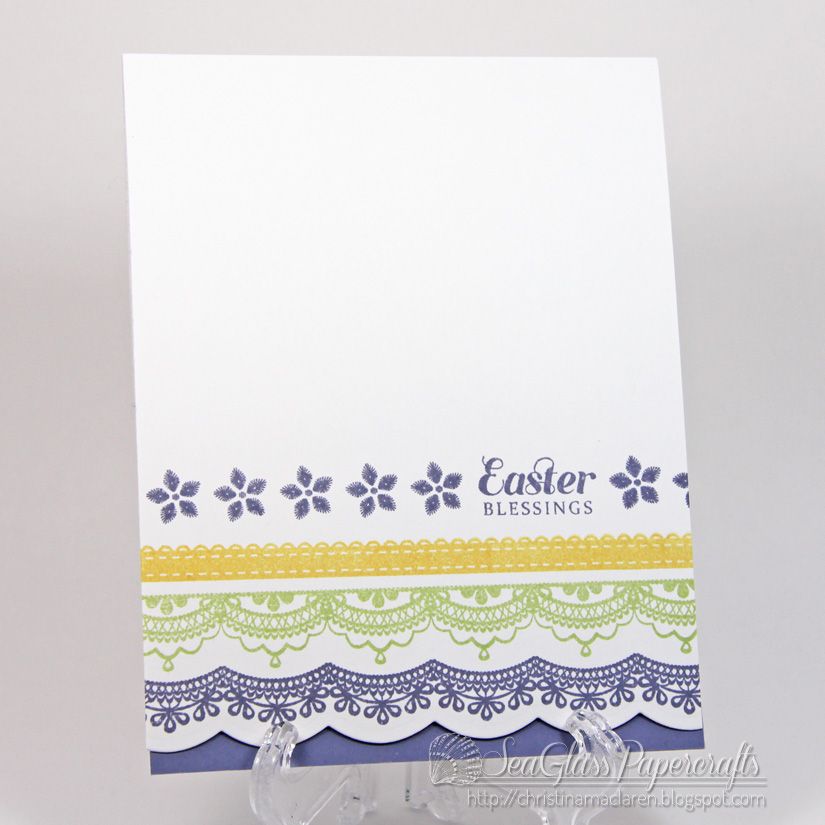
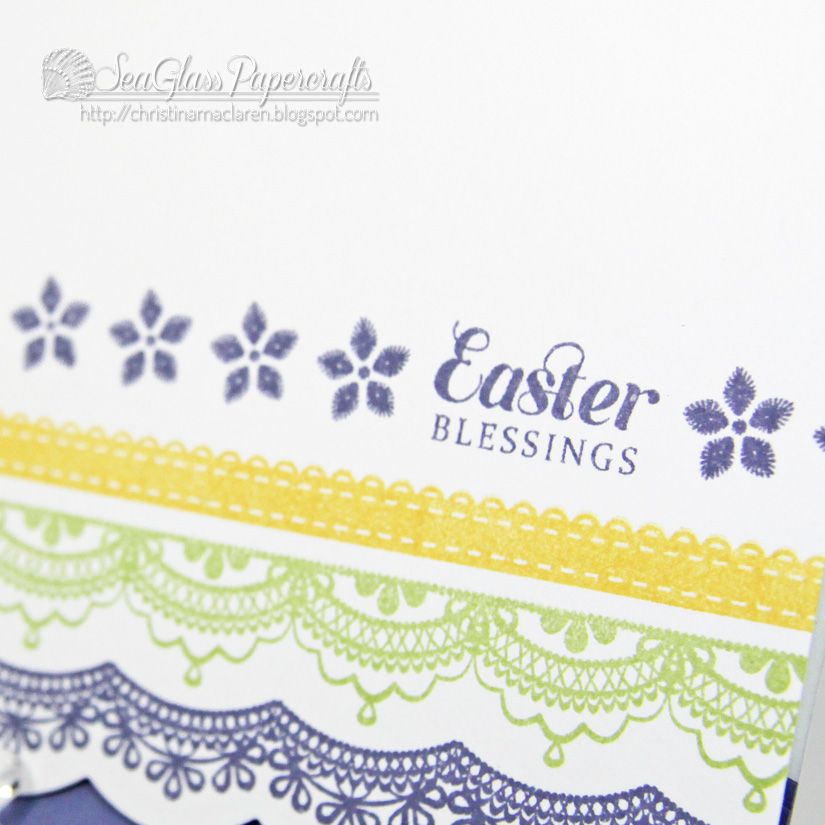
Before I go, I have a quick and easy card to share, made with stamps from Chantilly Trim and a sentiment from Very Vintage Florals.


I love being able to use the scalloped border die to make a decorative edge on my cards.  And don't you just love the detail on those lace trims?

Cardstock:  WPlus9 Design Studio (White), Stampin' Up! (Wisteria Wonder)
Stamps:  WPlus9 Design Studio (Chantilly Trim, Very Vintage Florals)
Ink:  Stampin' Up! (Wisteria Wonder, Certainly Celery, So Saffron)
Tool:  WPlus9 Design Studio (Scalloped Border die)

Don't forget to stop by tomorrow for the group post!  Thanks for visiting today.

February 3, 2013

WPlus9 February/March Release Day 3

Hello friends!  The fun continues with Day 3 of the WPlus9 release previews!  I can't tell you how much fun it has been working with the new stamps and dies, and today's cards are my favorites so far.  :)

Today we are previewing one more stamp set and its coordinating die:

Written on Ribbon
Written on Ribbon companion die

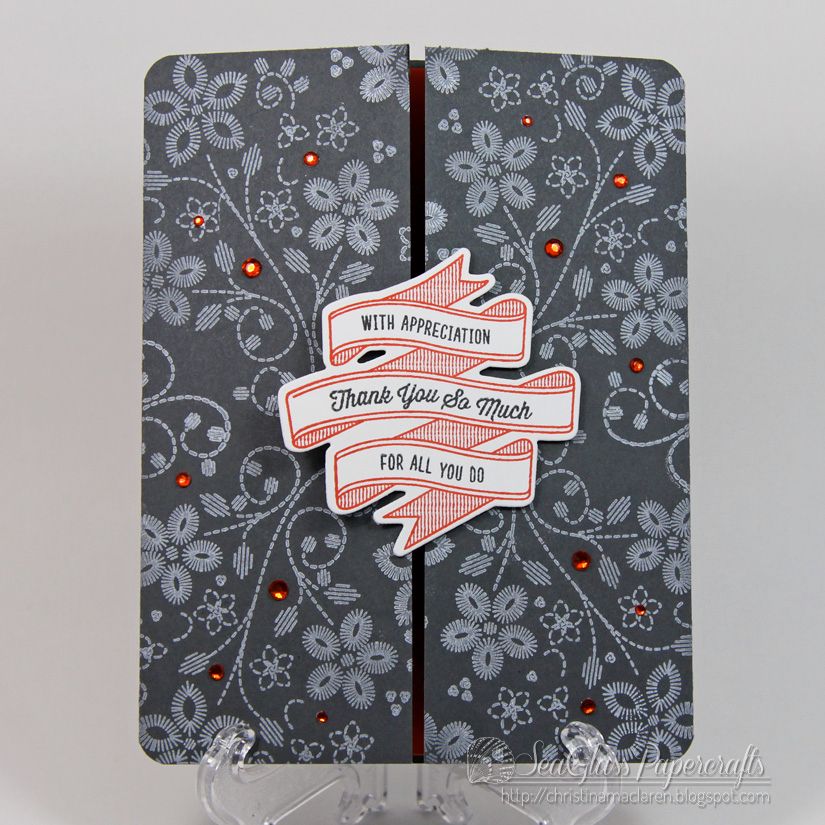
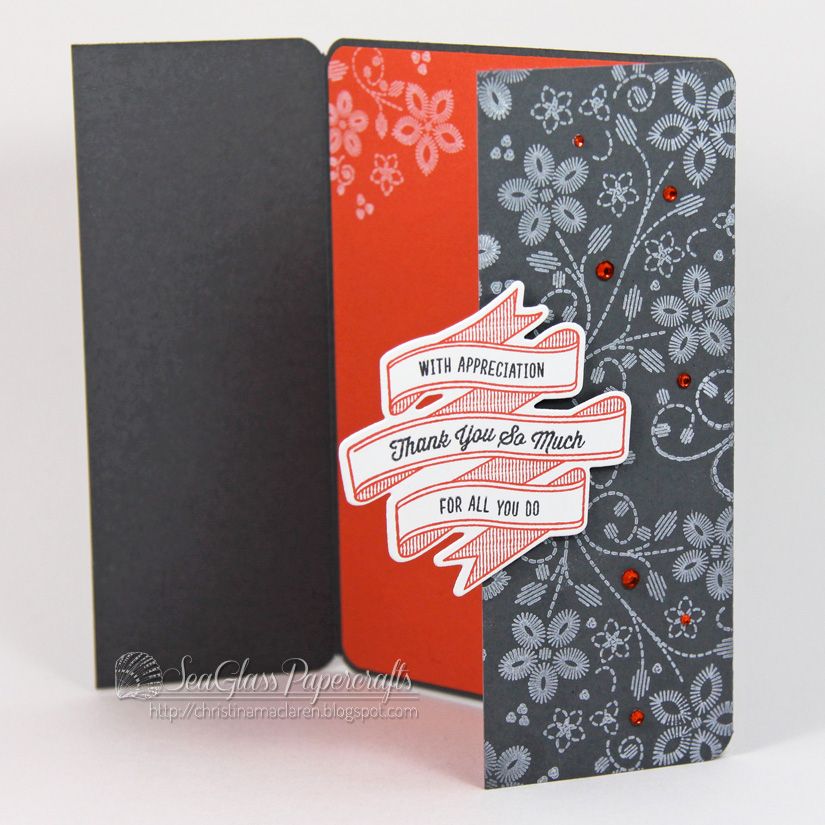
Written on Ribbon has a beautiful folded banner image and tons of sentiments for weddings, birthdays, and more.  For my first sample, I made a gate-fold card with the die cut banner right in the center.

I just can't get enough of this new white ink, so I used it to stamp images from Embroidered Bouquet onto dark gray cardstock.  Love!

The banner and gems look orange, but they are SU's Calypso Coral.  I'm a bit smitten with this gray and coral color combo at the moment.

Cardstock:  Stampin' Up! (Basic Gray, Calypso Coral), WPlus9 Design Studio (White)
Stamps:  WPlus9 Design Studio (Embroidered Bouquet, Written on Ribbon)
Ink:  WPlus9 Design Studio (White), Stampin' Up! (Calypso Coral, Basic Gray), Copic marker
Tools:  WPlus9 Design Studio (Written on Ribbon die), We R Memory Keepers (Corner Chomper)
Accessories:  Michaels (rhinestones)

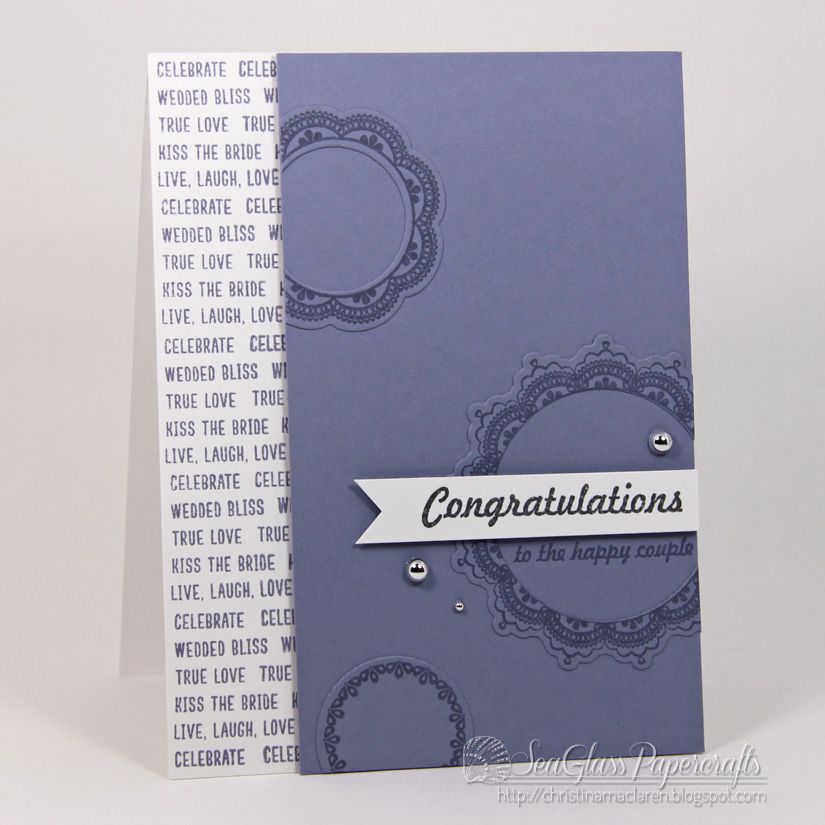
For my second card, I wanted to use the small sentiments from Written on Ribbon in a different way, so I lined up several wedding-themed phrases on a block and stamped them down the edge of a white card base.


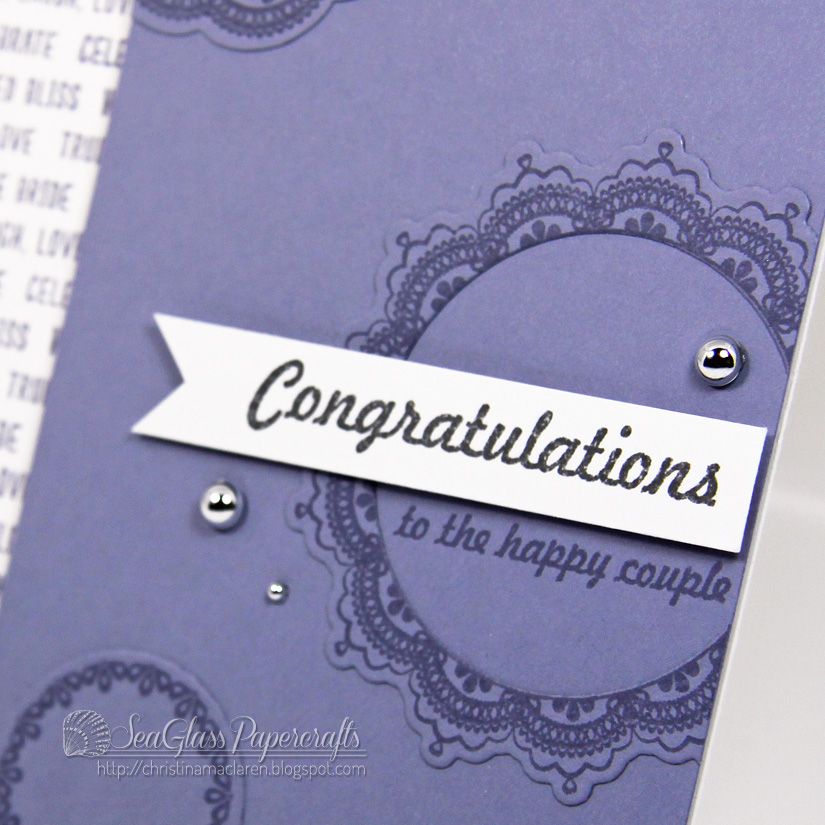
I stamped and die cut images from Lacey Layers and adhered them to a lavender panel, which is popped up with foam tape.  I chose a focal sentiment from Heartfelt Mix, stamping "congratulations" on a white banner and "to the happy couple" below it.


Cardstock:  Stampin' Up! (Wisteria Wonder), WPlus9 Design Studio (White)
Stamps:  WPlus9 Design Studio (Written on Ribbon, Lacey Layers, Heartfelt Mix)
Ink:  Stampin' Up! (Wisteria Wonder, Basic Gray)
Tools:  WPlus9 Design Studio (Lacey Layers dies)
Accessories:  Michaels (silver pearls)

Once again, you won't want to miss the creations from the WPlus9 Design Team:


Thanks so much for your comments and support!  Be sure to stop by tomorrow for the full reveal of all the new sets!

February 2, 2013

WPlus9 February/March Release Day 2


Welcome back to Day 2 of previews of the February/March release from WPlus9 Design Studio!  Today we're featuring two more gorgeous stamp sets and a collection of dies:

Lacey Layers
Lacey Layers Companion Dies
Embroidered Bouquet

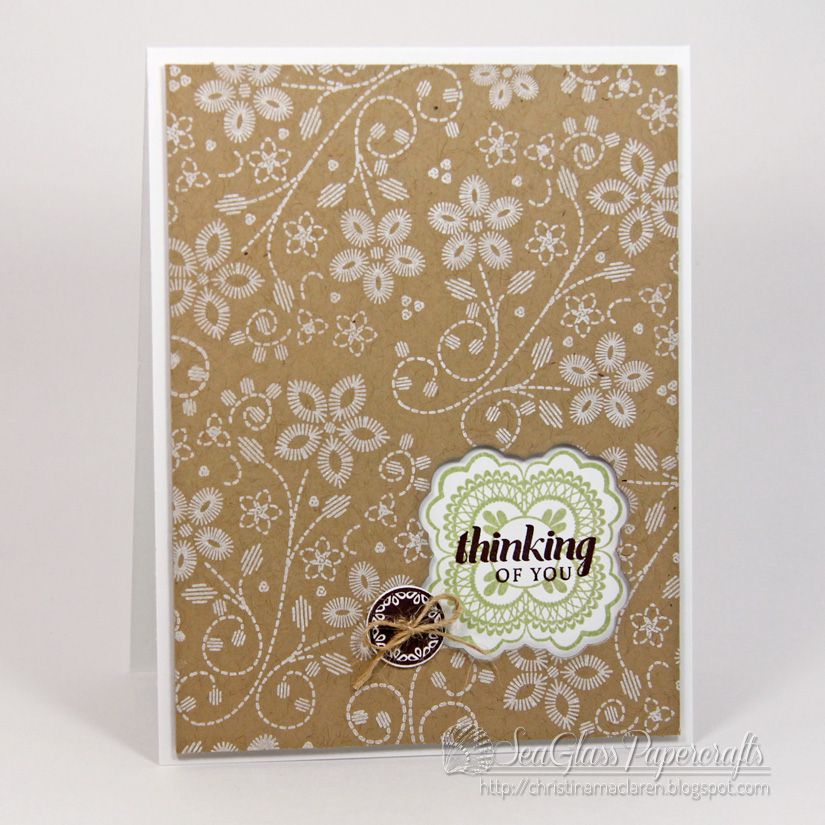
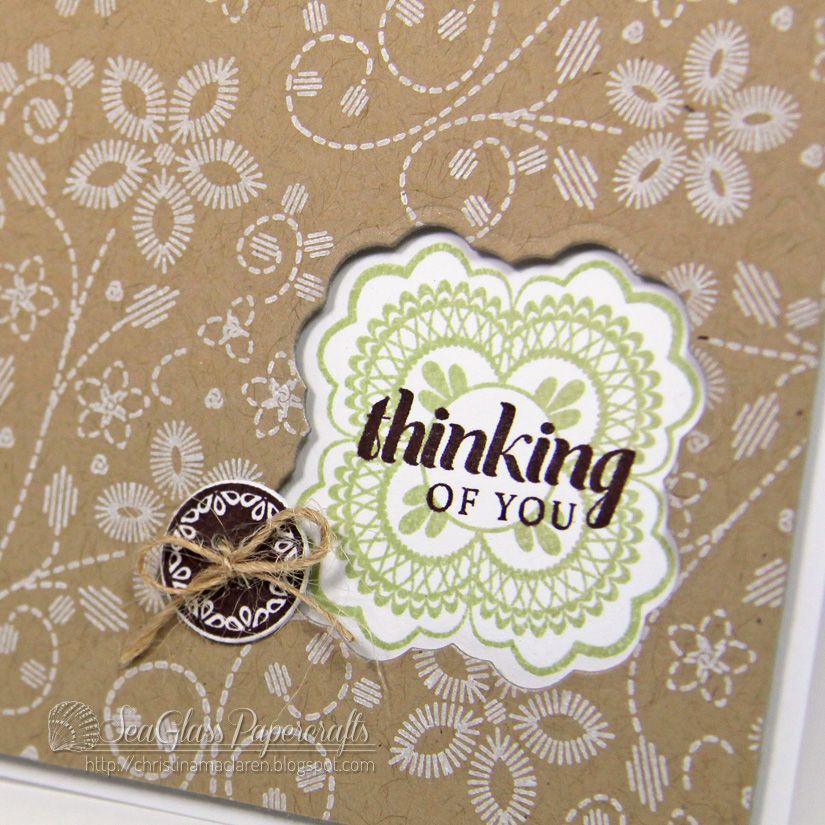
And as if new stamps and dies weren't enough, this month there is a new product being introduced that is a must-have:  white pigment ink!  Oh my goodness, I thought I had my go-to white ink all figured out, but this new ink from WPlus9 is amazing!  Just look at the coverage and crisp detail I got using it to stamp a background with Embroidered Bouquet onto kraft cardstock.

I used one of the new Lacey Layers dies to cut a window in the kraft panel, stamped the coordinating image from Lacey Layers in green, then added a sentiment from a set previewed yesterday, Very Vintage Florals.  That cute little button stamp is part of the Lacey Layers set, too.

Cardstock:  WPlus9 Design Studio (White), Papertrey Ink (Kraft)
Stamps:  WPlus9 Design Studio (Embroidered Bouquet, Lacey Layers, Very Vintage Florals)
Ink:  WPlus9 Design Studio (White), Stampin' Up! (Pear Pizzazz, Chocolate Chip)
Tools:  WPlus9 Design Studio (Lacey Layers dies)
Accessories:  jute twine

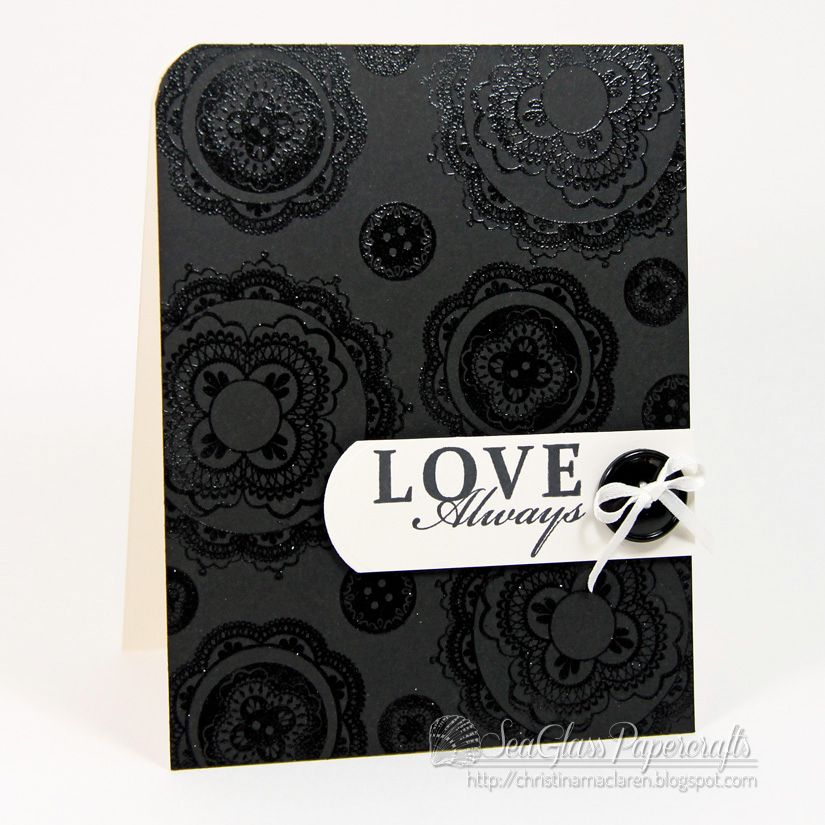
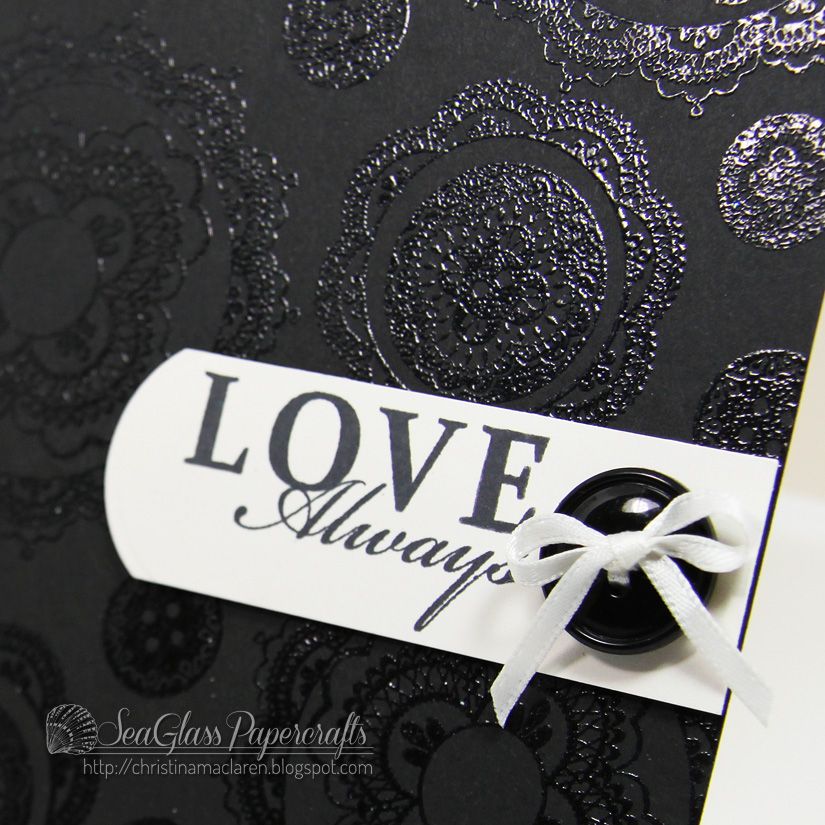
My next card was difficult to photograph, so I apologize for the glare.  I used multiple images from Lacey Layers, stamped in Versamark and heat embossed with clear powder on WPlus9's black cardstock.  I added a sentiment from Spring Post on a strip of cream cardstock, using one of the circle dies included in the Lacey Layers Companion die set to round the end of the strip.


Don't let the reflection fool you--these images are incredibly detailed and stamp beautifully!  And this card looks pretty amazing in real life, I must say.  :)

Cardstock:  WPlus9 Design Studio (Black), Papertrey Ink (Vintage Cream)
Stamps:  WPlus9 Design Studio (Lacey Layers, Spring Post)
Ink:  Versamark, Memento (Tuxedo Black)
Tools:  WPlus9 Design Studio (Lacey Layers dies), We R Memory Keepers (Corner Chomper)
Accessories:  Stampendous (clear embossing powder), button, ribbon

You know the Design Team will have some amazing samples to share.  They always do.  :)


Thanks so much for joining me again today!  Stop by again tomorrow for Day 3 of previews!

February 1, 2013

CAS-ual Fridays #88--Love Letters

Please scroll down for Day 1 of the WPlus9 February/March Release previews!


Hello!  I'm back again with a fun new challenge from CAS-ual Fridays.  This week's theme is Love Letters:  use your alphabet stamps, stickers, or dies on your clean and simple creation.


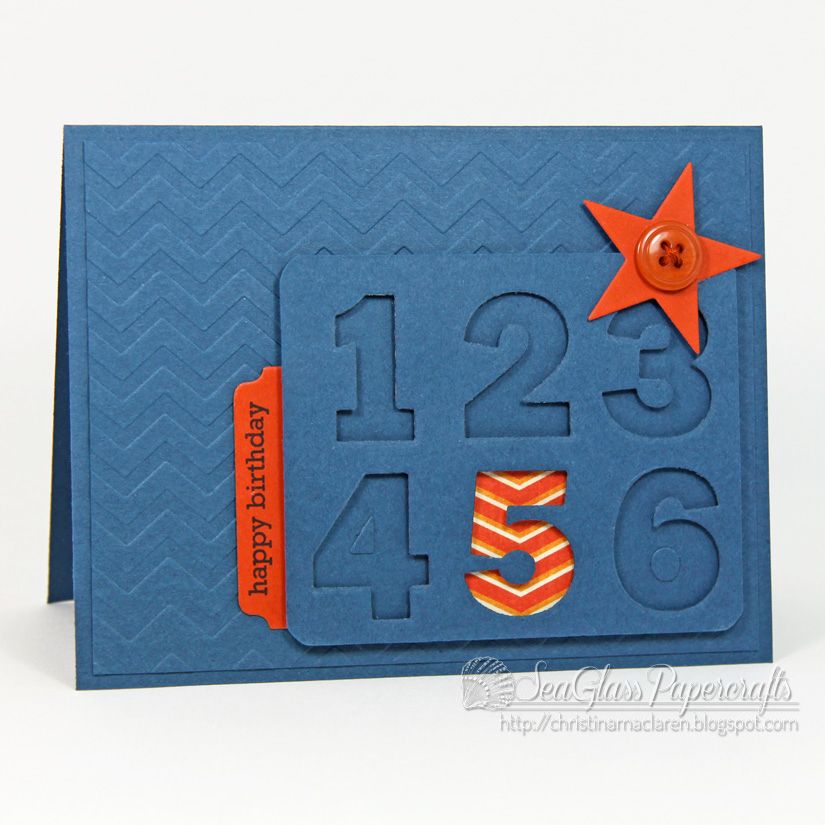
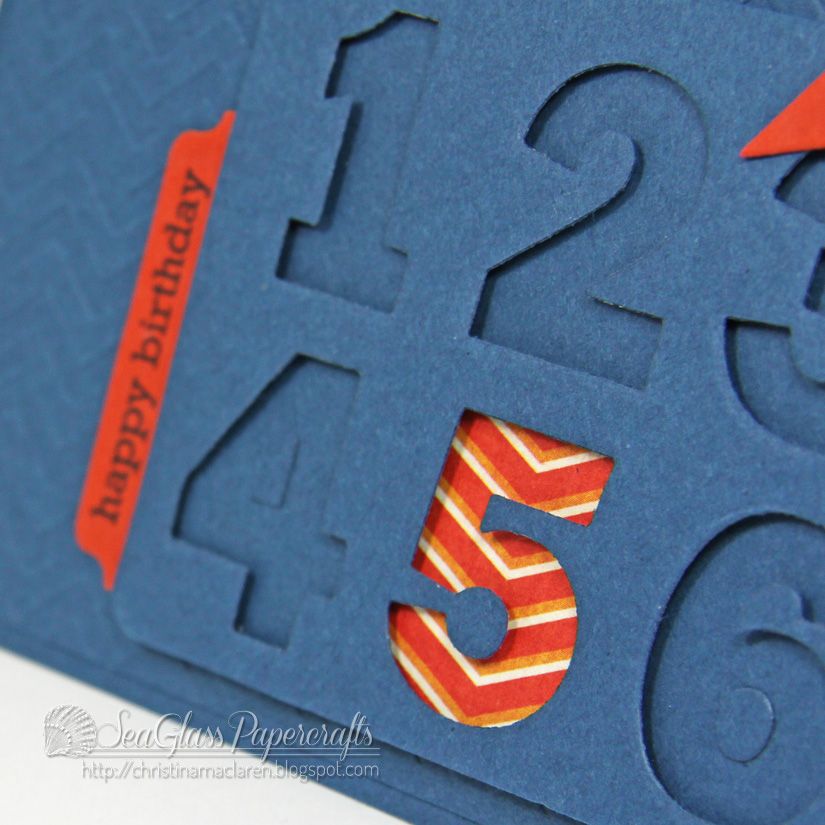
I needed a birthday card for a little guy turning 5, so reached for my number dies and created "windows" in a panel of navy cardstock.  I popped the panel up with foam dots and highlighted the number "5" with a scrap of orange patterned paper behind it.

I kept the sentiment simple, since this little guy can't read yet.  :)  Embossed chevrons on the background and an orange star are the finishing touches.

Cardstock:  Stampin' Up! (Midnight Muse), Papertrey Ink (Terracotta Tile)
Patterned paper:  My Mind's Eye (Alphabet Soup)
Stamp:  Papertrey Ink (Birthday Basics)
Ink:  Stampin' Up! (Midnight Muse)
Tools:  My Favorite Things (numbers, tab die), Lifestyle Crafts (embossing folder), Papertrey Ink (star die), We R Memory Keepers (Corner Chomper)
Accessories:  button, DMC floss

I hope you'll join us this week!  Thanks so much for your visit!

WPlus9 February/March Release Week Day 1


Hello there, friends!  I'm so very excited to be bringing you a special post today--I'm Guest Designing with WPlus9 for their February/March release!  Today's the first day of previews, and let me tell you, you are going to be smitten with all of the new stamps and dies coming out this month.

Today we're featuring two new stamp sets and their companion dies:

Very Vintage Florals
Very Vintage Florals Companion Dies
Chantilly Trim
Scalloped Border Die

I've managed to use all four on my first card.  :)

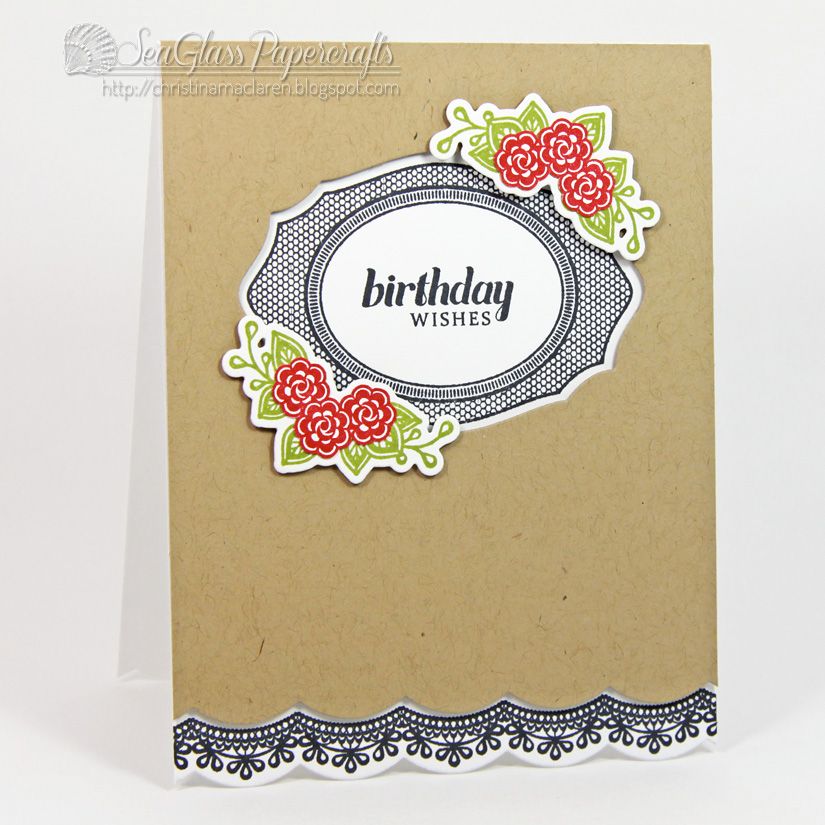
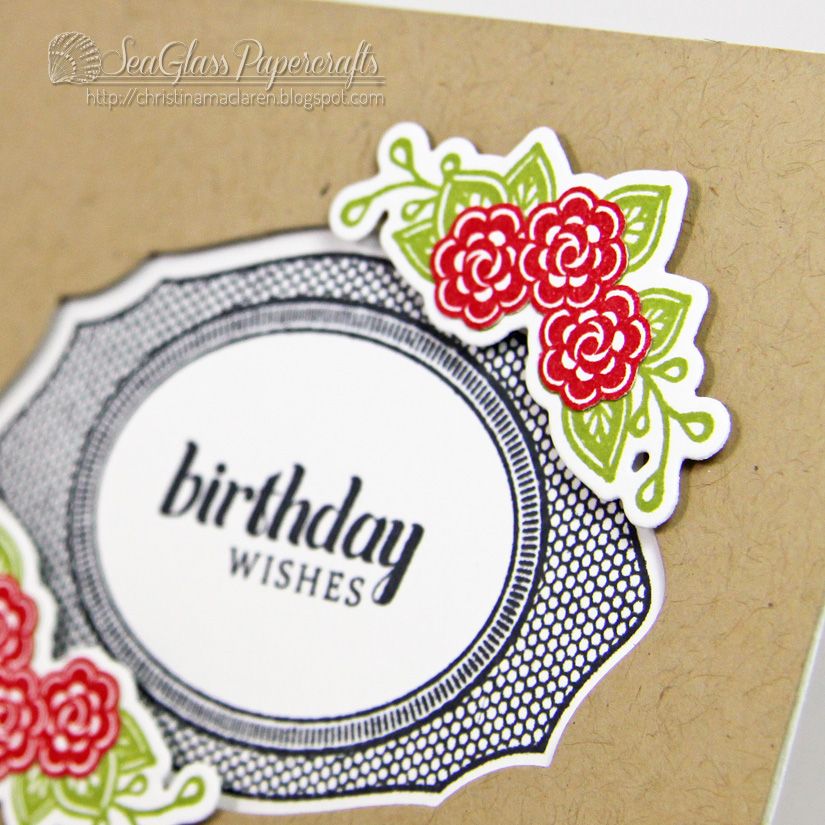
Very Vintage Florals coordinates with the previously released Very Vintage Greetings and its companion die, Label Layers 3.  I used the die to cut a window in a kraft panel, then stamped the frame and sentiment from Very Vintage Florals onto the white card base.

I die cut and stamped the floral images in green, then stamped the flowers again in red and trimmed them by hand.

The new Chantilly Trim set has the most gorgeous lace borders, which coordinate perfectly with the new Scalloped Border die.  I added a scalloped edge to the kraft panel and stamped one of the lace borders along the bottom.

Cardstock:  WPlus9 Design Studio (White), Papertrey Ink (Kraft)
Stamps:  WPlus9 Design Studio (Very Vintage Florals, Chantilly Trim)
Ink:  Stampin' Up! (Real Red, Lucky Limeade), Memento (Tuxedo Black)
Tools:  WPlus9 Design Studio (Very Vintage Florals dies, Scalloped Border die, Label Layers 3 die)

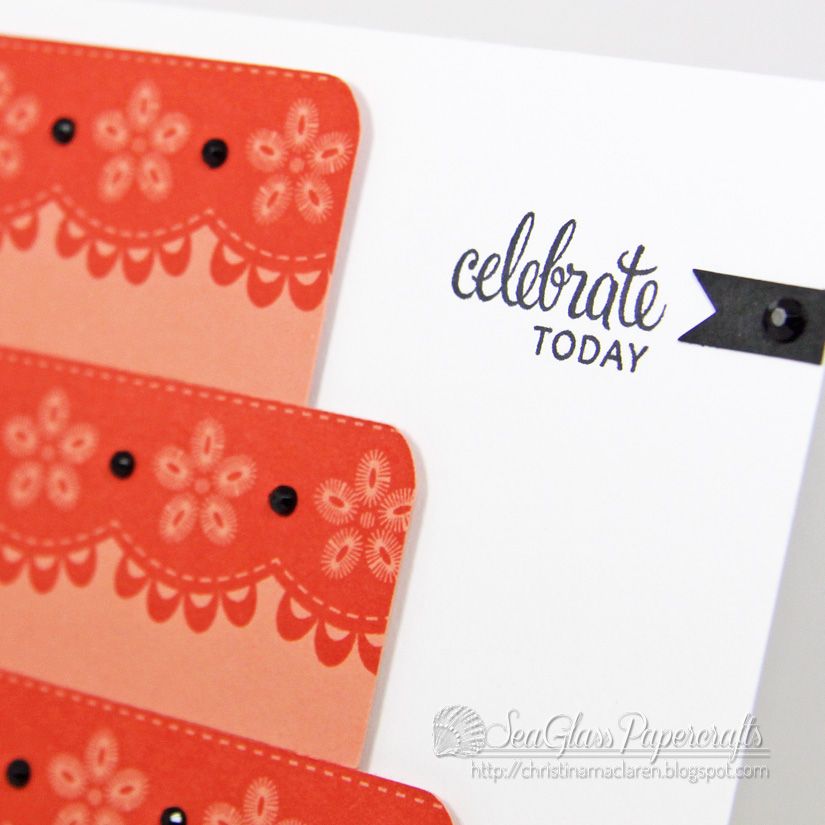
For my second card, I wanted to do something completely different.  The Chantilly Trim borders made me think of beautifully decorated wedding cakes, so I set about creating one of my own.

After trimming the cake layers from cardstock, I stamped a lace border along the top edges, adhered the layers with foam tape, and embellished them with black gems.


I turned to Very Vintage Greetings for my sentiment, adding a hand-trimmed flag and black gem to draw the eye.

Cardstock:  WPlus9 Design Studio (White, Black), Papertrey Ink (Melon Berry)
Stamps:  WPlus9 Design Studio (Chantilly Trim, Very Vintage Greetings)
Ink:  Stampin' Up! (Calypso Coral), Memento (Tuxedo Black)
Accessories:  Bazzill (black rhinestones)

I've had so much fun playing with these sets, it was hard to choose just a couple of cards to share with you today!  Needless to say, there will be more to come.  :)

Be sure to see what the WPlus9 Design Team has created!


Be sure to stop by tomorrow for Day 2 of the release week festivities!
Related Posts Plugin for WordPress, Blogger...