Hello! Thanks for stopping by today for the latest installment of The 12 Kits of Christmas! I'm delighted to be this month's hostess, and I can't wait to see what the rest of the gals have created. First, here's a peek at the kit I assembled, with a photo courtesy of Kara:

I'll keep the chit chat to a minimum since I have a lot of photos to share.
This first one is my favorite, very clean and simple. :) The bird and branch dies are from Memory Box. It's hard to see, but the cream panel is debossed with the Linen & Canvas impression plate.
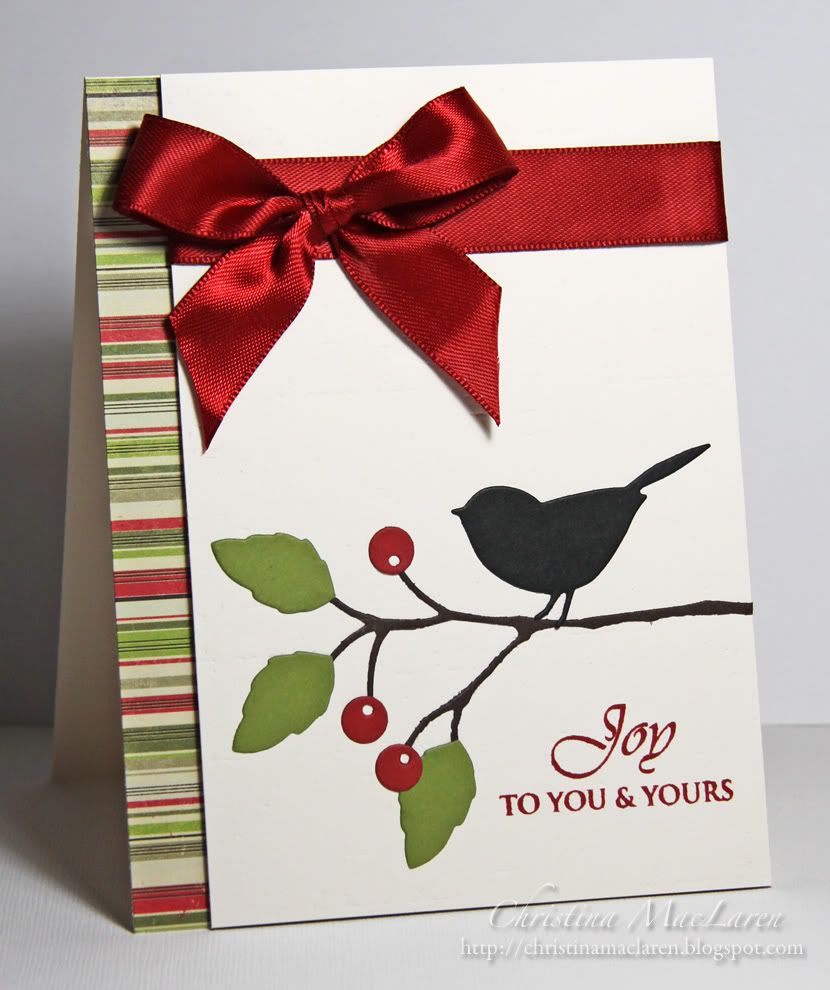
Cardstock: Papertrey Ink (Vintage Cream, True Black), Stampin' Up! (Riding Hood Red, Old Olive, Early Espresso)
Patterned paper: Authentique (Wonder)
Stamp: WPlus9 Design Studio (Poinsettia Patterns)
Ink: Stampin' Up! (Riding Hood Red)
Tools: Memory Box (Perched Reed Bird, Twigs and Berries dies), Papertrey Ink (Linen & Canvas impression plate)
Accessories: AC Moore (ribbon)
On the next card I used another bird, this time perching it on a stamped pine bough from Hero Arts.

Cardstock: Papertrey Ink (Vintage Cream), Stampin' Up! (Riding Hood Red)
Patterned paper: Authentique (Wonder)
Stamps: Hero Arts (Big Pine Bough), Papertrey Ink (Signature Christmas)
Ink: Stampin' Up! (Old Olive), Memento (Tuxedo Black)
Tools: Memory Box (Perched Reed Bird die)
Accessories: AC Moore (ribbon), thread
These beautiful poinsettia blooms are from Waltzingmouse. I fussy cut a large and small flower from Riding Hood Red cardstock and traced the veins with a red Copic marker. A second large flower was colored with a green Copic and layered underneath.
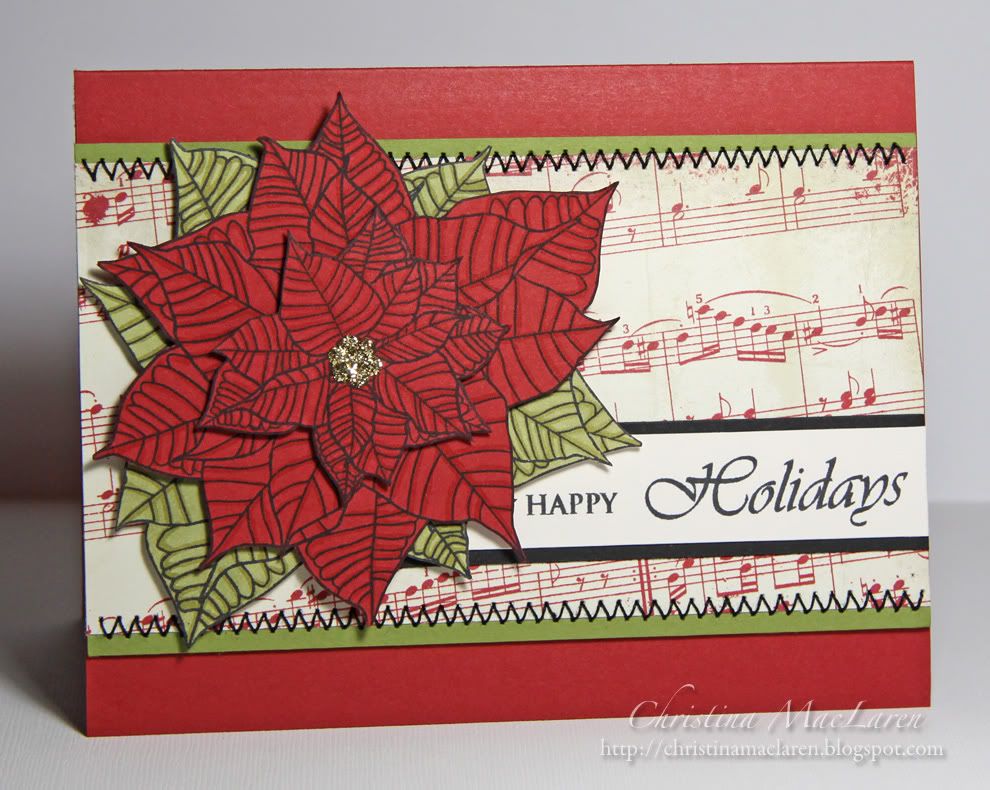
Cardstock: Stampin' Up! (Riding Hood Red, Old Olive), Papertrey Ink (Vintage Cream, True Black)
Patterned paper: Authentique (Wonder)
Stamps: Waltzingmouse (Big Bloom Poinsettia), WPlus9 Design Studio (Poinsettia Patterns)
Ink: Memento (Tuxedo Black), Copic markers
Accessories: Ranger (Gold Stickles), thread
The next card is very simple, since I let the patterned paper do most of the work. I think I may go back and add a rhinestone star to the top of the tree.
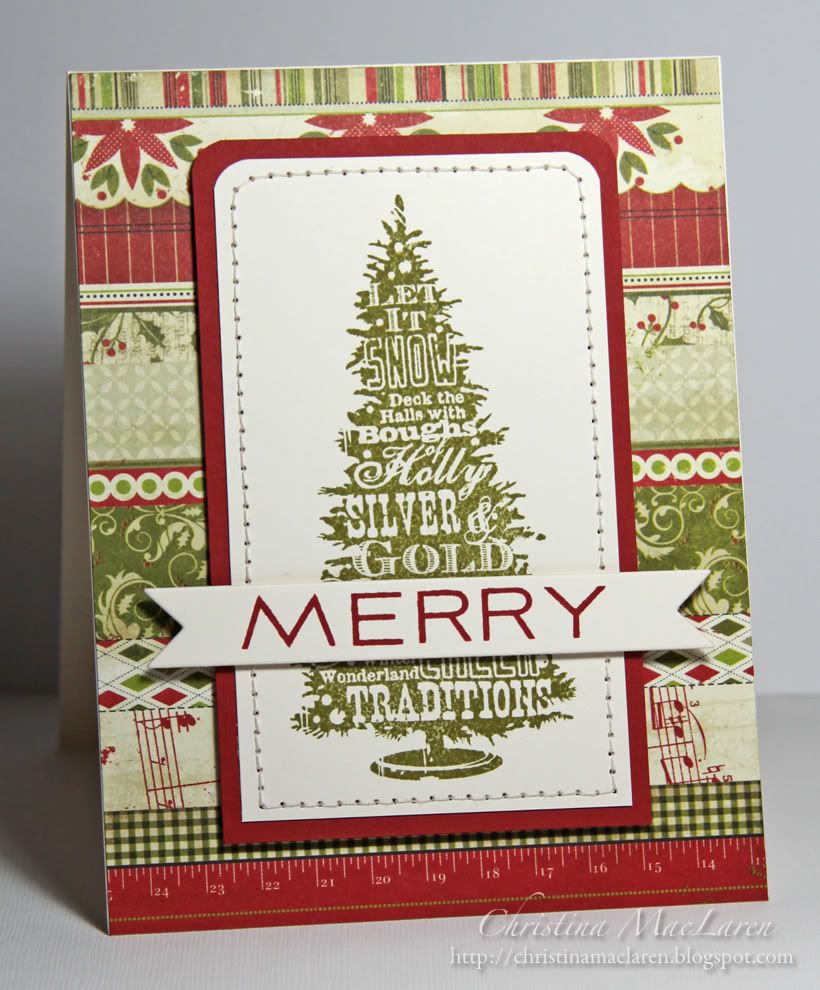
Cardstock: Papertrey Ink (Vintage Cream), Stampin' Up! (Riding Hood Red)
Patterned paper: Authentique (Wonder)
Stamps: Inkadinkadoo (Holiday Words tree), Papertrey Ink (Fresh Alphabet)
Ink: Stampin' Up! (Old Olive, Riding Hood Red)
Tools: Papertrey Ink (double ended banner die), We R Memory Keepers (Corner Chomper)
Accessories: thread
I paired the olive damask paper with a Spellbinders label, paper leaves, and sparkling "berries".
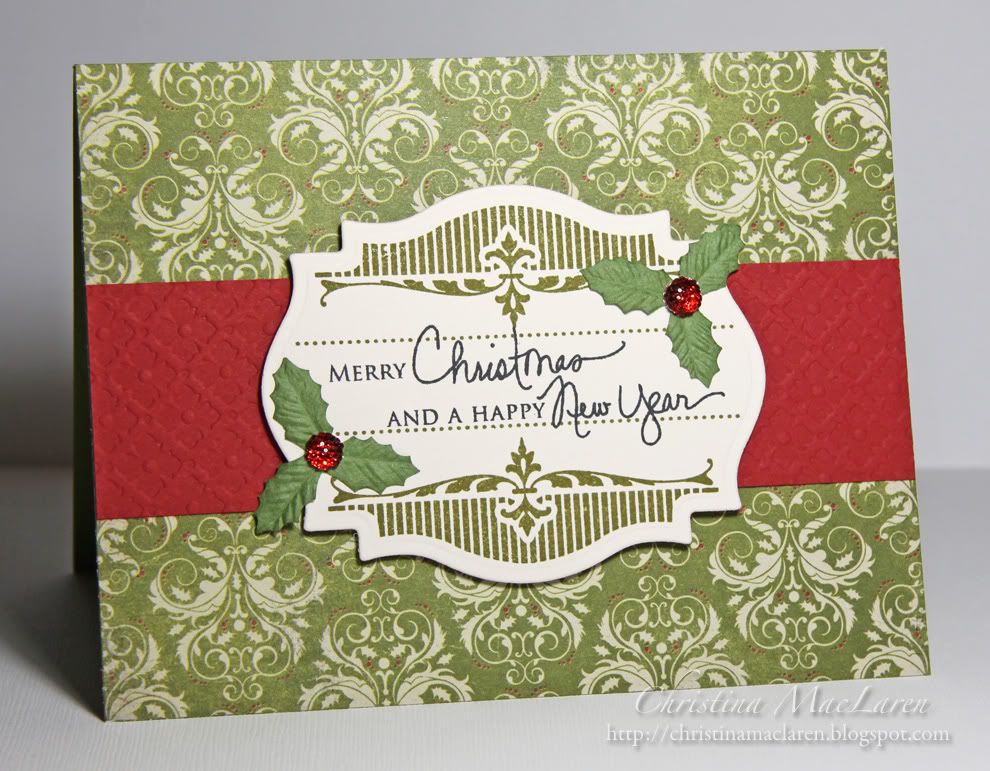
Cardstock: Papertrey Ink (Vintage Cream), Stampin' Up! (Riding Hood Red)
Patterned paper: Authentique (Wonder)
Stamps: Waltzingmouse (Vintage Labels 18), Papertrey Ink (Signature Christmas)
Ink: Stampin' Up! (Old Olive), Memento (Tuxedo Black)
Tools: Spellbinders (Labels 18 die), Papertrey Ink (Diamonds impression plate)
Accessories: Bazzill (paper leaves), Queen & Co. (gems)
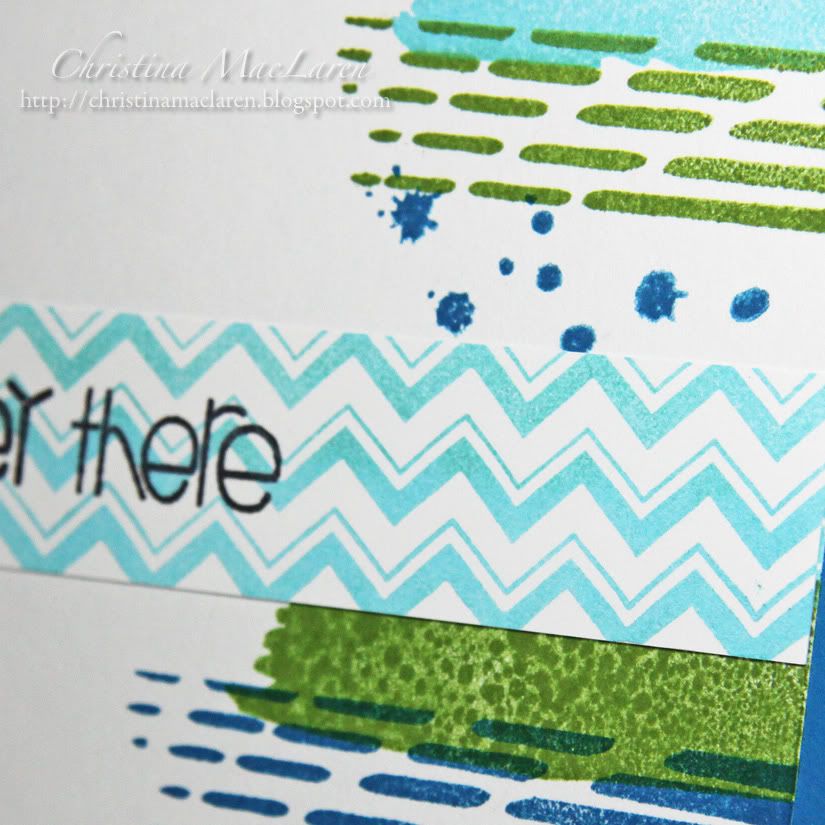
I've made a version of this card almost every month--just stitched strips of paper, a die cut label, and a few buttons.

Cardstock: Papertrey Ink (Vintage Cream), Stampin' Up! (Riding Hood Red)
Patterned paper: Authentique (Wonder)
Stamps: Waltzingmouse (Big Bloom Poinsettia, Vintage Labels 18), Papertrey Ink (Signature Christmas)
Ink: Stampin' Up! (Riding Hood Red), Memento (Tuxedo Black)
Tools: Spellbinders (Labels 18 die)
Accessories: Papertrey Ink (buttons), thread, DMC floss
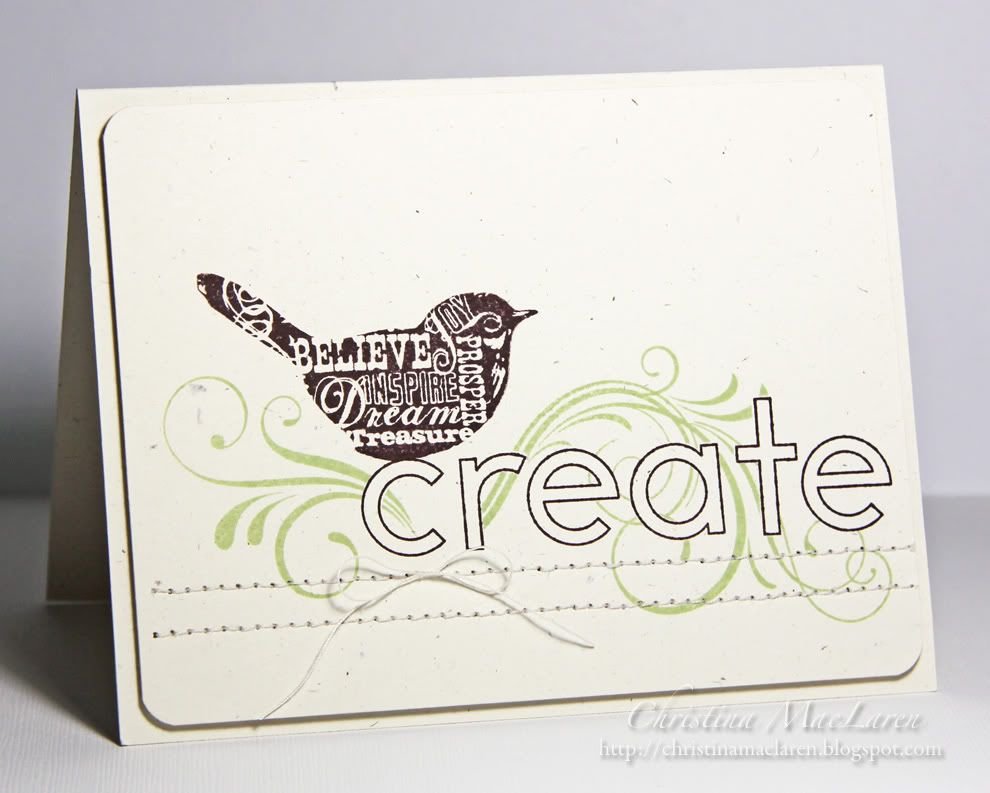
Finally, we decided to challenge ourselves to use up some of our leftovers from previous months by CASEing each other. I chose a dove image I hadn't used from the March kit provided by Suzanne. Like Suzanne's card with the dove, I die cut the image into a tag shape.
For the colors and papers, I CASEd Jeanne's dove card. Love the purple and green together.
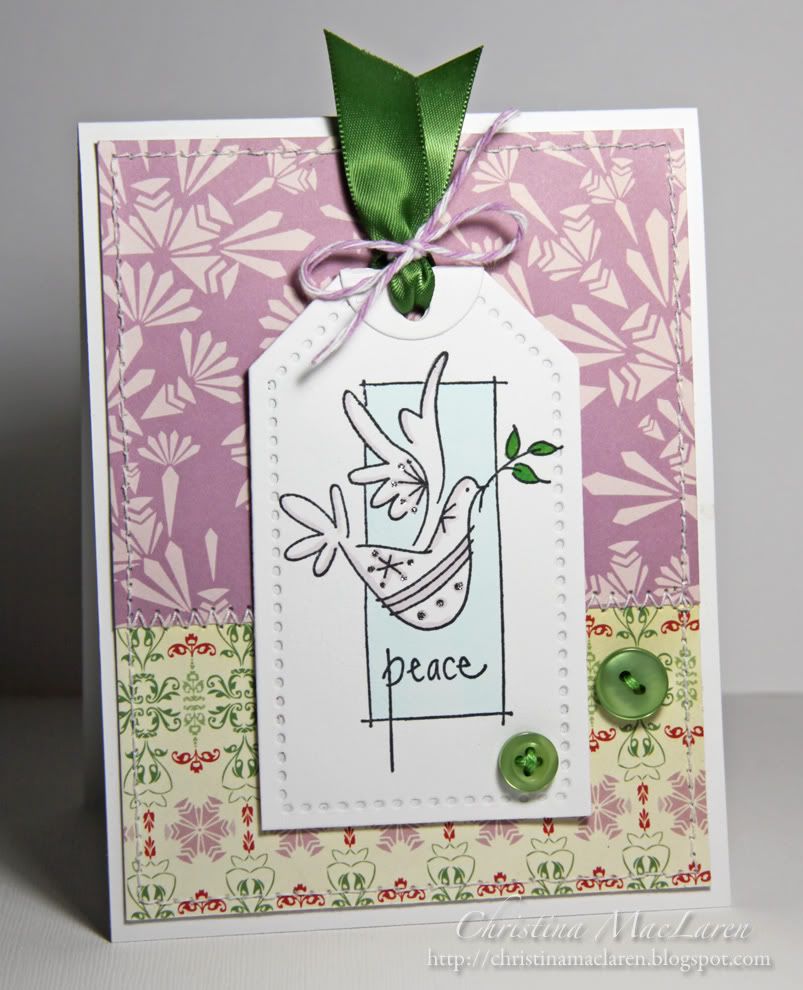
Cardstock: Papertrey Ink (White)
Patterned paper: Cosmo Cricket (Mitten Weather)
Stamp: Stampendous (Block Art Sparkle Dove)
Ink: Copic markers
Tools: Papertrey Ink (Tag Sale #3 die)
Accessories: Ribbonbazaar.com (ribbon), The Twinery (baker's twine), buttons, thread, DMC floss
Okay, friends, I think that's enough for one post! Thanks for staying with me! Now go see what everyone else made this month:
Suzanne: The Card Yard
Cathy: EmptyNestCrafter
Joyce: Cards-by-the-Sea
Kim: CupcakesCardsandKim
Amy: Stamp-n-Paradise
Kara: KandRDesigns
Sharron: OnPapillionWings
Marybeth: Marybeth's Time for Paper
Jeanne: AKeptLife
Jessica: The Paper Parade
Renee: ItsAPatchworkLife
See you back here soon!