Oh my heavens, what happened to February?! This month has just flown by, and I can hardly believe it's time for another round of The 12 Kits of Holidays! Check out the country-inspired Christmas kit that Renee sent us this month:

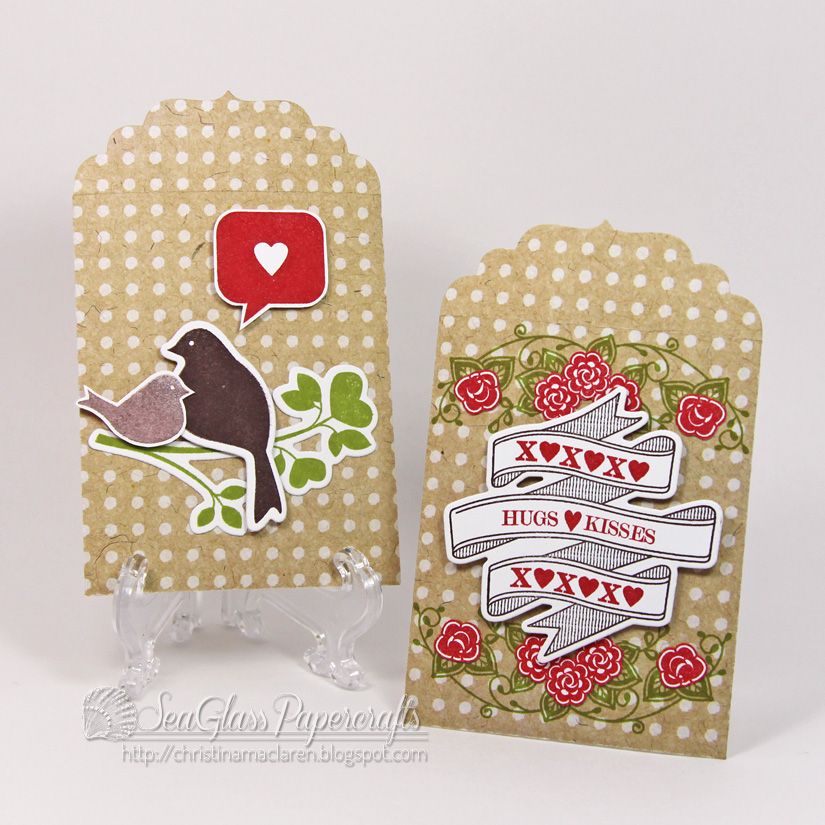
I actually struggled with this kit for a while because there was so much stuff to work with! But I managed to get 4 cards done, and luckily have lots of supplies left to use later. :)

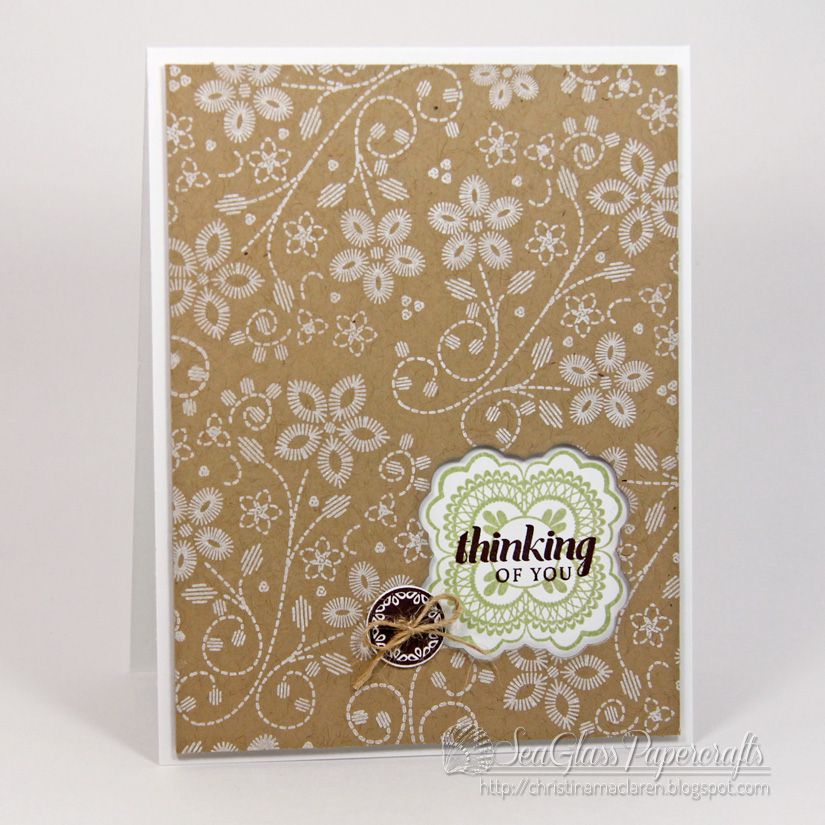
Cardstock: Papertrey Ink (Rustic White)
Patterned paper: Echo Park (This and That Christmas)
Stamp: Waltzingmouse (Yonder Star)
Ink: Stampin' Up! (Real Red)
Tools: Papertrey Ink (Parisian Doily die), WPlus9 (star dies)
Accessories: My Favorite Things (buttons), Michaels (twine)

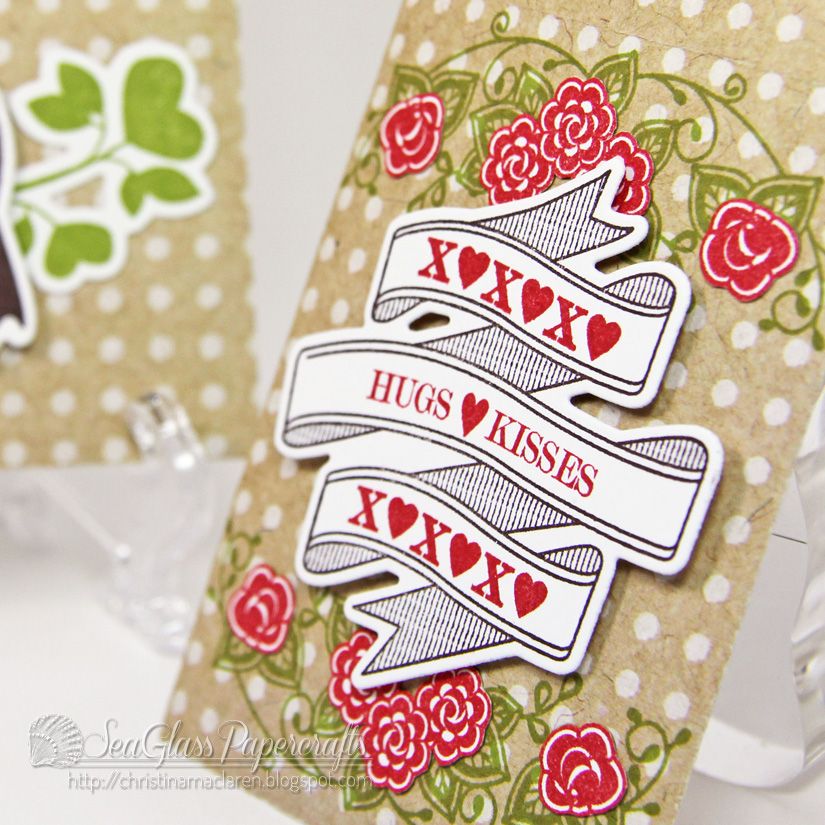
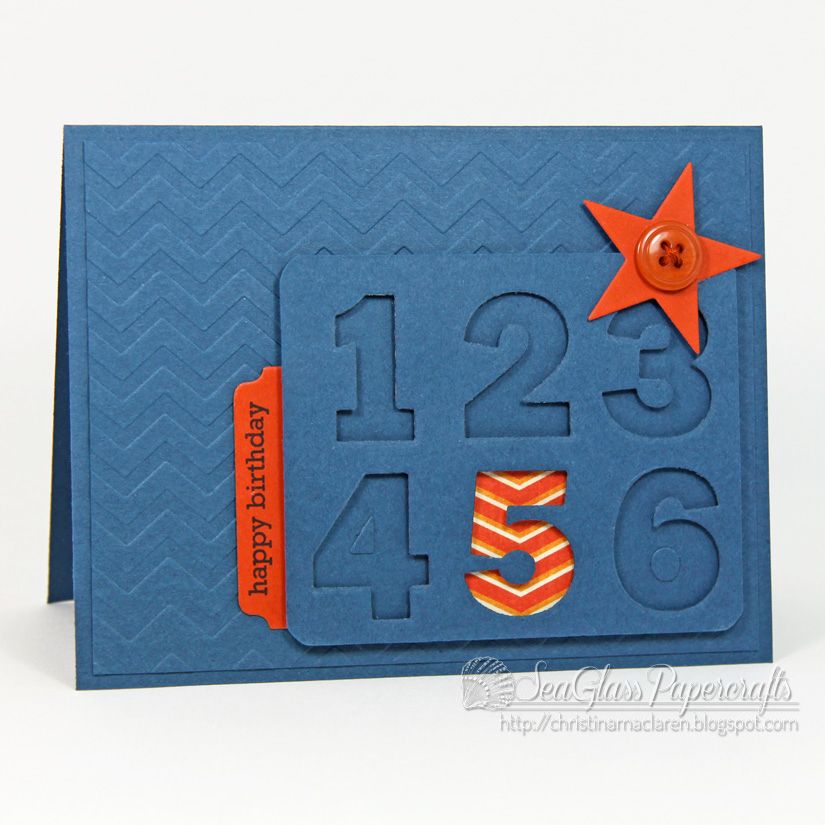
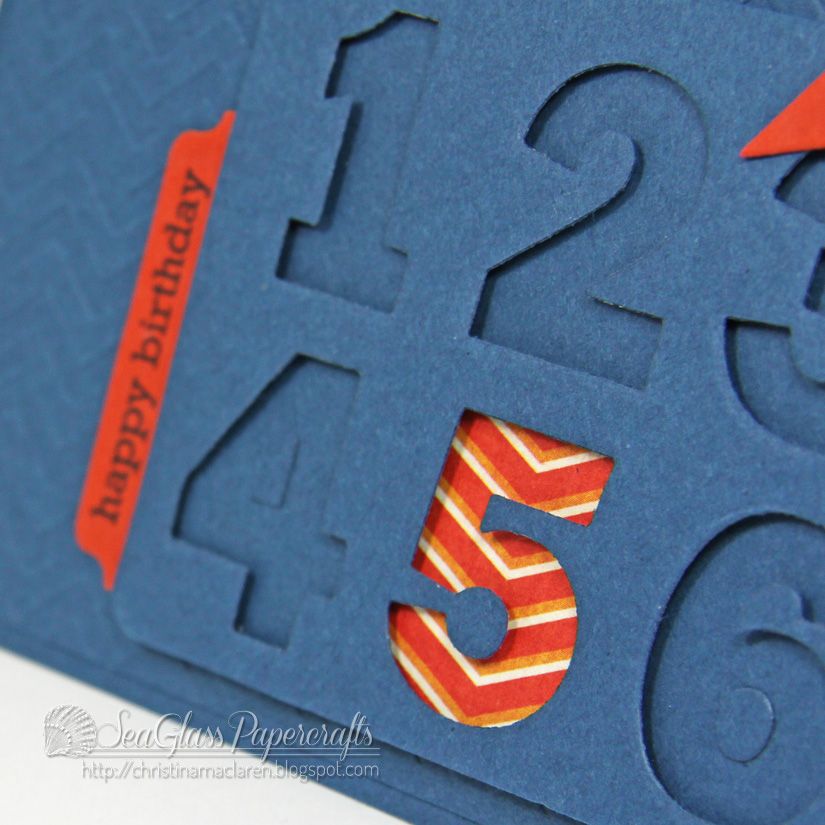
Cardstock: Papertrey Ink (Rustic White, Pure Poppy, Dark Chocolate)
Patterned paper: Echo Park (This and That Christmas)
Stamp: Waltzingmouse (Woodenheart Alphabet, Yonder Star Background)
Ink: Stampin' Up! (Real Red, Chocolate Chip)
Tools: Papertrey Ink (Alpha Blocks die), pinking shears, corner rounder
Accessories: My Favorite Things (button), Michaels (ribbon)
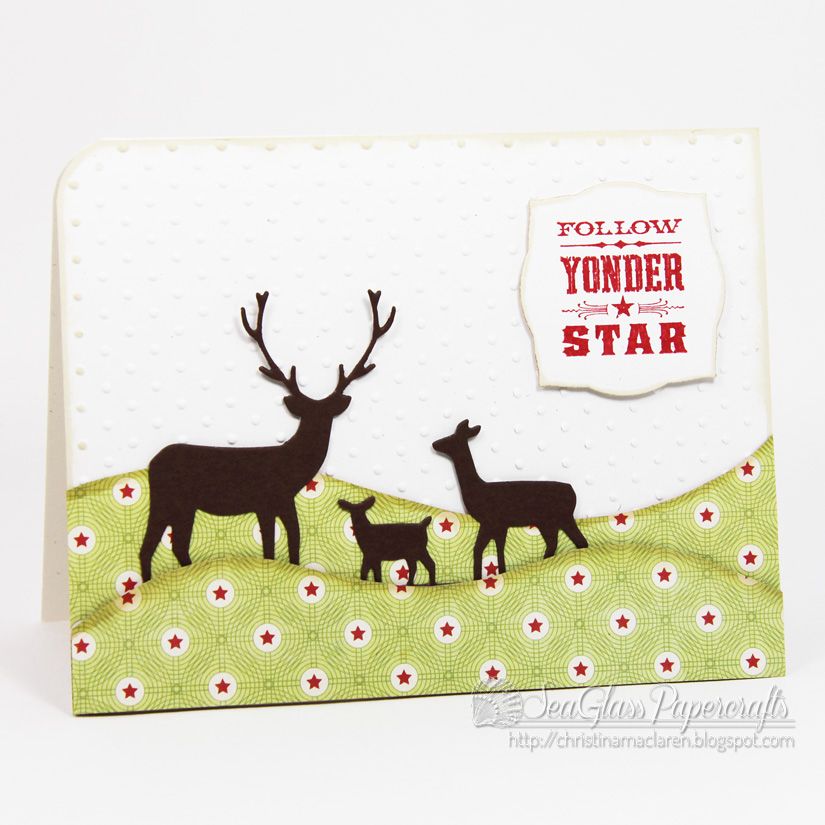
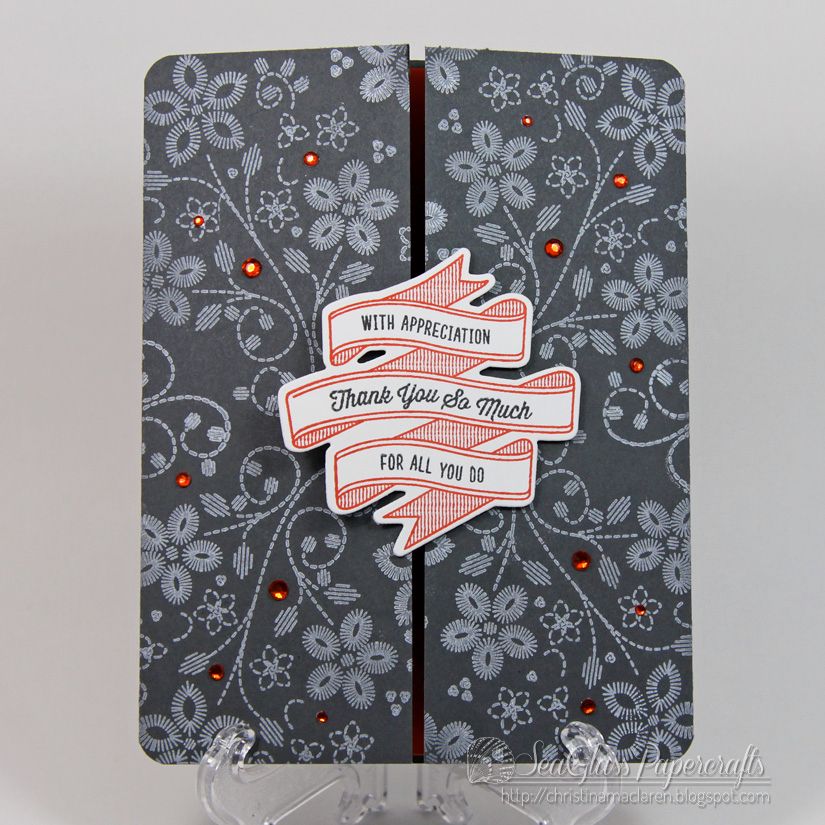
Cardstock: Papertrey Ink (Rustic White, Dark Chocolate)
Patterned paper: Echo Park (This and That Christmas)
Stamp: Waltzingmouse (Yonder Star)
Ink: Stampin' Up! (Real Red), Papertrey Ink (Chamomile tea dye)
Tools: Memory Box (Deer Trio die), Sizzix (embossing folder), Spellbinders (label die), corner rounder

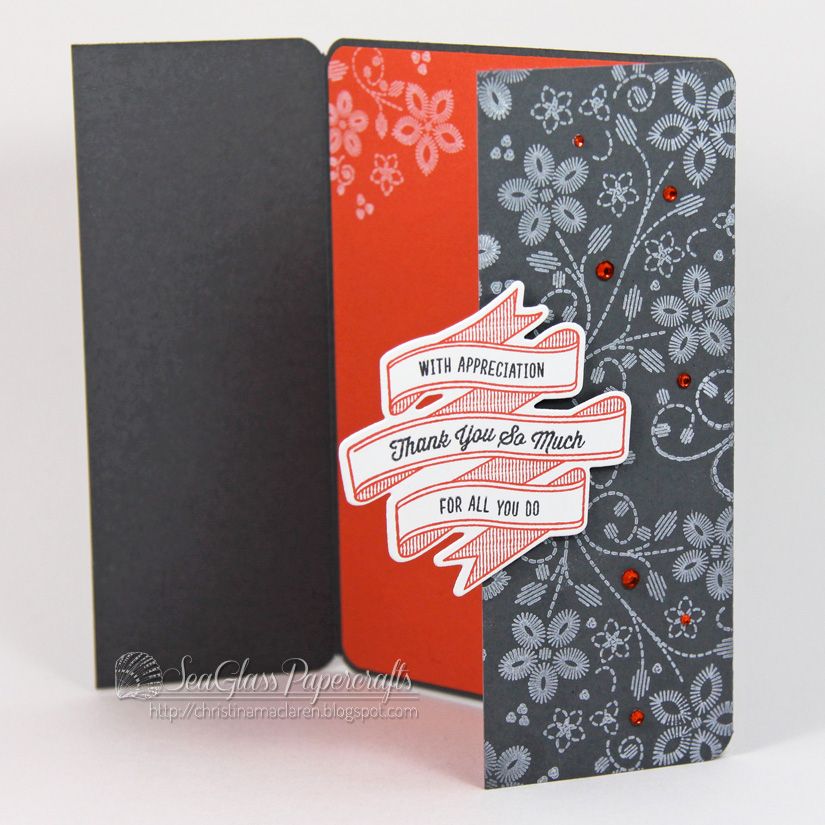
Cardstock: Papertrey Ink (Rustic White, Dark Chocolate)
Patterned paper: Echo Park (This and That Christmas)
Stamp: Waltzingmouse (Yonder Star)
Ink: Stampin' Up! (Real Red, Chocolate Chip)
Tools: Waltzingmouse (Yonder Star cut files), pinking shears
Accessories: My Favorite Things (button)
Keeping it short and sweet so you can visit the rest of the 12 Kits crew!
Joyce: Cards-by-the-Sea
Renee: ItsAPatchworkLife
Tracey: InMyCreativeOpinion
Sharron: OnPapillionWings
Marybeth: Marybeth's Time for Paper
Amy: Stamp-n-Paradise
Kim: CupcakesCardsandKim
Kara: KandRDesigns
Kelly: GinghamGirl
Jessica: The Paper Parade
Thanks for stopping by!